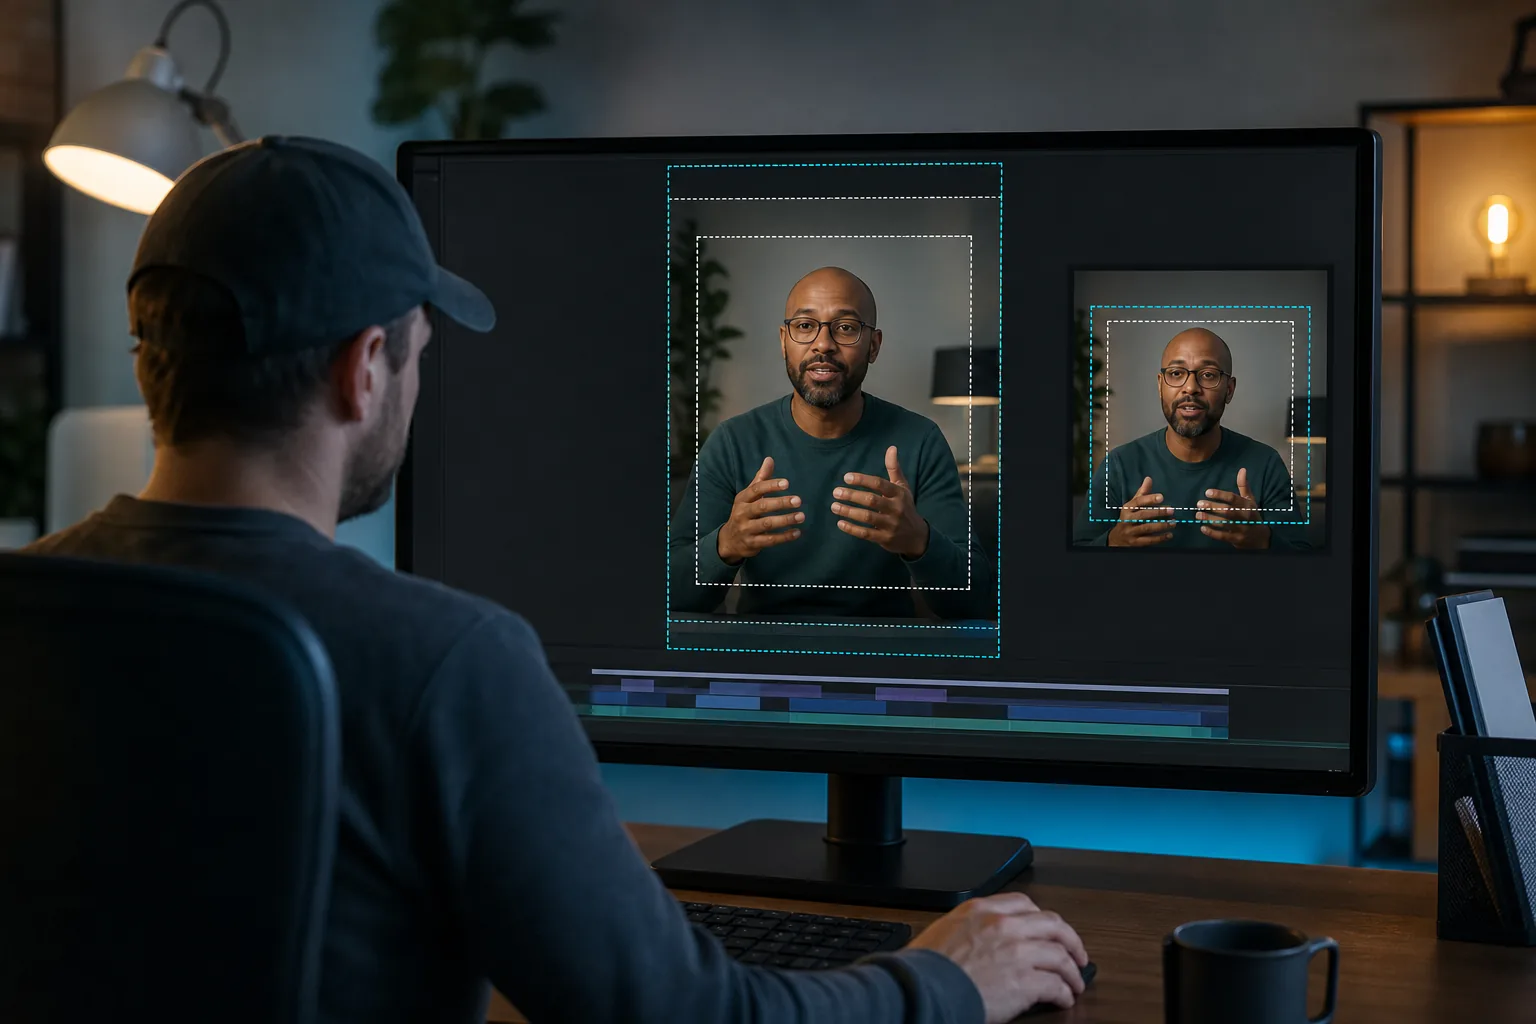
Did your Reel look sharp in the editor, then turn soft or awkwardly cropped after upload? The right Instagram Reel dimensions give you a solid start: use a 9:16 frame at 1080 × 1920 pixels, then check how it looks in each Instagram view.
We analyzed 40 YouTube comments about Instagram Reel Dimensions and found that 42% mentioned side cropping and safe zone inconsistencies.
Instagram Reel Dimensions and Aspect Ratios
For a full-screen Reel, set the frame to 1080 pixels wide by 1920 pixels tall. That’s a 9:16 aspect ratio, the tall format that fills a phone screen. Keep this as your main export size for short vertical clips.
Resolution and aspect ratio describe different things. Resolution is the number of pixels in the frame. Aspect ratio describes the frame’s shape. A 1080 × 1920 video has a 9:16 shape, while a 1080 × 1350 video has a 4:5 shape.
Instagram can show a Reel in more than one place, and those views may crop the full vertical frame. The Reels player shows the full 9:16 video. A feed preview may show a 4:5 crop, while a profile preview may use a square crop. Think of the full-frame file as the source, not a guarantee that every preview will show every edge.
The official Instagram site is the place to view the platform itself, but use the preview in the app to check how your own upload is framed. For a deeper look at when a vertical crop works, see our Instagram Reels aspect ratio and cropping guide.
| Use | Aspect ratio | Example size | What to expect |
|---|---|---|---|
| Full-screen Reel | 9:16 | 1080 × 1920 px | Fills the vertical player |
| Portrait feed post | 4:5 | 1080 × 1350 px | A shorter vertical frame for feed content |
| Square post or carousel | 1:1 | 1080 × 1080 px | Square format, not full-screen vertical |
| Landscape post | 1.91:1 | Wide frame | Useful when the wide shot itself is important |
Use 9:16 when the clip is meant to feel native in the Reels player. A 4:5 or square version can suit a separate feed post, but it won’t fill the screen like a vertical Reel. Avoid stretching a wide interview video to fill the tall frame. It can distort faces. Crop and reposition the shot instead.
Safe Zones, Feed Crops, and Reel Cover Dimensions
A safe zone is the part of the frame where key words and faces are less likely to be covered by Instagram’s controls or lost in a crop. Keep the speaker’s face and the main point near the center. Leave breathing room around the edges.
The Reels player may place buttons and account details over the video. A feed preview can trim the top and bottom compared with the full 9:16 view. The profile preview can crop more of the frame into a square. So a caption that sits comfortably in the full video may end up under an interface element or outside the profile crop.
For spoken clips, place captions around the middle or lower-middle area, rather than close to the bottom edge. Keep the speaker’s eyes and any title text away from the far right, where controls may appear. Don’t put a key word at the very top or bottom. These are working rules, not fixed pixel margins, because the display can vary by view and device.
Use a 1080 × 1920 vertical image as the starting canvas for a Reel cover. Keep the title or face near the center so it still reads in a square profile preview. Check the cover in the app before posting. If the crop cuts a word or a face, move the important content inward or choose another frame.
Our Instagram Reels safe-zone guide explains how to think about placement for captions and titles. That check matters for interview clips, sermons, and webinars, where a speaker may move or lean toward the edge during the original recording.
Before you export a batch, test one clip in all three views. The full player, feed crop, and profile cover each reveal a different framing issue. A few seconds spent on that check can save you from reworking every clip later.
Export Settings: Format, Frame Rate, and Bitrate
Use MP4 with H.264 video as a straightforward export choice. Set the frame to 1080 × 1920 and keep the frame rate consistent with your footage. For a typical talking-head clip, 30 frames per second is a sensible target.
A 60 fps source can make fast movement look smoother before upload. But Instagram may process video for playback at a lower frame rate. If the source is a calm podcast, sermon, or interview, exporting at 30 fps avoids extra data without adding a clear benefit for most viewers. Keep 60 fps when the movement itself matters, then check the result after upload.
Bitrate affects how much video data the export carries each second. Too low, and fine detail may look blocky before Instagram processes it. Very high settings can make a large file without preventing the platform from compressing it. A working range of 5 to 10 Mbps is a reasonable place to test for a 1080 × 1920 clip, but treat it as an export starting point, not a guarantee of how Instagram will encode the finished Reel.
File size depends on both bitrate and duration. A longer clip at the same bitrate will make a larger file. Don’t judge quality by file size alone. Instead, watch the exported file at full size, then compare it with the uploaded version. This helps you see whether the softness started in the export or appeared after upload.
Instagram’s upload process can change the final video through server-side compression. Exporting at 4K won’t bypass that processing. Start with a clean 1080 × 1920 source and avoid repeated exports, since each new compression pass can reduce detail.
Also check the high-quality upload setting in Instagram before posting. The setting can affect the upload path, but a strong export still matters. Use a stable connection when you upload, then wait for processing to finish before judging the result.
For color, use a consistent standard color profile across your edit and export. If a video looks washed out on a phone but correct on your computer, review the project’s color and gamma settings before adding extra sharpening. Sharpening can make edges look harsher; it can’t restore detail that the source footage never captured.
Set a Vertical Canvas in Video Editing Software or DaVinci Resolve
Set the sequence or timeline before you start framing clips. That gives you a 9:16 canvas to work in and makes it easier to spot crops while you edit, rather than after export.
General video editing software
- Create a sequence with a frame size of 1080 pixels wide by 1920 pixels tall.
- Set the frame rate to match your source footage, or choose 30 fps for a typical spoken clip.
- Add the landscape recording, then adjust its scale and position so the speaker stays in frame.
- Review the full clip. Reposition the shot when the speaker moves, and keep captions inside the central safe area.
- Export as MP4 with H.264 selected. Confirm the output frame is still 1080 × 1920.
DaVinci Resolve
- Open the timeline settings and turn off the option that locks the timeline to the project settings, if needed.
- Set the timeline resolution to 1080 × 1920. Choose a frame rate that matches the project and your source.
- Add the source video. Use the inspector to shift the image left or right until the speaker is centered.
- Check the scaling choice. A full-frame crop fills the vertical frame but cuts off the sides; a fit setting can leave blank space.
- On the Deliver page, set MP4 and H.264, then confirm the vertical resolution before rendering.
If the original recording is 16:9, the side crop is part of making it fit a 9:16 frame. For an interview with two people, the crop may favor one speaker at a time. You can reframe between moments, or use a background fill when keeping the full wide shot matters more than filling every pixel.
The software controls can shift between versions, but the main checks stay the same: vertical timeline, deliberate subject framing, and vertical output. The Instagram Reels editing workflow can help when you’re also handling captions and the final review.
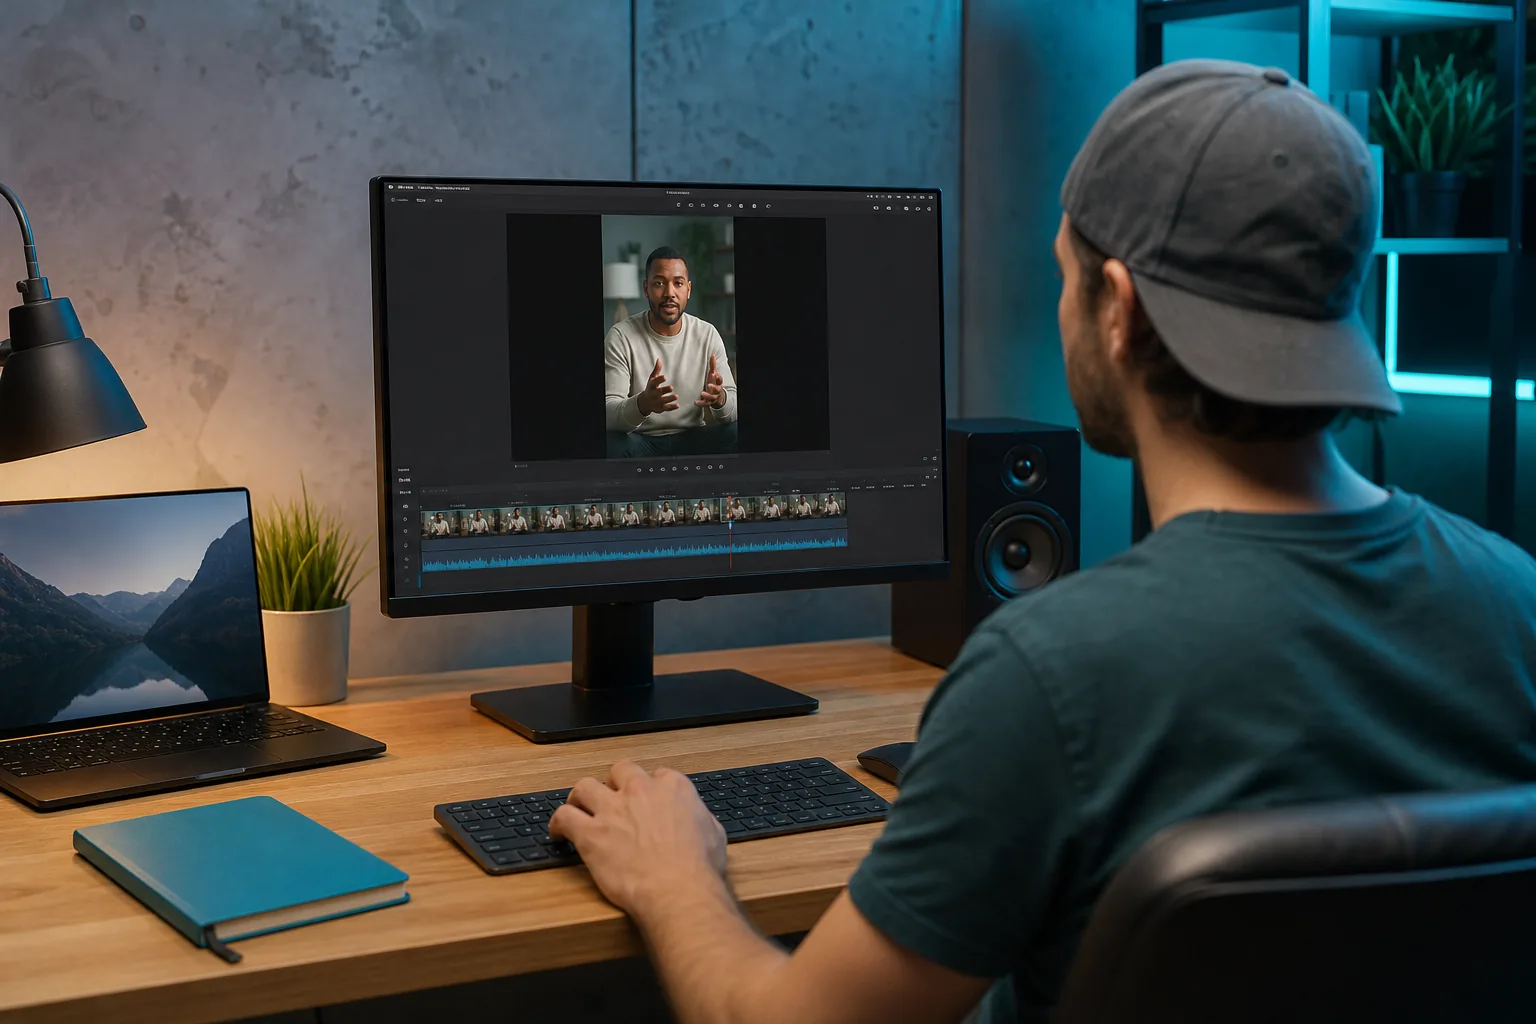
If editing every source clip takes time you’d rather spend recording, PenguinClip turns long-form videos into captioned 9:16 clips and delivers them weekly. You can focus on choosing what to publish while our team handles the clipping and formatting.
Prevent Fuzzy Reels and Apply the Specs to Weekly Content
When a Reel looks fuzzy, don’t change every setting at once. Check the source first. A low-resolution recording or a speaker far from the camera can look soft even before editing. If the original is sharp, check the timeline size, export resolution, and bitrate next.
- Soft before upload: Review the original footage and make sure the export is 1080 × 1920.
- Soft after upload: Check the high-quality upload setting and the connection used for posting.
- Blurry after repeated edits: Return to the clean source file and export again, rather than compressing an already compressed clip.
- Washed-out color: Review the color profile and gamma settings before changing sharpness.
For weekly content, make a short export checklist and use it on every batch. Confirm the vertical frame first. Then check that faces and text sit inside the safe area. Watch one exported clip on a phone before uploading the rest.
This is especially useful when one recording needs to become several short clips. A podcast episode may have a two-person discussion, while a course lesson may show slides beside a speaker. Each source needs its own crop decision. Don’t assume one framing choice will suit every moment in the recording.
After the first upload, review the Reel in the player and in the profile grid. If the caption sits too low or the cover title gets clipped, adjust the template for the next batch. Keep the source video unchanged so you can make a fresh export without losing quality.
PenguinClip is built for creators who want that weekly handoff handled. Our team selects moments from long-form video, adds captions, and delivers ready-to-post vertical clips. Each clip also receives a viral score to help you decide what to post first. You still choose what fits your voice and audience.
Frequently Asked Questions
What are the dimensions for an Instagram Reel?
Use 1080 × 1920 pixels for a full-screen Instagram Reel. That size has a 9:16 aspect ratio, which matches a vertical phone screen. Keep important text and faces near the center because feed and profile previews may crop the full frame. Check the cover and feed preview in the app before you publish.
Is 1080 × 1920 the same as 9:16?
Yes. A 1080 × 1920 frame has a 9:16 aspect ratio because its width and height follow that proportion. The pixel size tells you the frame’s resolution, while 9:16 tells you its shape. You can use other pixel sizes with the same ratio, but 1080 × 1920 is a common full-height export size.
What frame rate should I use for Instagram Reels?
For most talking-head Reels, export at 30 frames per second. It’s a sensible choice for podcasts, interviews, and sermons. A 60 fps source can suit fast motion, but the platform may process video for playback at a lower frame rate. Use the higher rate only when it helps the footage itself.
Why does my Reel look blurry after uploading?
A Reel can look blurry because the source was soft, the export used a low bitrate, or Instagram compressed the upload. Check the local export first. Confirm it is 1080 × 1920, then review Instagram’s high-quality upload setting and your connection. If the local file looks good, compare again after the upload finishes processing.
What size should an Instagram Reel cover be?
Start with a 1080 × 1920 vertical cover so it matches the full Reel frame. Keep the title or main subject near the center, since the profile preview can crop it into a square. Check the cover in the app before posting and move any text that gets cut off in the preview.
Conclusion
Set your main Reel export to 1080 × 1920 in 9:16, then review the cover and safe areas before posting. If weekly clipping is taking time away from recording, PenguinClip can handle the editing and delivery. Start with one video and check the finished clips on your phone before you publish.