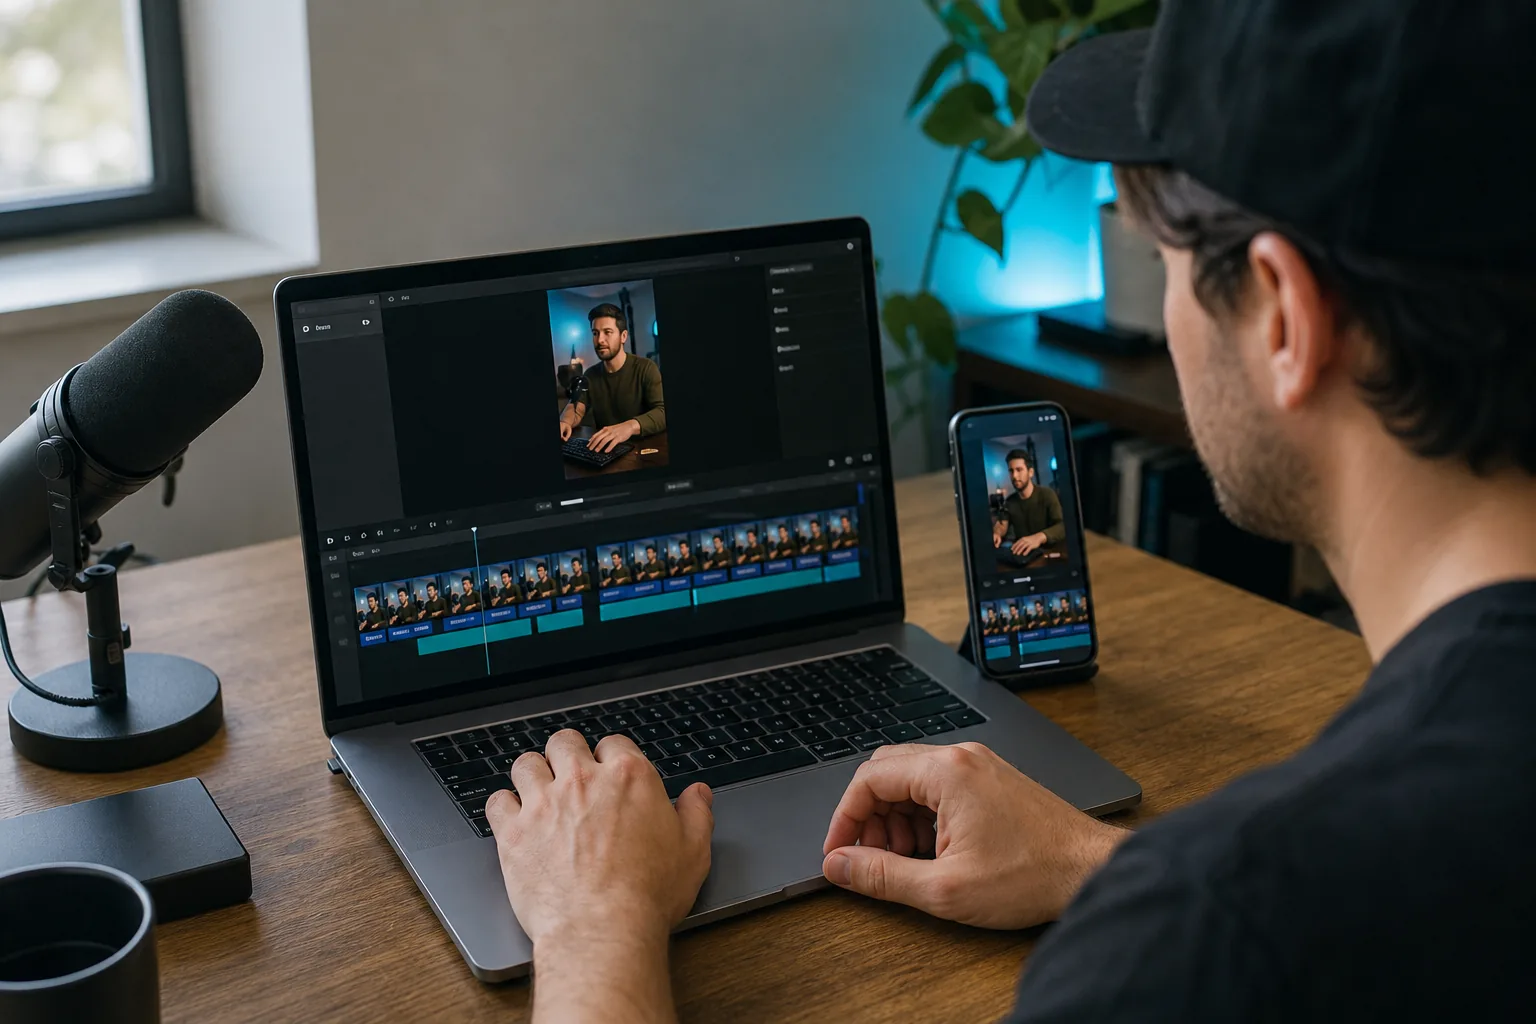
Editing a Reel can feel fiddly when you’re working on a small screen. This step-by-step walkthrough shows how to edit Instagram Reels, polish a clip, and check it before sharing. If you spend more time talking than trimming, PenguinClip can handle weekly clipping for you while you focus on your next podcast, sermon, or video.
We analyzed 48 comments and questions from Reddit, YouTube and Quora about editing Instagram REELS and found that 25% mentioned affordable editing apps.
Step 1: Open the Reels Editor and Add Your Footage
Start by choosing the source for your Reel. You can record a new clip in Instagram or bring in video you’ve already filmed. For a podcast interview, webinar, sermon, or YouTube video, you’ll usually want to select a short passage from the longer recording first.
Start a Reel in Instagram
Open Instagram and tap the button for a new post. Choose Reel from the creation options. Depending on your app version, you may also reach the Reels camera by swiping into the camera view and selecting Reel. App layouts can change, so look for the Reel label if your screen differs.
To record inside the app, tap the record button to start, then tap it again to stop. If you need both hands free, set a countdown timer before recording. Check the framing before you begin: leave a little room around your face, and avoid placing key details at the very top or bottom.
Instagram’s official app is the place to record, choose audio, and prepare a Reel for sharing. If you’re recording a talking-head clip, put the camera at eye level and keep your main point close to the start. A clear opening makes the edit easier because you won’t need a long title card to explain the topic.
Add video from your camera roll
For existing footage, tap the gallery or camera-roll button, then select the clips you want to use. If you’re cutting a moment from a long interview, first find a complete thought: a question with an answer, one useful teaching point, or a short story with a natural ending. Avoid choosing a sentence that only makes sense after several minutes of context.
Before you add the footage, check that the speaker is visible in a vertical crop. A wide podcast recording may show two people side by side. If a vertical frame would hide one speaker, choose a moment where one person is talking or plan a closer crop that keeps the active speaker in view.
Pick the simplest starting point. A single clip is easier to shape than a string of unrelated shots, and it gives you room to add a cutaway only when the idea needs one. You can always return to the gallery and add more footage later.
Keep a source note
When you’re working from a long recording, jot down the episode name and the topic of the moment you chose. A short note helps you find the original later if you want a different cut, and it keeps several draft Reels from blurring together.
For a weekly show, save potential moments while reviewing the recording rather than trying to remember them at edit time. You might note a time stamp, the opening line, or the question that led into the answer. That small habit cuts down on backtracking when you make a batch.
By now, you should have: a new recording or a selected source clip, plus a clear idea of what the Reel is about.
Step 2: Trim, Split, and Rearrange Clips
The goal here is to make one idea easy to follow. Don’t start by chasing a perfect pace. First, make sure the clip begins where the useful thought starts and ends after the thought lands.
Trim the start and end
Open the clip controls or timeline and drag the start handle forward to remove setup that doesn’t help the viewer. Move the end handle back if the clip keeps going after the point is clear. Keep enough lead-in for the first line to make sense, especially when the speaker says “that” or “they” before naming the subject.
Play the trimmed clip from the beginning. If it starts mid-word, cuts off a breath that makes the speaker sound natural, or leaves out a needed detail, adjust the edge. A clean cut doesn’t mean removing every pause. A brief beat can help an important line feel less rushed.
Split clips when the thought changes
Use a split when you want to remove a pause from the middle or break one long recording into separate moments. Place the playhead at the point where the cut should happen, then use the split or trim control. Select the unwanted piece and remove it. Watch the join right away, because a cut can make the speaker’s words sound abrupt.
For a conversation, listen for changes in meaning as well as changes in sound. Don’t cut away a guest’s question if the answer depends on it. For a sermon or lesson, keep the short phrase that names the subject before the main teaching point. The viewer should be able to understand the idea without knowing the full recording.
Whatever editor you use, review the cut on a phone-sized preview. Tiny timeline gaps can be hard to hear while you’re zoomed in on a desktop.
Rearrange only when the order still makes sense
You can move clips around in the timeline, but a stronger hook shouldn’t come at the cost of a confusing story. If you move an answer ahead of its question, add a short text cue or choose a different opening. Don’t stitch together lines from separate parts of a talk if the new order changes what the speaker meant.
Simple cuts are often enough. A whip pan or match cut can help connect shots when the visual change supports the idea, but an effect can’t fix a weak sequence. Keep transitions plain unless the content gives you a reason to make them more noticeable.
When the edit feels close, play it once without touching the controls. Listen for clipped words, repeated phrases, or a sudden jump in room sound. Then watch the last few seconds again. That’s where an otherwise good clip can feel unfinished.
By now, you should have: a focused cut with a clear opening and a natural ending. Next, add only the overlays that make it easier to follow.
Step 3: Add Text, Captions, Audio, and Effects
Text and sound should help the viewer follow the clip, not compete with the speaker. Add the words viewers need, then check how the whole frame looks on a phone.
Add text with a job to do
Use a short text overlay to name the subject, introduce a guest, or call out one key phrase. Keep the wording brief. If the spoken opening already gives enough context, you may not need a separate title at all.
Place the text where it won’t cover a face or important action. Keep it away from the top and bottom edges, where Instagram controls or captions may sit. The Instagram Reels safe-zone guide explains how to check placement for captions and other overlays.
Use a strong contrast between the text and the background. If a caption sits over a busy shot, a solid or shaded backing can make it easier to read. Preview the overlay while the video moves. Text that looks clear on a still frame can disappear when the background changes.
Generate captions, then proofread them
Instagram can generate closed captions for spoken audio. In the editor, look for the captions sticker or caption option, then let the app transcribe the clip. Review every line before posting. Auto-captions can mishear names, specialist words, or a phrase spoken quickly.
Check the timing as well as the spelling. A word that appears too early can distract from the speaker. Keep each caption group short enough to read while the person is talking. If your clip has a guest’s name or a specific term, compare it with your notes or the original recording.
Watch once with sound on and once with sound off. With sound on, make sure the captions match the speech. With sound off, check that the main point still comes through. For more detailed caption steps and readability checks, use this guide to adding captions to Instagram Reels.
Choose audio and effects with care
If you add music, keep the speaker’s voice clear. Lower the music until it supports the clip rather than covering words. For an interview or sermon, speech is usually the main event, so listen through the mix on your phone before you share.
Filters can adjust the look of a shot, while effects can add movement or a visual layer. Try one change at a time. If a filter makes skin tones look unnatural or an effect pulls attention away from the point, remove it. Exposure tweaks can help a dark face read more clearly, but don’t brighten the whole image until details look washed out.
Instagram’s templates can be useful when you want to follow an existing timing pattern. Treat a template as a starting frame, not a rule. Make sure the clip still opens with context and that the text fits your actual point. If the template forces a cut in the wrong place, use a basic edit instead.
Make the clip accessible
Captions are a strong first step, but they aren’t the only check. Use readable text with clear contrast. Don’t rely on color alone to show a change or tell viewers what matters. If the clip depends on a visual detail that speech doesn’t describe, add a brief spoken cue or a concise text note.
Keep the screen calm. A speaker with captions, animated stickers, a large title, and music all competing at once is hard to follow. Remove anything that doesn’t help the viewer understand the message.

By now, you should have: readable captions, a text overlay that stays clear of the app controls, and audio that keeps speech easy to hear.
Step 4: Decide Whether to Edit in Instagram, Edits, or Another App
Choose the editor that fits the job. For a short recording with a few cuts, Instagram may be enough. If you need to manage several versions or work through a longer timeline, another editor may give you a more comfortable workspace.
Use Instagram for a quick edit
The in-app editor keeps recording, text, captions, audio, and sharing in one place. That’s handy when you’re making a straightforward Reel and want to post it without moving files between apps. It also makes it easy to preview your work in the same setting where people will watch it.
It can feel less comfortable when you’re trying to make lots of precise changes on a small screen. If you keep zooming in and out to trim a word or move several clips, pause and decide whether the job would be easier on a larger display. The best tool is the one that lets you make the cut accurately without turning a small edit into a long task.
Try Edits when you want a separate project space
The Edits app has project areas for saved ideas and edits, plus a place to browse inspiration and templates. Its project workflow can help if you want to duplicate a draft and test a different hook or effect without rebuilding the first version. That’s useful when you’re comparing two openings for the same clip.
Edits also has a camera and analytics area. Recording options can depend on your device, so check what your phone supports before planning a high-resolution shoot. A feature appearing in an app doesn’t mean every device can record or export at the same settings.
Templates can speed up a recurring format, such as a weekly question-and-answer clip. Save the template only if it still gives each episode room to make its own point. For a speaker-led clip, the first spoken line should remain easy to hear and understand.
Use a desktop editor for batch work
A desktop editor can make it easier to scan a long timeline, keep source files organized, and apply the same workflow to several clips. If you’re editing a batch, create a separate project or sequence for each idea. Label each version with the topic so you don’t export the wrong cut later.
Keyboard shortcuts can reduce repeated mouse work, but you don’t need extra hardware to edit well. Start with shortcuts for play, pause, undo, and splitting. Learn one at a time, then keep the ones you use often. A comfortable keyboard and mouse may be all the setup you need.
Know when DIY editing stops making sense
DIY gives you direct control. It also means you own each task: finding the moment, trimming it, checking captions, exporting, and keeping the files sorted. If you enjoy that work or have a few clips to prepare, keep the workflow simple and do it yourself.
If weekly edits keep pushing aside your next episode or client work, a done-for-you workflow may fit better. PenguinClip takes long-form videos from podcasts, webinars, courses, sermons, or YouTube and turns them into vertical clips with captions, titles, and viral scores. The team delivers the clips each week to your chosen cloud storage. You keep creating; the editing work is handled for you.
That choice isn’t about which app is best in general. It’s about whether the edit needs your hands, and what you need to do with the time you’d otherwise spend on it.
Step 5: Check Quality Settings, Export, and Share Your Reel
Before you share, check the file as a viewer would see it. A clean timeline can still produce a poor-looking upload if the crop, captions, or audio don’t hold up on a phone.
Check the frame and resolution
For a full-screen vertical Reel, use a 9:16 frame. A common export size is 1080 by 1920 pixels. If you’re editing in another app, check the project canvas as well as the export dimensions. Changing only the file size won’t fix a crop that cuts off a face.
Look at the subject throughout the whole clip, not just on the first frame. A person may lean toward the edge or gesture out of view. If the source is a wide interview, make sure the crop follows the person who is speaking or choose a moment where the framing stays clear.
Export a file you can review
If your editor provides a choice, MP4 with H.264 is a common export option for a vertical social video. Avoid stretching a low-resolution source to fill a larger frame. That can make faces or small caption letters look soft.
Watch the exported file before you upload it. Check the first line, the last word, and any section with fast speech. Listen for uneven volume. A caption error that’s easy to miss on the edit screen can stand out once the finished clip plays at full size.
If you’ve made several Reels from one recording, give each file a useful name based on the episode or topic. Keep the finished export separate from the source footage. That way, when you open your folder to post, you can tell which clip is ready without reopening every project.
Turn on Instagram’s highest-quality upload setting
In Instagram’s settings, look for the option to upload at the highest quality and turn it on. The precise menu path can change with app updates. Once it’s enabled, upload a short test clip if you’re unsure how your export will look after processing.
Use a steady connection when you upload, and wait for the post to finish processing before judging the result. Then watch the Reel in the app. Check that the captions remain sharp and that the image still looks well framed. If the uploaded version differs from your export, review the export settings before changing the edit itself.
Finish the post details
Choose a cover frame that gives a clear idea of the clip. If you add a custom cover, preview how it appears in the profile grid as well as the Reel. Keep the key words and the speaker’s face in view. A cover should match the clip, not promise a different topic.
Write a short caption that gives viewers useful context. Add tags or a prompt only when they fit the post. Before tapping Share, confirm the correct account and review the opening once more. If you’re not ready to publish, save a draft or a copy of the finished file so your work doesn’t depend on one app screen.
By now, you should have: a vertical export that you’ve watched on a phone, plus a cover and post caption that match the clip.
Step 6: Review Results and Build a Repeatable Weekly Workflow
A good edit is one you can repeat without rethinking every choice. Once a Reel is live, review how it performed and use that information to guide the next batch. Don’t treat one post as a verdict on your whole format.
Look for useful signals
Open Instagram’s insights for the Reel and review the measures available to your account. Pay attention to whether viewers keep watching, where they drop off if that information is shown, and which posts lead to comments or saves. Compare clips with similar topics and lengths so you’re not drawing a big conclusion from unlike posts.
If one clip holds attention better, look at the edit itself. Did it start with a direct question? Was the answer clear without a long setup? Did the captions make the key point easier to follow? Treat these as things to test, not proof that one effect caused a result.
Edits also includes an analytics area, as described in the app workflow. You can use it to check content performance where available, but don’t assume that editing in one app automatically improves reach. The message, opening, and fit for your audience still matter. Use the tool that helps you review the work you actually need to make.
Test one edit choice at a time
When you adjust your workflow, change one thing in the next batch. Try a shorter opening on one clip, then compare it with a similar clip that keeps more context. Or keep the cut the same and test a different caption size. If you change the hook, music, framing, and length together, it’s harder to tell which change helped.
Save a note beside each post with its topic and the edit choice you tested. A simple record can show patterns over several weeks. You don’t need a complex spreadsheet. A short list of clip names and observations is enough to guide the next edit.
Set up a weekly routine
Choose a day to review a long-form recording for social clips and mark moments worth clipping. Then make the edits in one sitting if that fits your schedule. Keep a checklist nearby so each clip gets the same final review.
- Confirm the clip makes sense on its own.
- Check the start, end, and speaker framing.
- Proofread captions and review text placement.
- Listen to the exported file on a phone.
- Save the final file with a clear name.
After posting, note what you want to repeat or change. Keep a copy of the project or exported video in a folder for that episode. This makes it easier to find a clip again if you want to repost it elsewhere or create a fresh version.
Hand off the repeat work when needed
Some creators want to choose every cut themselves. Others would rather spend that time recording, coaching, teaching, or planning the next episode. If the weekly edit has become a task you keep postponing, PenguinClip offers done-for-you weekly clipping for long-form content. Its team selects moments, edits and scores clips, then delivers ready-to-post files to your cloud storage.
That can give a podcast or webinar team a steady set of vertical clips without asking the host to learn another editing workflow. You still decide what to publish. The handoff takes care of the recurring clipping work.
To keep the process manageable, choose one next action: tighten your first cut, proofread captions more carefully, or set a weekly editing block. Make that change on your next Reel and see whether it fits your routine.
Frequently Asked Questions
Can I edit a Reel after I post it?
You can change some post details after sharing, but you can’t replace the video edit in the published Reel. If you spot a cut, caption, or audio issue in the video itself, fix the source edit and publish a corrected version. Save the final export before posting so you can make that change without rebuilding the whole clip.
How do I add captions to an Instagram Reel?
You can add captions with Instagram’s captions sticker or use a video editor that generates subtitles. After the tool transcribes the speech, proofread every line and check its timing. Auto-captions can mishear names and subject terms. Preview the text on a phone and move it away from faces and app controls.
What size should an Instagram Reel be?
A full-screen Reel uses a vertical 9:16 frame, commonly exported at 1080 by 1920 pixels. Check the crop as well as the file dimensions, especially if you’re using footage recorded in a wide format. Keep faces and key text visible throughout the clip, then inspect the export on a phone before uploading.
Can I edit Instagram Reels on a computer?
Yes. You can edit the video in a desktop editor, export the finished vertical file, then upload it to Instagram from a supported device or workflow. A computer can make it easier to scan a long timeline or work through multiple clips. Check the final file on a phone to catch framing or caption issues.
Should I edit Reels in Instagram or Edits?
Use Instagram for a quick edit that needs basic cuts, text, captions, or audio. Try Edits if you want a separate place to manage projects, duplicate versions, or browse templates. Your best choice depends on the edit and device you have. Either way, review the export before you post.
Conclusion
Keep the edit focused: start with one complete idea, trim with care, then check captions and framing on your phone. Try the workflow on a clip from your next recording. If weekly clipping keeps taking time away from the work you want to do, explore PenguinClip’s done-for-you service and see whether a hands-off routine fits.