You don’t need to film a new video every day to stay active on social media. Your podcast, sermon, webinar, or YouTube recording can supply strong short clips when you choose each moment with care. Use this weekly process to turn long-form content into clear, ready-to-post videos without losing the point of the original.
Step 1: Set a Goal and Choose the Audience for Each Video
To make social media videos from a long recording, decide what each clip should do before you cut it. One clip might answer a common question. Another might invite people to watch a full interview, join a class, or learn about your service.
Pick one audience for each clip. A podcast episode with a coach may speak to new clients, while the same interview could also have a useful moment for other coaches. Don’t try to speak to both groups in one short video. The point gets fuzzy fast.
Write a one-line brief before you review the footage:
- Audience: Who needs this message?
- Goal: What should they know or do after watching?
- Payoff: What useful answer or insight will the clip give?
For example, a course creator might want a clip that answers, “How do I know if this course is right for me?” The video should start with a clear question or claim, give one helpful answer, then point viewers to the course page if that fits the goal.
Use the audience’s words when you can. Pull a question from comments, student emails, or the questions asked during a webinar. That gives the clip a clear starting point and helps you avoid vague openers like “Today I want to talk about…”
A written goal also helps you judge a clip later. If the aim is to get viewers to watch the full interview, views alone won’t tell the whole story. You’ll want to check profile visits or clicks too. A comparison of video repurposing services can help when you’re deciding who should handle the weekly work.
Step 2: Choose Strong Moments From Recordings You Already Have
The best source for a short social video is often a moment that already stands on its own. Look for a useful answer, a strong opinion, a clear story, or a change in the conversation. A clip doesn’t need a flashy edit to hold attention. It needs a point a viewer can grasp without watching the full episode first.
Start with the transcript if one is available. Search for repeated questions, phrases that signal a shift, or moments where the speaker gives a direct answer. Then watch the full passage, including the few seconds before and after it. A sentence that looks strong on paper may depend on context that the short clip won’t have.
As you review, check for a simple shape: an opening that names the topic, a few lines that explain it, and a finish that lands the thought. The opening can be a spoken question or a short on-screen line. Keep the payoff close. If a speaker takes a minute to reach the point, trim the lead-in while keeping the meaning intact.
For interviews and sermons, listen for a thought that can be understood on its own. If the speaker says, “That’s why this matters,” but the reason came earlier, the cut may confuse new viewers. Add a short context line when needed, or choose another moment. Don’t splice separate ideas together just to make a punchier clip.
Think about the visual too. A fixed camera shot can work well when the speaker’s face is clear and the delivery has energy. If the recording includes relevant supporting footage, use it only when it helps explain the point. Random cutaways can distract from a thoughtful answer.
An aspect ratio describes the relationship between a frame’s width and height. That matters during selection because a speaker near the edge of a wide frame may be hard to fit into a vertical crop. Check the source framing before you approve a batch.
Keep a simple shortlist with the timecode and the reason each moment may work. That makes the next review faster and gives an editor clear context, rather than a vague request to “find something good.”
Step 3: Create a Simple Weekly Brief and Decide Who Will Produce the Videos
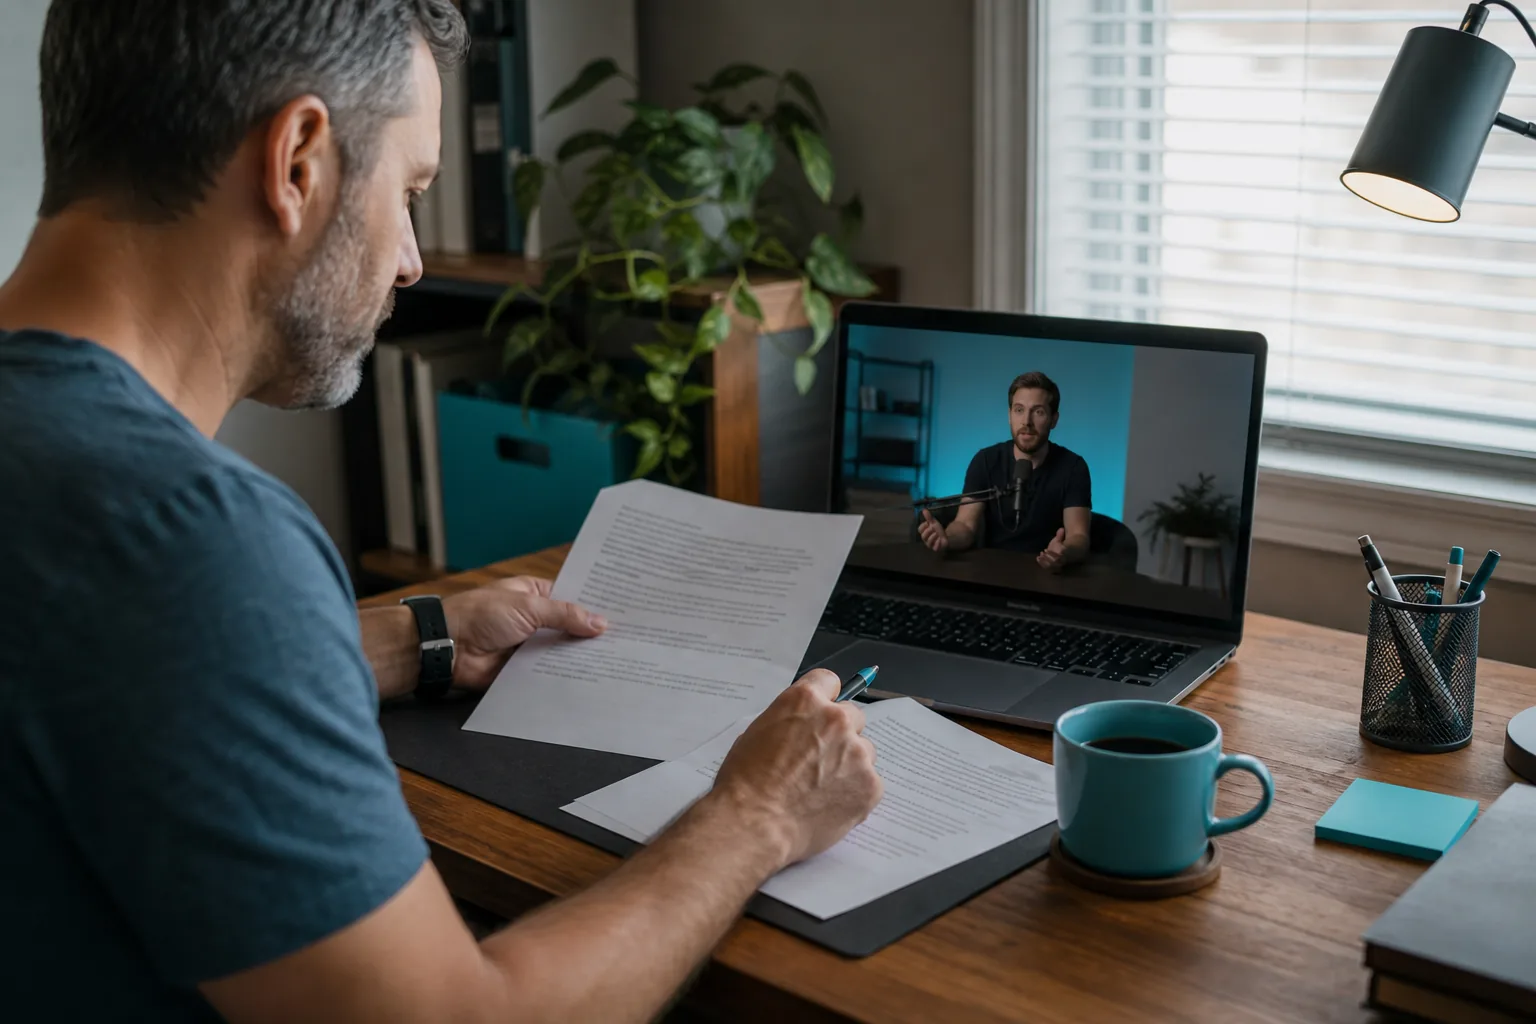
A weekly brief keeps each batch tied to your goals. It also makes the handoff easier if you edit the videos yourself, work with a team member, or use a done-for-you service.
For each selected moment, note the source file and timecode. Add the intended audience, the clip’s goal, and any context an editor needs to keep the speaker’s meaning clear. If you have a call to action, write the exact next step. A brief can be short; it just needs to answer the questions that would otherwise lead to extra messages.
- Which recording should the editor use?
- Which moments should they review first?
- What words, names, or terms need careful caption checks?
- Which social channels will use the clips?
- When do you need the finished files?
Then decide who will do the work. Self-editing gives you direct control, but it takes time each week to review footage, trim clips, check captions, and export files. An in-house editor may know your voice well, though the work still needs a clear place in their schedule. A service can take on the repeat tasks so you can focus on recording and your audience.
Don’t assume a higher price means a smoother process. Available service details show that TastyEdits lists its VOMA order-management platform and animated captions, while Motionvillee lists a starting price of $5,000 without those features stated. That doesn’t prove one provider is better; it shows why you should ask what the workflow includes. Ask who selects the moments, how caption edits work, and how often you’ll receive files.
PenguinClip is a done-for-you option for podcasts, webinars, courses, sermons, and YouTube recordings. Our team selects highlights, edits and scores clips, then sends ready-to-post files to your cloud storage each week. You keep making the long-form content; our team handles the recurring editing work.
If you’re weighing a service against a hire, this comparison of a video clipping service and hiring an editor can help you map the handoff to your team’s time and needs.
Step 4: Review Each Video for Vertical Format, Captions, and Brand Fit
A finished social clip needs to fit the feed where you’ll post it. For vertical placements, review the video in a 9:16 frame. Check that the speaker’s face stays in view and that any on-screen text doesn’t sit too close to the edges. A wide source recording may need a tighter crop or a layout that leaves room for captions.
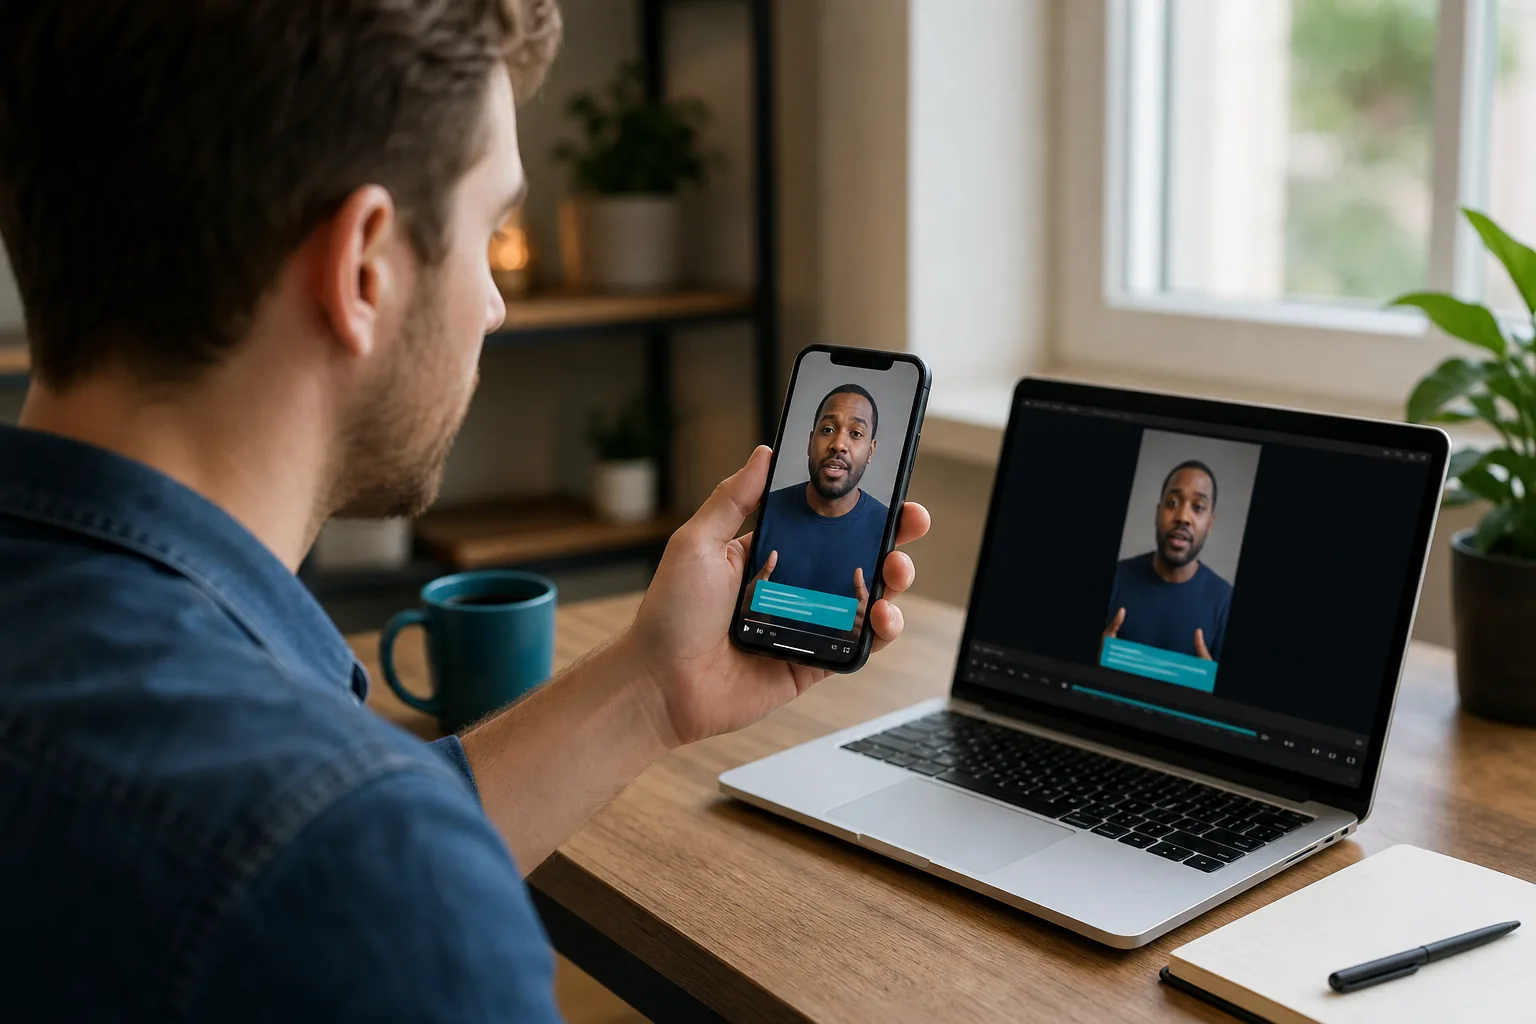
Watch the whole clip on a phone-sized screen before you approve it. Make sure the first seconds explain what the video is about. Check that the speaker doesn’t get cropped when they move, and that captions remain easy to read against the image. If the crop cuts off a hand gesture or a second person, adjust the frame or choose a different moment.
Captions matter for people who watch with sound off, and they support viewers who are deaf or hard of hearing. Captions provide text versions of speech and other relevant audio. Review automatic captions for names, specialist terms, and words that sound alike. One wrong word can change the meaning of a sermon or lesson.
On-screen text should support the spoken point, not repeat every word in a second style. Use it to name the topic, call out a key phrase, or make the opening clear. Keep the color contrast strong enough to read, even when the video appears over a bright or busy background.
Next, check the brand fit. Does the clip sound like you? Are the captions styled in a way your viewers will recognize? Is the call to action appropriate for this particular video? A clip can look polished and still feel wrong if its wording promises more than the long-form conversation delivers.
Keep editing simple. Trim long pauses, remove a stumble if it doesn’t alter the speaker’s meaning, and use a transition only when it helps the viewer follow a change. Filters and overlays are optional. For interview clips, a clean crop and accurate captions usually do more than a pile of effects.
If you record future episodes with short clips in mind, make the speaker’s face easy to see and the audio clear. Put the main light in front of the speaker, not behind them. Keep the microphone close enough for clear speech. These small choices make it easier to crop and caption the footage later.
Step 5: Publish Consistently and Use Results to Improve the Next Batch
A weekly workflow needs a publishing plan, not just a folder of finished clips. Pick a pace you can keep. You might post a few clips across the week or publish one at a time between long-form releases. The right rhythm depends on your team and audience, so choose a schedule you can maintain instead of chasing a rigid daily target.
Before posting, adapt the clip to the channel. Use a caption that gives viewers a reason to watch, and write a short description that fits the platform. A single source recording can support several versions, but don’t assume the same opening line or call to action will work everywhere. Give each post the context it needs.
Set a simple tracking habit. Record the date, platform, topic, and goal for each post. After it has had time to reach viewers, check the measures that match the goal. For a reach goal, look at views and watch time. For conversation, review comments and shares. For a site visit goal, check link clicks or profile actions if the platform provides them.
Don’t judge a clip by one number. A high view count may not help if the audience leaves before the key point. A clip with fewer views may still bring thoughtful comments or clicks from the people you want to reach. Compare similar posts on the same platform, then look for a pattern in topics, openings, or clip length.
Use what you learn to shape the next batch. If viewers leave before the answer, tighten the opening. If a particular question leads to useful comments, find another moment that addresses the same need. If a clip gets clicks but few completed views, make sure the promise in the post matches what the video delivers.
Keep the work in one weekly cycle: plan the goal, review source recordings, prepare the brief, check the finished clips, then publish and learn. PenguinClip sends edited, captioned vertical clips to customers’ cloud storage each week, which can remove the editing handoff from that cycle. The audience insight and publishing choices still belong to you.
For teams choosing an outside editor, compare the handoff and delivery cadence, not just the sample clips. Some services describe frequent updates, while others focus on monthly delivery. Pick a rhythm that matches when your recordings are ready and when you need content in hand.
FAQ
How do I make social media videos from a podcast?
Start by choosing one clear moment from the episode that makes sense without the full conversation. Write down its timecode and the point it makes, then edit it into a vertical clip with accurate captions. Add a short opening that tells viewers what they’ll get. Check the crop and sound before posting, especially if more than one person is on camera.
How long should a social media video be?
Make the video only as long as it needs to deliver one useful point. A short clip may need just a few sentences, while a teaching moment may need more time to explain the answer. Cut pauses and repeated setup, but don’t remove context that changes the meaning. Check the current format rules for each platform before publishing.
Do social media videos need captions?
Yes, captions make speech easier to follow when viewers watch without sound, and they help people who are deaf or hard of hearing. Check auto-generated text before you post. Names, sermon terms, course language, and technical phrases are easy to mishear. Use clear contrast and keep captions in a safe area so platform controls don’t cover them.
Can I use the same video on every social platform?
You can reuse the same core moment, but review its crop, caption, and call to action for each channel. A vertical version may fit one feed while another needs different framing or post text. Make sure the first line makes sense to people who haven’t seen the full recording. Then track results by platform rather than treating every post as the same test.
How can I make clips from long videos every week?
Set a weekly time to choose source moments and write a repeatable brief, then reserve time for review and publishing. If editing keeps pushing other work aside, consider handing off the recurring clipping and captioning. PenguinClip handles that work for long-form recordings and delivers ready-to-post files weekly, so you can spend more time creating the source content.
Conclusion
Start with one recording and one audience. Choose a moment that makes sense on its own, then check the crop, captions, and goal before it goes live. If you want to compare ways to hand off the recurring work, explore our guide to done-for-you clipping services for YouTubers and podcasters. Then pick a weekly schedule you can keep.