That text clipped off the edge of a Reel usually isn’t an editing mystery. It’s a frame-size mismatch or a safe-zone issue. The standard Instagram Reels aspect ratio is 9:16 at 1080 × 1920 pixels, though a 4:5 canvas can suit some interview clips.
We analyzed 25 comments from YouTube and Reddit about Instagram reels aspect ratios and found that 28% mentioned cropping and border issues.
The Recommended Instagram Reels Aspect Ratio and Dimensions
For a full-screen vertical Reel, use a 9:16 frame at 1080 pixels wide by 1920 pixels tall. That size fills a phone screen without adding borders when the video is viewed vertically. Buffer lists 9:16 as the Reel format, and VistaSocial also gives 1080 × 1920 as the full-height size.
There’s a second option worth knowing about. VistaSocial lists 4:5 video at 1080 × 1350 pixels. That shape is still vertical, but it’s less tall than 9:16. It can work when the original interview footage is already portrait-shaped or when you want a tighter image area around a speaker. Treat it as an alternate canvas, not a promise that every placement will show the same crop.
For most podcast, sermon, and coaching clips, start with 9:16. A two-person interview filmed side by side may need a tighter crop, a split layout, or the 4:5 option. Check that faces and key text remain visible before posting. If you’re turning a full episode into short clips, this workflow for making social videos from long-form content covers the larger repurposing task.
Resizing a wide video to a vertical frame doesn’t add detail to the source. It only changes which part of the picture fills the screen. If the speaker sits near the edge of the original shot, a simple center crop may cut them off.
One published sizing reference gives a 650 MB maximum file size. Treat that figure as a guide, not a guarantee of the current limit for every account or upload path. Instagram’s app may change its limits, so check the upload screen if a large file fails.
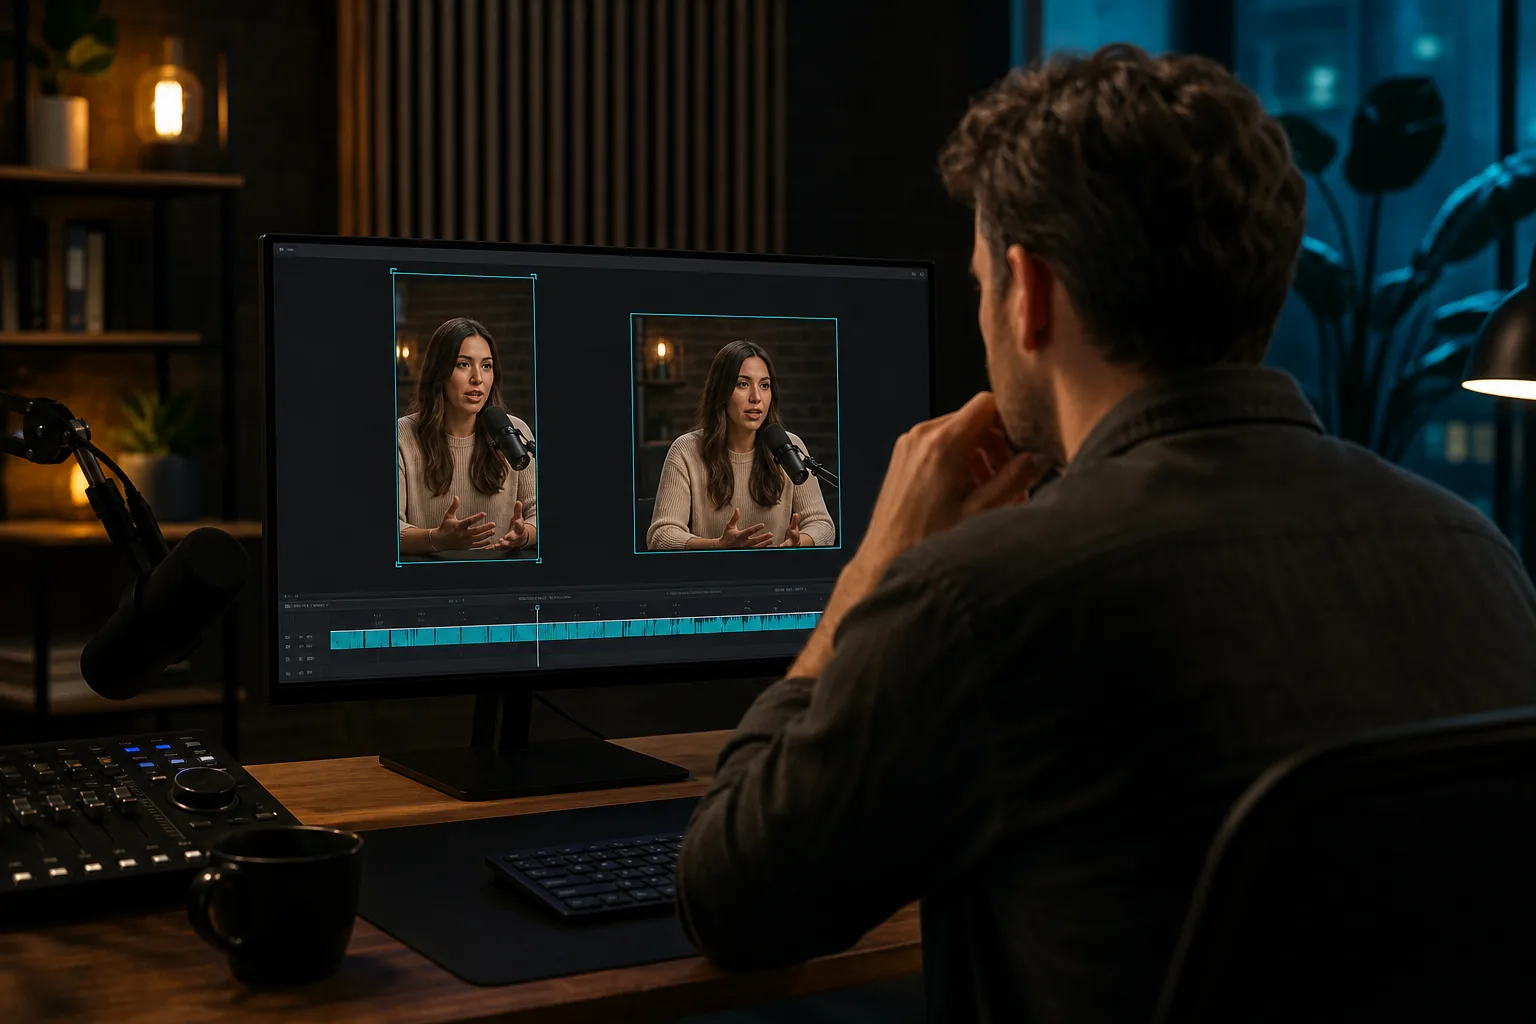
Aspect Ratio, Resolution, and Video Size: What Each Means
These terms describe different parts of a video file. Aspect ratio is the frame’s shape. Resolution is the number of pixels in that frame. File size is how much storage the exported video uses.
A 9:16 ratio means the frame is nine units tall for every sixteen units wide. At 1080 × 1920, the width is 1080 pixels and the height is 1920. A 4:5 frame at 1080 × 1350 is still portrait, but it has less height. Same width, different shape.
Resolution affects how much picture detail the file can hold. If the export is far smaller than the target dimensions, Instagram may enlarge it, which can make edges look soft. A larger number of pixels doesn’t always mean a better upload, though. The source footage, export settings, and platform processing all affect what viewers see.
File size depends on factors such as video length and compression. A longer clip or a less compressed export usually takes up more space. Don’t crank the quality setting just to make the file huge. Export a clean 1080 × 1920 file and watch it back before uploading, especially if the clip has small captions or detailed backgrounds.
VistaSocial’s sizing guide also gives a 4:5 canvas at the same 1080-pixel width. That gives interview editors another framing choice, but the difference is visible: a 4:5 crop may show less of a standing speaker’s body, while 9:16 has more vertical room for a full-height shot. Pick based on what the source image can support.
Export settings that keep the picture clean
Use an MP4 export when your editor gives you that choice. VistaSocial notes that Instagram accepts other formats, while MP4 is a consistent option after upload processing. Keep the frame at 1080 × 1920 for full-screen Reels. Avoid exporting a low-resolution clip and stretching it to fit.
Compression reduces file size by removing data. Too much can make fine details look blocky, or soften the edges of captions. If you need a smaller file, lower the export bitrate in small steps and check the result on a phone. Audio matters for interviews, too. Listen for clear speech after export, not only while editing.
The best test is simple: export a short sample, upload it as a draft, and review it on the device you use to post. That catches a bad crop before you prepare the rest of the episode.
How Reels Fit Different Instagram Placements
A Reel can appear in more than one place on Instagram, and each view can frame the video differently. In the Reels view, a 9:16 clip fills the vertical screen. In the profile grid, a preview may crop the full frame. So the part that looks fine in the editor can be cut off in the thumbnail.
Buffer lists Reel covers at 1080 × 1920 for the full vertical view. VistaSocial describes both a vertical cover and a square version in the profile grid. Buffer’s current sizing guide also notes that the profile grid shows Reel thumbnails in a 3:4 shape. These descriptions differ, which is a good reason to check the preview Instagram shows before you publish.
| Placement or use | Frame to plan for | What to check |
|---|---|---|
| Reels viewing screen | 9:16, 1080 × 1920 | Keep the speaker and key text within the full vertical frame. |
| Profile grid preview | May use a tighter crop | Check that the face and cover title stay centered. |
| Stories | 9:16, 1080 × 1920 | Leave room for interface elements at the top and bottom. |
| Feed preview | May show a partial frame | Make the opening image clear even if the full clip isn’t shown. |
Stories use the same full-height 9:16 size, so a vertical Reel can be reused there with less adjustment. A square or landscape clip may need a new crop or a background fill to avoid empty bars. For TikTok or YouTube Shorts, 9:16 is also a useful shared canvas, but each app has its own screen controls. Keep important words away from the edges in every version.
Aspect ratio itself isn’t a reliable shortcut to more reach. A suitable frame helps people see the clip as intended. Visibility also depends on whether the opening moment earns attention and whether the content fits the audience. Use the crop to protect the message, not as a claim about how Instagram ranks a post.
If you also publish short clips from YouTube interviews, the steps for making Shorts from YouTube videos can help you plan a vertical edit that travels across platforms.
Safe Zones, Captions, and Cropping for Reels
Instagram’s buttons and labels can cover parts of a Reel. Captions placed too close to the edge may also disappear in a cropped preview. VistaSocial gives these safe-area guides for vertical video: leave about 220 pixels at the top, 420 pixels at the bottom, and 35 pixels along each side.
Think of those margins as working guides, not fixed rules for every phone. Interface placement can shift with app versions and screen layouts. Keep faces, speaker names, captions, and calls to action near the center, then preview the draft in the app.
For a podcast clip, place the speaker’s name above or below the face without pushing it into the top or bottom controls. Keep captions high enough to avoid the lower interface, but not so high that they cover the speaker’s mouth. If a title overlay takes up several lines, test it on a small phone screen. Small type can be hard to read even when it isn’t cropped.
Fixing a crop after filming
- Check the source frame. Open the video in Instagram or your editor and see whether the subject fits a vertical crop.
- Set the canvas. Choose 9:16 for a full-screen Reel. In a typical editor, look for a canvas, ratio, or crop setting rather than only changing the export size.
- Reposition the shot. Drag or zoom the image so the speaker stays in frame. For a two-person conversation, check both faces as the video plays.
- Review captions and overlays. Move text away from the edges and from the app controls. Preview the cover crop as well.
- Export and inspect. Watch the finished file on a phone before posting. Check the first frame, captions, and audio.
Instagram’s in-app crop can be handy for a quick adjustment. An external editor gives you more control over moving the frame through a clip, especially if the speaker shifts around. App menus vary, so look for terms such as “Canvas,” “Crop,” or “Aspect ratio.”
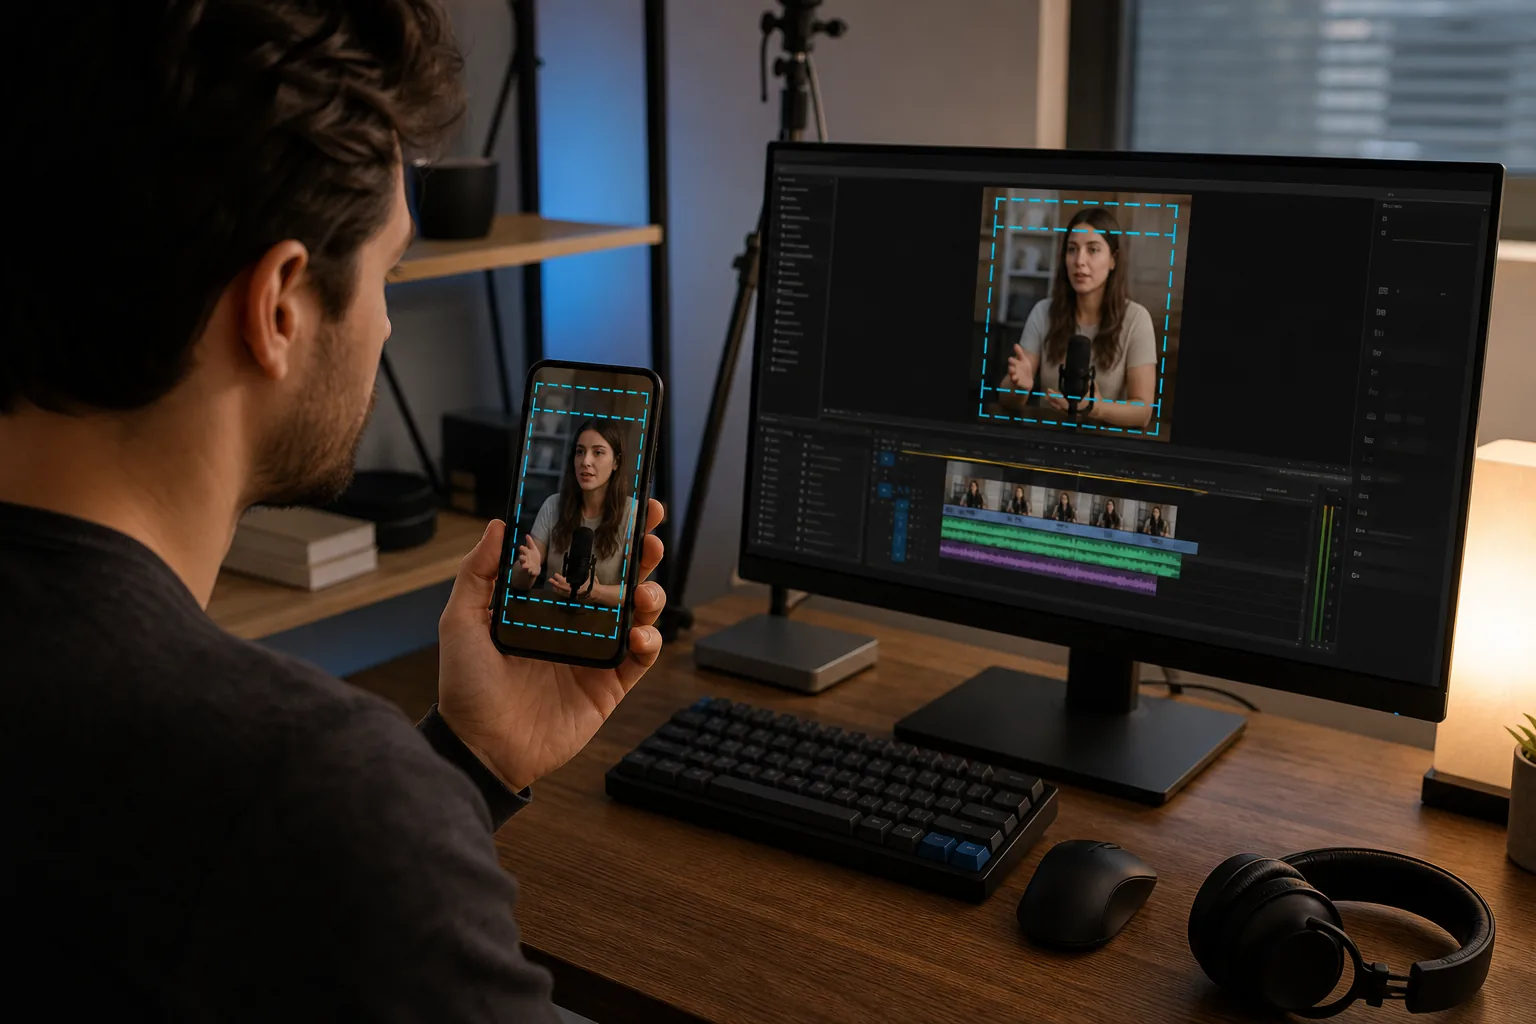
What the Reels Aspect Ratio Means for Repurposed Videos
Most long-form podcasts, webinars, sermons, and courses weren’t filmed for a phone screen. A horizontal video is often 16:9. Cropping it to 9:16 can cut away the second guest, a slide, or a hand gesture that carries the point. Don’t stretch the full wide image to fill the vertical canvas. That changes faces and still leaves a poor fit.
Start by asking what the clip needs the viewer to see. For a single speaker, keep the face in the middle and crop around it. For a two-person interview, a split-screen layout can keep both guests visible. If a slide carries the lesson, use a crop that shows the speaker and enough of the slide to make the point clear. A 4:5 frame may help with some portrait-source clips, but it won’t solve a wide shot that needs both people.
Also check the source resolution before you crop. A 1080-pixel-wide horizontal source gives you less room to make a vertical close-up without enlarging the image. If the speaker is already small in the frame, a heavy crop can look soft. When possible, use a close camera angle or a source recording with the subject framed near the center.
Then check what survives the crop. A useful short clip should make sense without the full episode around it. Keep enough of the question or setup to explain the answer. Captions can help viewers follow the discussion, but they shouldn’t cover a key visual or sit behind the app controls.
That framing work takes time when you have a new episode every week. PenguinClip turns long-form video into captioned vertical clips and delivers ready-to-post files weekly. Our team handles the clipping and formatting; you can stay focused on recording and publishing. The finished files use 9:16, with captions and title overlays included.
If your team needs help deciding what to hand off, this comparison of video repurposing services explains common service models for busy creators. PenguinClip is one option for a weekly clipping workflow, with files delivered to cloud storage.
For repeated work, make a simple review checklist: confirm the ratio, check that faces fit, move text into the safe area, and watch the exported file on a phone. That catches the usual issues before they become a batch of clips that all need fixing.
FAQ
What is the best aspect ratio for Instagram Reels?
Use 9:16 for a full-screen vertical Reel, usually at 1080 × 1920 pixels. A 4:5 canvas at 1080 × 1350 is another vertical option cited by VistaSocial. If you want one format that fits the Reels screen and works well for cross-posting, start with 9:16 and check the profile preview.
Can I post a 4:5 video as a Reel?
A 4:5 video can be used as a vertical Reel, though its display may vary by placement and app version. VistaSocial lists 1080 × 1350 as a 4:5 size. Preview the upload before posting, especially if the clip has text near the edges or a cover designed for the profile grid.
What size should an Instagram Reels cover be?
Make a full-height cover at 1080 × 1920 pixels, then check the crop shown on your profile. Instagram may show a tighter preview in the grid, so keep the face or main subject near the center. A cover title should be short enough to remain readable when the edges are trimmed.
How long can an Instagram Reel be, and how large can the file be?
Reel length and upload limits can change, so check the current Instagram composer for the cap on your account. One sizing reference gives a 650 MB maximum file size, but that figure should be treated as guidance rather than a guaranteed limit for every upload. If an upload fails, try a shorter or more compressed export.
Why does my Reel have black bars or look blurry?
Black bars often appear when a horizontal or square clip sits inside a vertical canvas without being cropped or filled. Blurry video can come from a low-resolution source, heavy compression, or enlarging a small image. Set the canvas before export, keep the subject in frame, and review the finished clip on a phone.
Conclusion
Use 9:16 at 1080 × 1920 for most Reels, then keep captions and key details inside the safe area. Before posting your next clip, check its crop in both the full-screen view and your profile preview. If you’re building a weekly workflow, PenguinClip can handle the clipping and delivery while you focus on the next recording.