You can line up Instagram Reels in the app and let them publish later, without adding another scheduler to your workflow. To schedule Instagram Reels, check your account first, then create the Reel, turn on scheduling, and choose when it should go live.
We analyzed 56 comments and questions from YouTube, Reddit and Quora about scheduling Instagram Reels and found that 27% mentioned the missing scheduling button.
Step 1: Check Your Account and Scheduling Access
Start by making sure your account can use scheduling. The available guidance points to public accounts and professional accounts, such as Creator or Business accounts, as the accounts with access. If your profile is private or the scheduling control is missing, check your account type and visibility before you spend time preparing a post.
Open Instagram and review your account settings. If you need to change your profile type, follow the choices shown in the app. Menu names can shift as Instagram updates its interface, so use the current prompts rather than relying on an old screen-by-screen tutorial.
Next, open the Reel creation flow and look for a scheduling option in the sharing settings. If you can see a control such as “Schedule this post,” you’re ready to continue. If not, confirm that you’re using the right account and that the app is up to date.
For a team that prefers planning on a computer, Meta Business Suite is another route to check. It’s Meta’s own workspace for managing Facebook and Instagram activity. Check whether any account connection is required before scheduling there. That setup is separate from scheduling in the Instagram app.
Keep the goal simple: use the native app for a single account and a straightforward queue. A separate tool isn’t required for basic scheduling.
Step 2: Open Create and Select Your Reel Video
Choose the clip you want to publish before you start the scheduling steps. Open Instagram, tap Create, and select the video you’re preparing as a Reel. You can use a finished clip from your phone or make the Reel in the app.
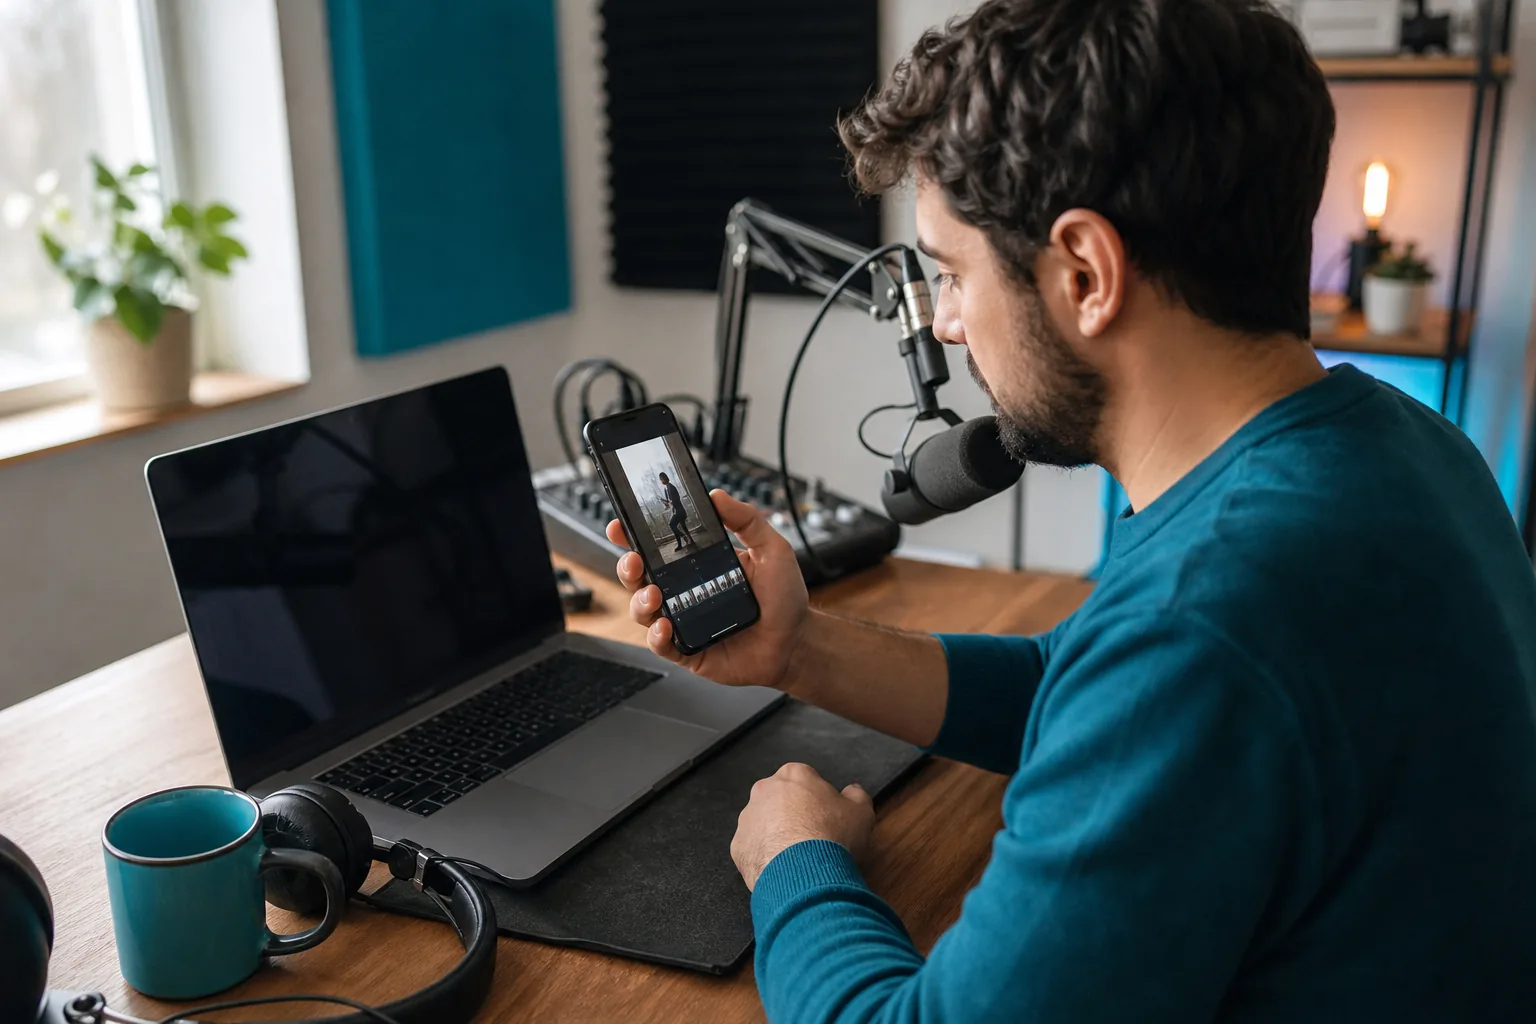
If you’re posting a podcast, interview, sermon, course lesson, or webinar excerpt, review the clip on a phone before uploading. Make sure the speaker stays in frame in vertical view. Listen for a clean start and finish, then check that any on-screen words are easy to read. A clip that looks fine on a laptop can feel cramped on a small screen.
For a deeper file check, use this Instagram Reels aspect ratio and cropping guide to review the vertical frame and keep the subject visible. Pay extra attention to two-person interviews. Both faces should stay in view as the video plays, not only in the opening frame.
Once you select the video, watch the preview from start to end. Check the first few seconds for a clear opening. Confirm that the audio plays as expected and that the image hasn’t been cropped in a way that cuts off a face or key detail. If you spot a problem, fix the file before you write the caption.
Scheduling won’t repair a weak or incomplete clip. It only sets a future publish time for the Reel you’ve prepared.
Step 3: Add a Caption and Review the Reel
Add your caption on the Reel sharing screen. Write it for someone who may see this clip without knowing the full episode or lesson. A short line of context can help: name the question being answered, the point being made, or the idea the clip is about.
Use hashtags only when they fit the topic. They shouldn’t replace a clear caption. If the clip comes from a long interview, for example, tell viewers what the guest is discussing instead of relying on tags to explain it. Read the caption once on your phone. Long blocks can be hard to scan.
Captions inside the video are different from the caption beneath the post. On-screen captions help people follow speech while watching. Review them for errors, then check where they sit over the video. Our guide to adding captions to Instagram Reels covers ways to add and check that text.
Now review the cover and the full preview. Check that the cover gives a fair idea of the clip. Look for typos in titles or overlays, and make sure important text isn’t hidden by Instagram’s controls. For a sermon or course excerpt, include enough context that the selected moment still makes sense on its own.
Creators who publish often can also make this review easier by preparing clips in batches. PenguinClip turns long-form recordings into captioned vertical clips and delivers ready-to-post files each week. You still choose the caption and publish time, but you don’t have to edit every excerpt yourself.
Take a final pause before moving on. The scheduled post should be the version you’d be comfortable publishing right now.
Step 4: Enable Scheduling and Choose a Date and Time
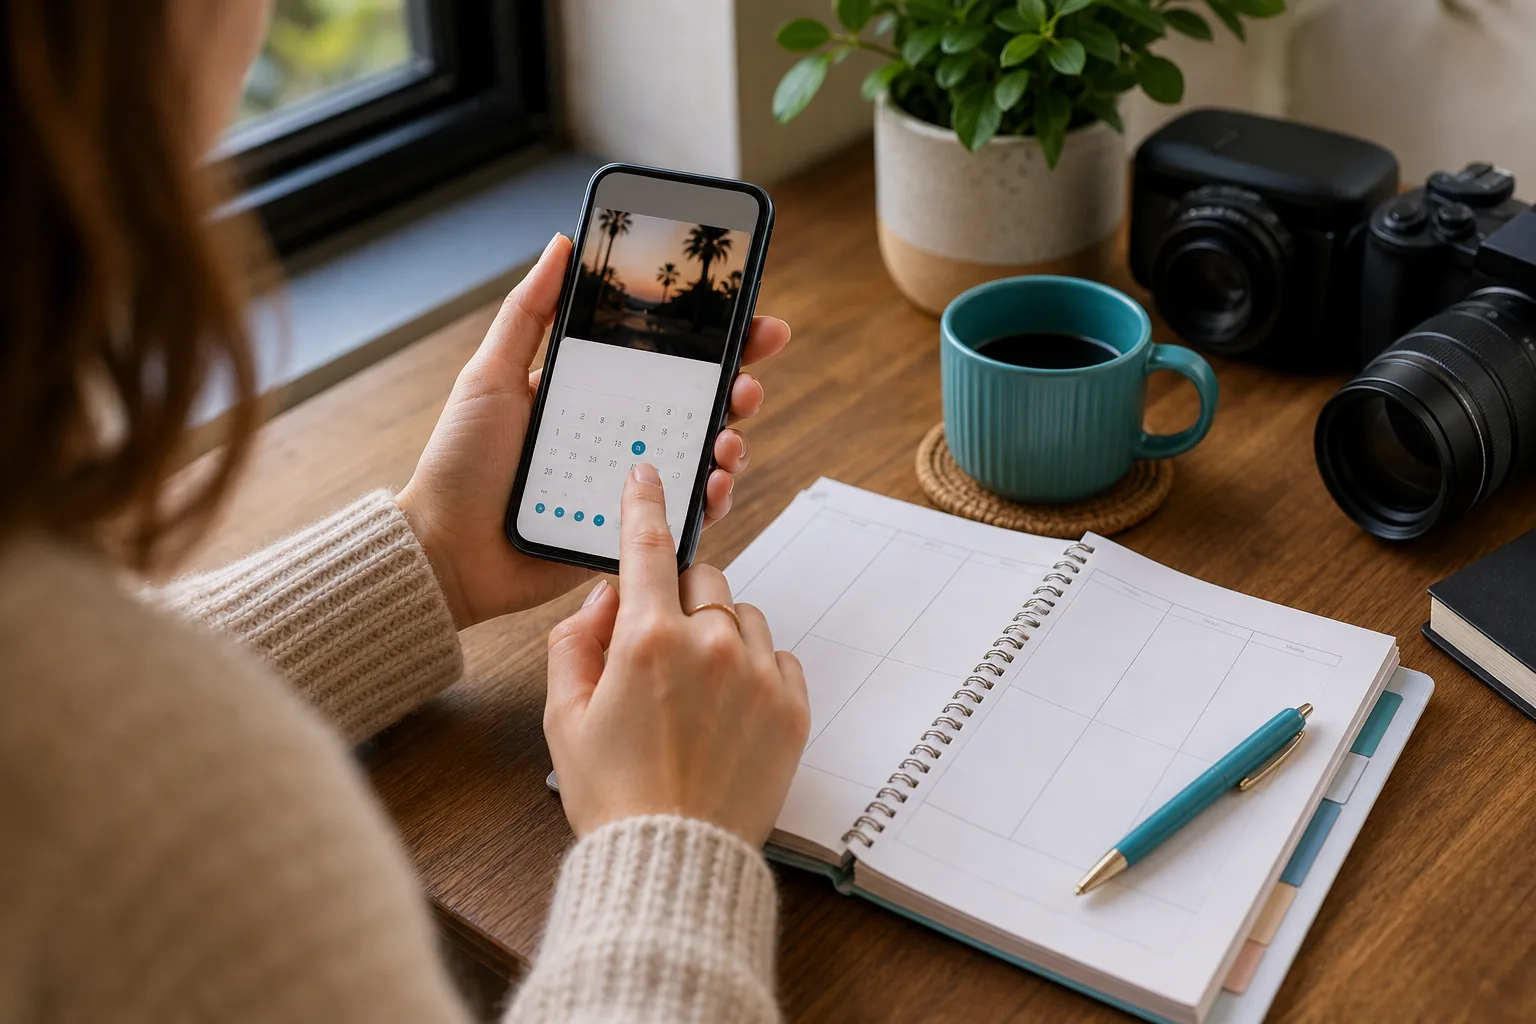
Turn on scheduling from the Reel’s sharing settings. Tap More options, find the “Schedule this post” control, and switch it on. Then choose the date and time you want the Reel to publish. Check both fields carefully before you confirm.
The exact location of the scheduling control can vary with app updates or device interface. If you don’t see it, go back to the account check in Step 1. Don’t assume you need to sign up for a separate scheduler before checking the native option.
Choose a time based on your own audience, not a universal “best time” claim. Use any available audience activity information as one input when choosing a test window. Pick a test window that fits your audience’s habits, then compare results across similar posts. There isn’t one posting hour that works for every podcast, coach, church, or course creator.
If you’re planning several posts, leave room to respond after each Reel goes live. Scheduling handles publication. It doesn’t answer comments or messages for you. A useful routine might include a quick check soon after the post appears, followed by another check later that day.
Teams already using Meta Business Suite can schedule there instead. Meta’s official Business Suite workspace gives teams a desktop place to manage Facebook and Instagram work. Use the workflow that fits your account setup; don’t schedule the same Reel twice in two different places.
Step 5: Confirm the Schedule and Plan Your Posting Routine
Tap Schedule to finalize the Reel. Before leaving the screen, make sure the date and time are the ones you intended. Then check the scheduled-content area in your account to confirm the post appears in the queue. If you use a team calendar, note the same publish time there.
Need to change a queued Reel? Open the scheduled-content controls in Instagram and select the post you want to manage. Review the options shown for that Reel. You may be able to edit its details or remove it from the queue before it publishes. If a control has moved, check Instagram’s current help guidance rather than relying on an outdated menu path.
Build a posting routine you can keep. Start with the clips you already have, then decide how many you can publish without rushing the review or neglecting audience replies. A weekly batch can help a podcaster turn one interview into several publishing choices. A coach might use one short lesson at a time, leaving space between related clips.
For long-form creators, the bottleneck is often getting clips ready, not tapping Schedule. PenguinClip handles weekly clipping, captioning, scoring, and delivery of ready-to-post vertical files. Its viral scores can help you decide which clips to consider first, while you remain in control of the final publishing calendar.
Keep a simple note of the date, subject, and result for each post. Look for patterns in your own account over time. If one time slot repeatedly gets stronger responses from your audience, test it again with another similar clip instead of changing several parts of your routine at once.
Instagram Reels and regular feed posts use different creative formats, but the scheduling idea is similar: prepare the post, choose a future time, and confirm it. A Reel needs a video preview and cover review. For other post types, check the preview and details that apply to that format.
FAQ: Scheduling Instagram Reels
Can I schedule Instagram Reels in the app?
Yes, Instagram’s app can schedule Reels when the account has access to the scheduling control. Prepare the video and caption, open the sharing options, turn on “Schedule this post,” then choose a date and time. If the setting isn’t available, make sure the account is public.
Do I need a third-party app to schedule a Reel?
No, you don’t need a third-party app for basic scheduling if the native scheduling option is available on your account. Instagram lets you set a future publish time in its own app. A separate tool may fit a team’s process, but first check whether the built-in option meets your needs.
Can I edit or delete an Instagram Reel after scheduling it?
You can manage a scheduled Reel before it publishes by opening the scheduled-content controls and selecting that post. Instagram shows the available actions for the item, which may include editing or removing it from the queue. Check the live app for the current menu and options, since its layout can change.
What’s a good time to schedule Instagram Reels?
There isn’t one best posting time for every account. Use available information about audience activity, if any, to choose a time worth testing. Keep the subject and format similar when comparing posts, and change one timing choice at a time. Scheduling gives you consistency; your account’s own response helps guide the next test.
Conclusion
Use Instagram’s native scheduler for a simple Reel queue, and check the account and preview before confirming each post. If editing clips from podcasts, sermons, or interviews keeps you from posting consistently, explore ways to make social videos from long-form content and plan your next batch.