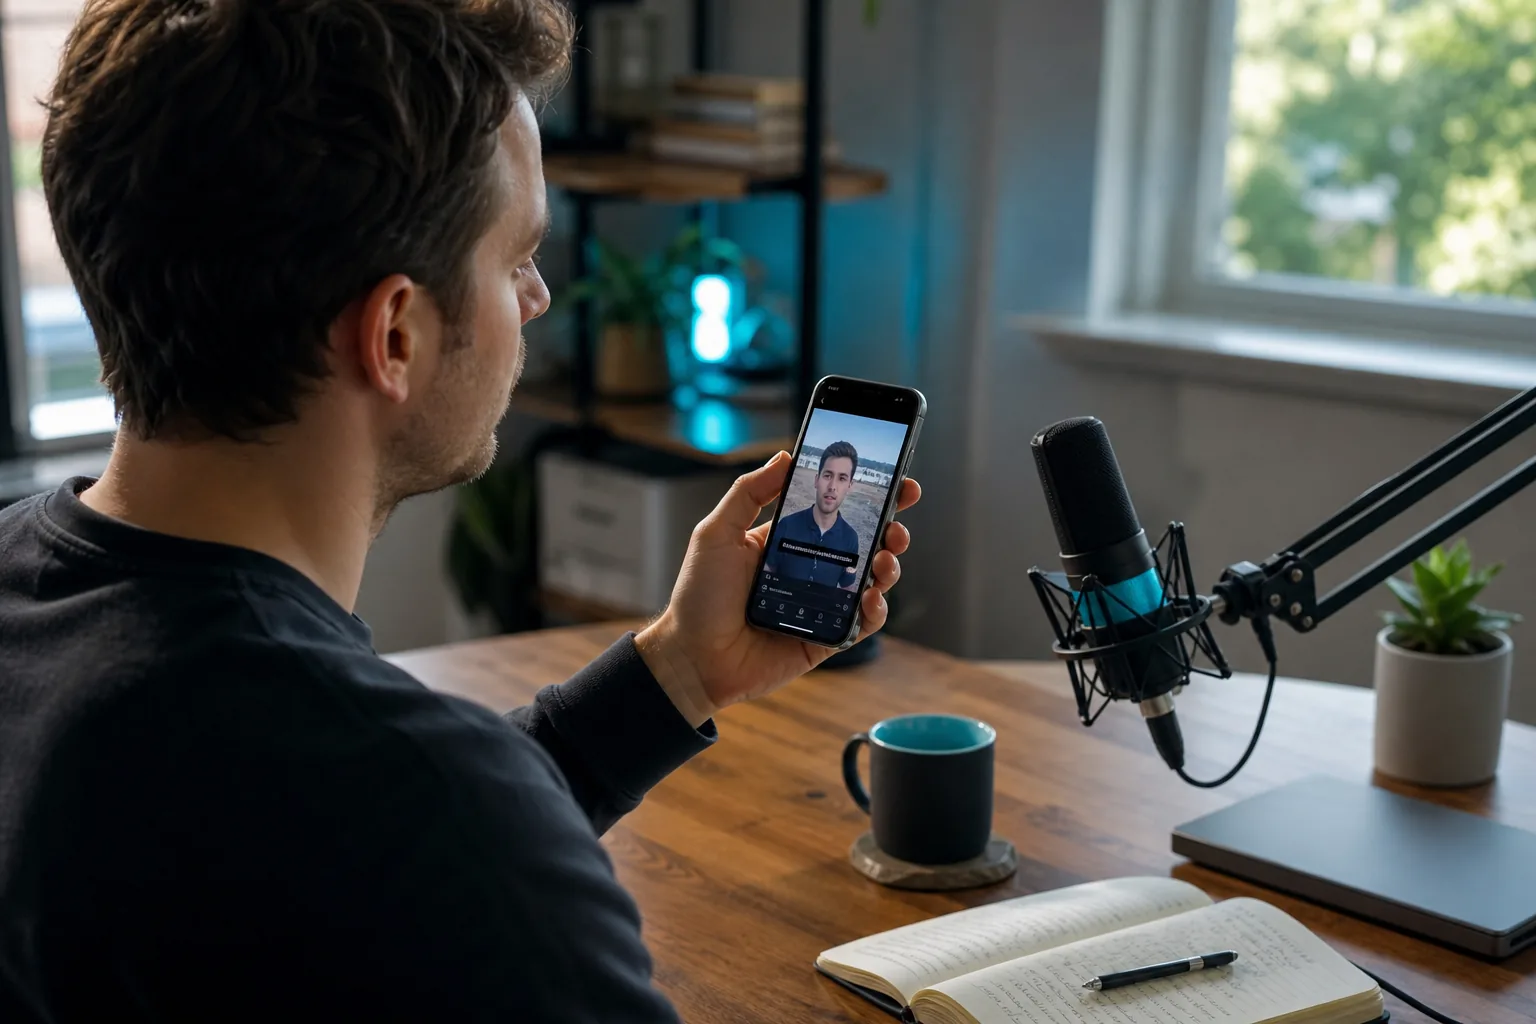
A Reel can look polished and still lose viewers when they can’t hear the audio. How to add captions to Instagram Reels depends on whether you want Instagram to transcribe the speech or prefer to prepare captions before posting.
We analyzed 43 comments from YouTube and Reddit about adding captions to Instagram reels and found that 28% mentioned caption editor usability issues.
Use Instagram’s built-in Captions sticker for a quick start. For more control, add text in a video editor and upload a version with captions already on screen. If you publish clips every week, a done-for-you service can take the editing work off your plate.
Step 1: Add Auto-Captions in the Instagram Reels Editor
Instagram’s built-in Captions sticker turns spoken words into on-screen text. Start here when you want a fast first draft and plan to check it before sharing.
- Open Instagram and start a Reel. Record a new video or choose one from your camera roll.
- Tap through to the editing screen. Look for the sticker icon, then choose Captions. The exact screen can shift as Instagram updates its app.
- Give Instagram a moment to process the speech. Preview the Reel and check that the words appear in time with the audio.
- Move the caption sticker to a spot where it won’t cover a face, key text, or an important part of the frame.
- Continue to the share screen when the first pass looks right. Choose a cover and add your post caption before publishing.
Check the Reel from another account or device if you’re unsure how it appears to viewers.
Before you add text, check the frame. A caption can sit neatly in the editor and still clash with Instagram’s buttons or account details once the Reel is live. This Instagram Reels size and safe-zone guide can help you plan where text belongs in a vertical video.
By now, you should have a Reel with a first caption pass and text placed where viewers can read it. Don’t publish yet. Auto-transcription is a draft, not a proofread.
Step 2: Review, Edit, Style, and Publish Your Captions
Auto-captions save typing, but they can mishear names, acronyms, and words spoken over music. Watch the Reel with sound on while you read every line. Fix the text before you judge the style.
Correct the transcript first
Listen for the words the software is most likely to miss: guest names, product names, place names, and terms from your field. For a podcast or sermon, check phrases that sound alike but mean different things. If a key word is wrong, edit it in the Reel editor when that option is available. If the editor makes careful changes hard, remove the generated text and add a corrected version through a video editor.
Then check timing. A line should appear as the speaker says it and disappear when the thought is done. If a caption flashes too quickly, split a long thought into shorter chunks or use a tool that lets you adjust timing. Readability beats squeezing every spoken word into one crowded screen.
Make the text easy to read
- Use a font size that stays legible on a small phone screen.
- Break a long sentence at a natural pause, rather than leaving one full-width block.
- Keep the text clear of faces and the controls near the edges of the Reel.
- Use a steady font and color style across a series, but keep contrast strong enough to read over changing backgrounds.
Text overlays can add context to short videos. Use that flexibility with care: decorative text should never make the spoken words harder to follow.
Once the words and placement look right, preview the Reel with sound off. That’s a useful check for a viewer watching in a quiet place. Then watch with sound on once more, because captions that read well can still drift out of sync.
Write the post caption for people, too. Name the topic in plain language and use a few relevant terms that match what the clip actually says. Captions on screen help viewers follow speech; the post caption gives context. Neither is a promise of better reach, so don’t force keywords into the text.
Ready to publish? Check the start and end of the Reel, where captions are easy to miss during a quick review. If a word is cut off or a line lands late, fix it before sharing.
Step 3: Add Captions Made with Third-Party Tools
A third-party editor makes sense when you want more control over the look, timing, or review process than the Instagram editor gives you. The key choice is whether captions remain an Instagram sticker or become part of the video itself.
| Caption route | What you do | Good fit when |
|---|---|---|
| Instagram Captions sticker | Generate text in the Reel editor, then review and place it. | You want a quick edit inside Instagram. |
| Burned-in captions | Add text in a video editor and export a new video with the words visible in the picture. | You want the same caption style wherever you post the file. |
| Subtitle file | Import a subtitle file into an editor that supports it, then check timing and export the video. | You already have a transcript or need to edit a separate subtitle track. |
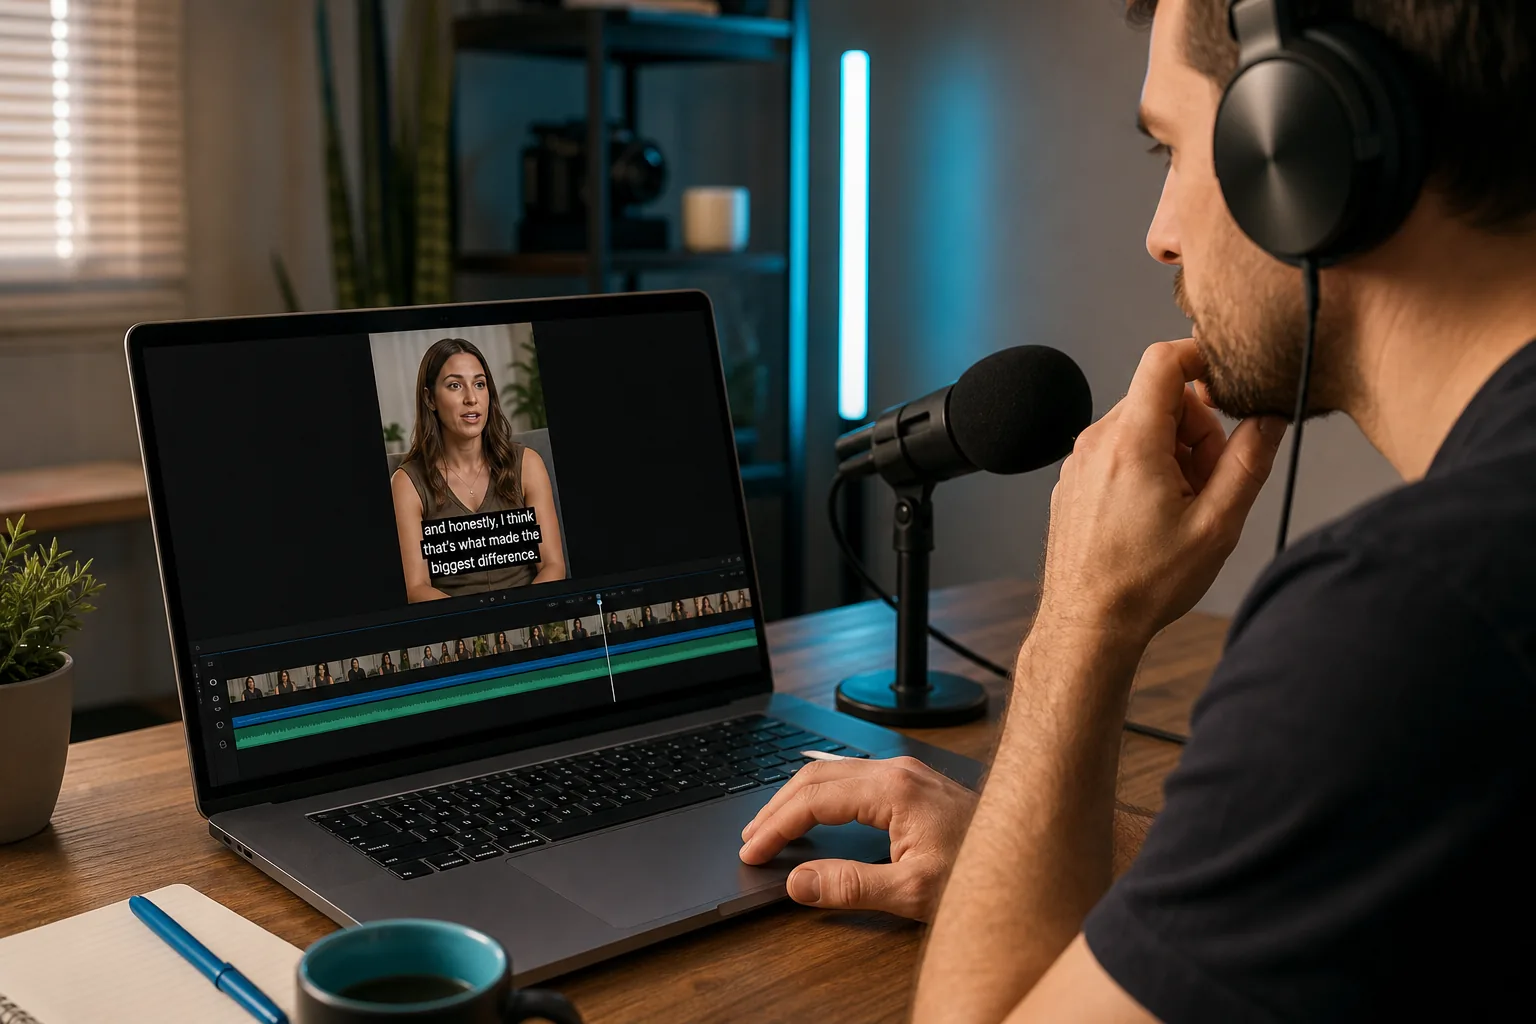
For a burned-in version, bring the video into your chosen editor, generate or import the transcript, then check each line against the audio. Keep the text away from screen edges. Export the finished vertical video and upload that file as a Reel. Because a subtitle file is separate from the video, don’t assume Instagram’s Reel editor will accept it as a track; render the captions into the video if you need them to show consistently.
Before exporting, watch the start, middle, and end. Check for skipped words and lines that are too long. A safe-zone preview can also help you spot captions that sit under on-screen controls. If you make several clips from one interview, save the style settings so each export starts from the same look; this consistency also helps in a broader podcast video editing workflow from source footage through captions and exports.
Some creators would rather not repeat this edit for every podcast episode, webinar, course, or YouTube recording. PenguinClip is a done-for-you option: our team selects moments, edits and captions vertical clips, then delivers ready-to-post files weekly. You keep making the long-form content; we handle the clipping work.
Choose the native sticker when speed and direct editing matter most. Choose burned-in captions when you need the finished file itself to carry the text. Either way, inspect the final upload on a phone before it goes live.
Step 4: Scale Captions, Reach More Viewers, and Fix Common Issues
One Reel is easy to review. A batch of weekly clips needs a repeatable check so errors don’t slip through. Make a short quality list and use it on every export.
- Wrong words: Replay the line and correct names or terms in the transcript. Don’t trust a guess when the audio is unclear.
- Late or early captions: Check the clip from its first spoken word. If timing keeps drifting, edit the transcript and timing in the video editor, then export again.
- Missing captions: Confirm the Captions sticker or rendered text is still present in the final preview. If a tool offers multiple export settings, check the saved video rather than relying on the editing screen.
- Text under buttons: Move the words toward the center and preview the Reel in the app. Keep enough space around each line.
- Hard-to-read text: Increase the size, use a clearer contrast, or shorten the line. Try it on a phone, not only on a large desktop screen.
If you need captions in another language, use a workflow that lets you check the translation before export. Review names and phrases with a fluent speaker when the exact meaning matters. A translated transcript can be grammatically smooth yet still change the point the speaker made.
For a batch, organize each source video with its transcript and final exports. Review one clip at a time, then mark it complete only after checking text and timing. This small handoff makes it easier to spot a missing caption file or a wrong version before posting several clips.
Creators with a steady long-form schedule can also hand off the repeated work. PenguinClip delivers captioned vertical clips weekly, with titles and viral scores included in its plans. If you’re weighing a broader repurposing workflow, our guide to making social media videos from long-form content covers how podcasts, webinars, sermons, and courses can feed a short-form schedule.
Don’t treat a viral score or a keyword as a substitute for review. A strong clip still needs accurate words and a clean final preview. The best caption workflow is the one your team can repeat without skipping that last check.
FAQ
Can I add captions to an Instagram Reel after posting?
You may be able to edit some Reel details after posting, but don’t count on being able to rebuild or restyle captions the way you can in a draft. If the on-screen text is wrong or missing, check the Reel’s edit options in your app. If they don’t let you fix it, prepare a corrected video and post that version.
Can I upload an SRT subtitle file to Instagram Reels?
Don’t assume the Reel editor will accept an SRT file as a separate subtitle track. A dependable route is to import the file into a video editor that supports subtitles, review its timing, then export a video with the captions visible. Preview that exported file in Instagram before sharing it with your audience.
Should I use Instagram auto-captions or burned-in subtitles?
Use Instagram’s auto-captions when you want to add and review text in the Reel editor. Use burned-in subtitles when you want the finished video file to show the same captions outside Instagram or across other platforms. Both need a careful transcript check, and burned-in text needs a safe placement in the frame.
How do I fix captions that are out of sync?
First, replay the section where the timing slips and check whether the transcript itself is correct. Adjust the caption timing in the editor, or remove the faulty captions and generate them again. Then watch the exported video from start to finish on a phone. If the mismatch remains, redo the export before publishing.
Can captions help my Reel reach more people?
Captions make spoken content easier to follow when someone can’t or doesn’t want to play audio. They can also help viewers understand a clip quickly. But captions alone don’t guarantee reach. Keep the text accurate, use relevant words naturally in the post caption, and make the opening of the video clear.
Conclusion
Use Instagram’s Captions sticker for a quick draft, then check every word and its placement before publishing. If weekly captioning keeps pulling you away from recording, explore PenguinClip’s done-for-you weekly clipping workflow, or use the long-form video guide above to plan your next batch.