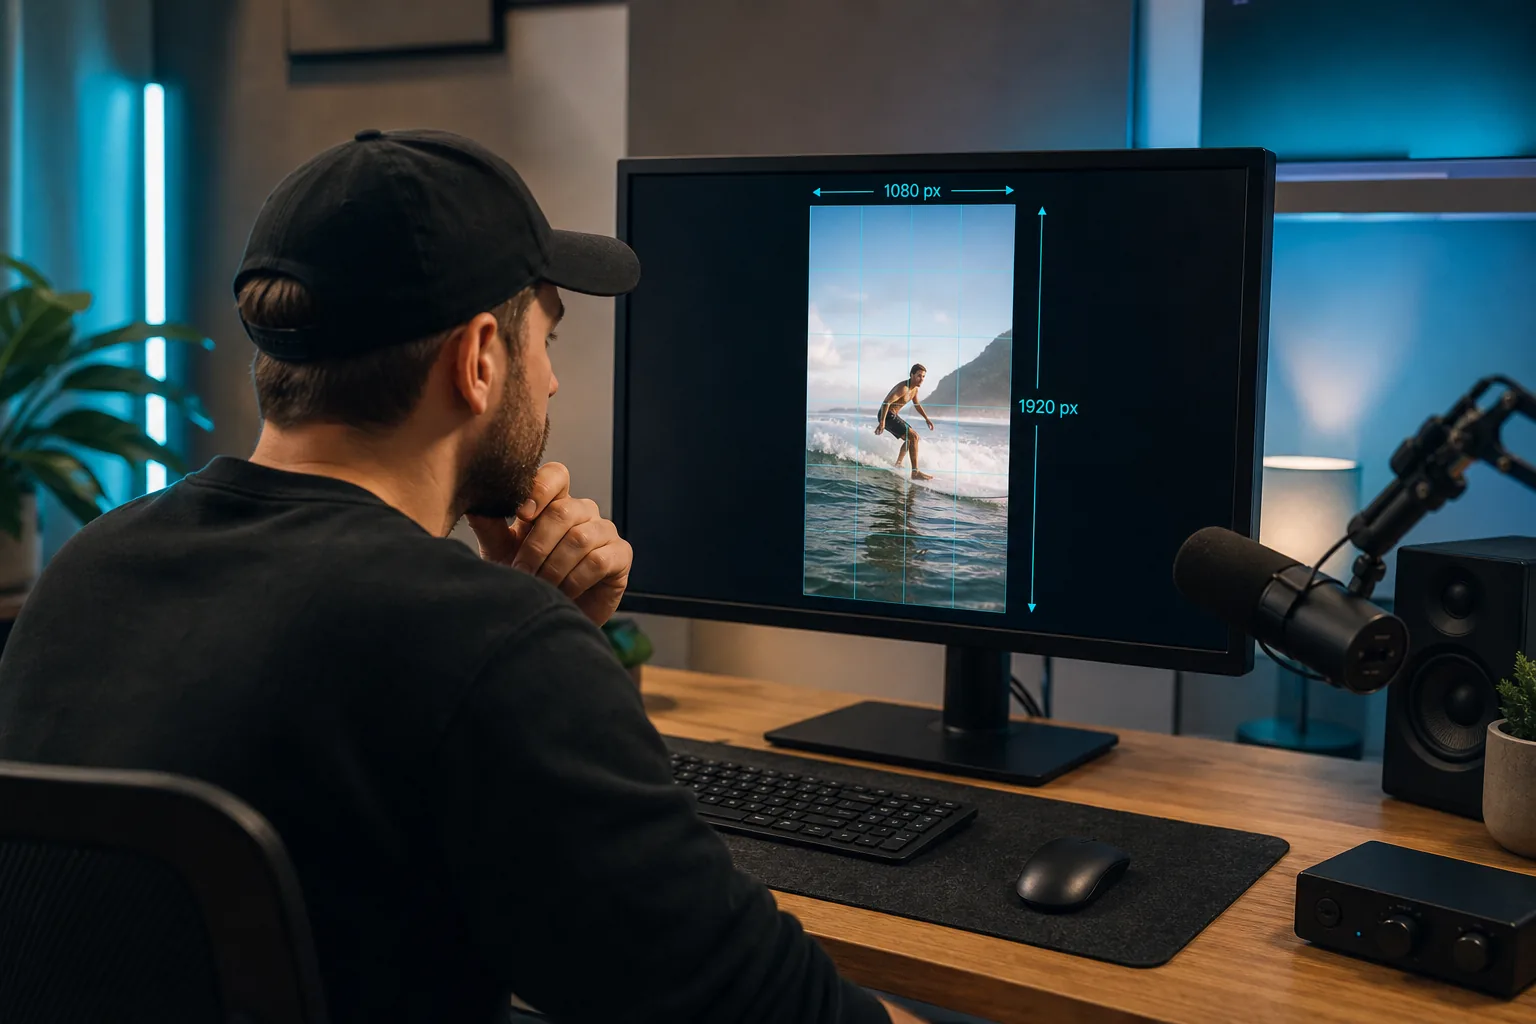
A clip can look sharp in your editor, then turn blurry or cropped after upload. The right TikTok video format gives you a better starting point: use a vertical 9:16 frame, export cleanly, and keep key text clear of the app controls.
Here’s what the main specs mean, where limits can vary, and how to prep podcast, sermon, and interview clips without guessing.
What TikTok Video Format Means
A video format is the set of choices that shape how a clip looks and plays. It includes the frame’s width and height, its aspect ratio, resolution, file type, codec, frame rate, and length. TikTok then processes the upload, so the file you post may not look exactly like the uncompressed export on your computer.
For most vertical clips, start with a 9:16 frame at 1080 × 1920 pixels. That shape fills a phone screen in portrait view. A landscape video can still be posted, but it may show black bars or be cropped to fit. If you’re repurposing a wide podcast or YouTube recording, check that faces and key visuals stay in frame after reframing.
Format is only one part of a post. A sharp file won’t fix a slow opening or captions hidden behind interface buttons. And a short clip still needs a clear point. For paid placements, check the applicable requirements separately from organic posting guidance.
If you’re deciding how to handle the editing work as well as the export, What Is a Video Clipping Service? explains the done-for-you model. PenguinClip is one option for creators who want weekly clips prepared from long-form recordings rather than editing each one themselves.
Think of specs as the delivery rules for the file, not a promise of reach. A well-framed clip gives the viewer a clean way to watch. The opening and the content still have to hold their attention.
TikTok Video Dimensions, Aspect Ratio, and Resolution
The most useful default is 1080 × 1920 pixels, which has a 9:16 aspect ratio. Width comes first; height comes second. That makes the image taller than it is wide, which suits TikTok’s full-screen phone feed.
For an organic clip, 1080 × 1920 is a sound export target when your source footage supports it. A 4K source can be useful while editing, but a 4K upload isn’t a reason to skip a final check at the size viewers will see.
| Export choice | Good starting point | When to check it |
|---|---|---|
| Aspect ratio | 9:16 vertical | Use for a full-screen portrait clip. |
| Pixel size | 1080 × 1920 | Keep the source sharp before upload compression. |
| Frame rate | 30 fps for speech; 60 fps for fast motion | Match the source when possible. |
| Landscape source | Reframe to 9:16 | Check speaker position and any slides or objects near the edge. |
Don’t stretch a horizontal video until it fills the screen. That distorts faces. Instead, crop or reframe it, then watch the whole clip to make sure the speaker stays visible. For two-person interviews, check each speaker during cuts. A frame that works for one person may crop the other.
Supported File Types, Upload Size, and Video Length
MP4 is a common choice for TikTok uploads. For a dependable export, use H.264 video encoding when your editor provides it. These settings are a useful baseline, not a guarantee that every file will upload the same way from every device.
File size limits can differ by upload route. Commonly cited app limits are about 288 MB on iOS and 72 MB on Android, while desktop uploads may allow files up to 1 GB. Treat those figures as route-specific guidance, not a permanent promise. If TikTok rejects a file, check the current limit shown in the uploader you’re using.
A file that exceeds a limit may fail or be compressed. Heavy compression can make speech clips look soft, especially around text and faces. Keep a clean export and avoid running the same clip through several export steps. For a long recording, cut the moment you need rather than shrinking the whole source into one upload.
For frame rate, 30 fps is a sensible choice for talking-head clips. Use 60 fps when the source has fast motion and you need it to look smooth. Don’t raise the frame rate just because the export menu allows it; matching the original footage can avoid unnecessary conversion.
Length depends on how you publish. Organic posts and ad placements can have different limits, so check the specific composer before you plan a longer cut.
For an interview or sermon clip, keep the full thought intact and remove pauses that don’t help the point land.
When an upload fails, test a short MP4 export first. If that works, compare the original file size, codec, and upload route. This narrows down whether the issue is the file or the network.
Safe Zones, Captions, and TikTok Interface Overlays
TikTok’s controls can cover parts of a video. The right side often holds action buttons, while captions and other details can occupy space near the bottom. Keep a clear margin around the frame edges, and place key words nearer the center than the lower edge.
There isn’t one fixed safe-zone box for every post. Ad layouts can change with caption length and interactive elements. Organic posts have their own interface overlays. So treat any template as a starting point, not a guarantee that every device will display the same clear area.
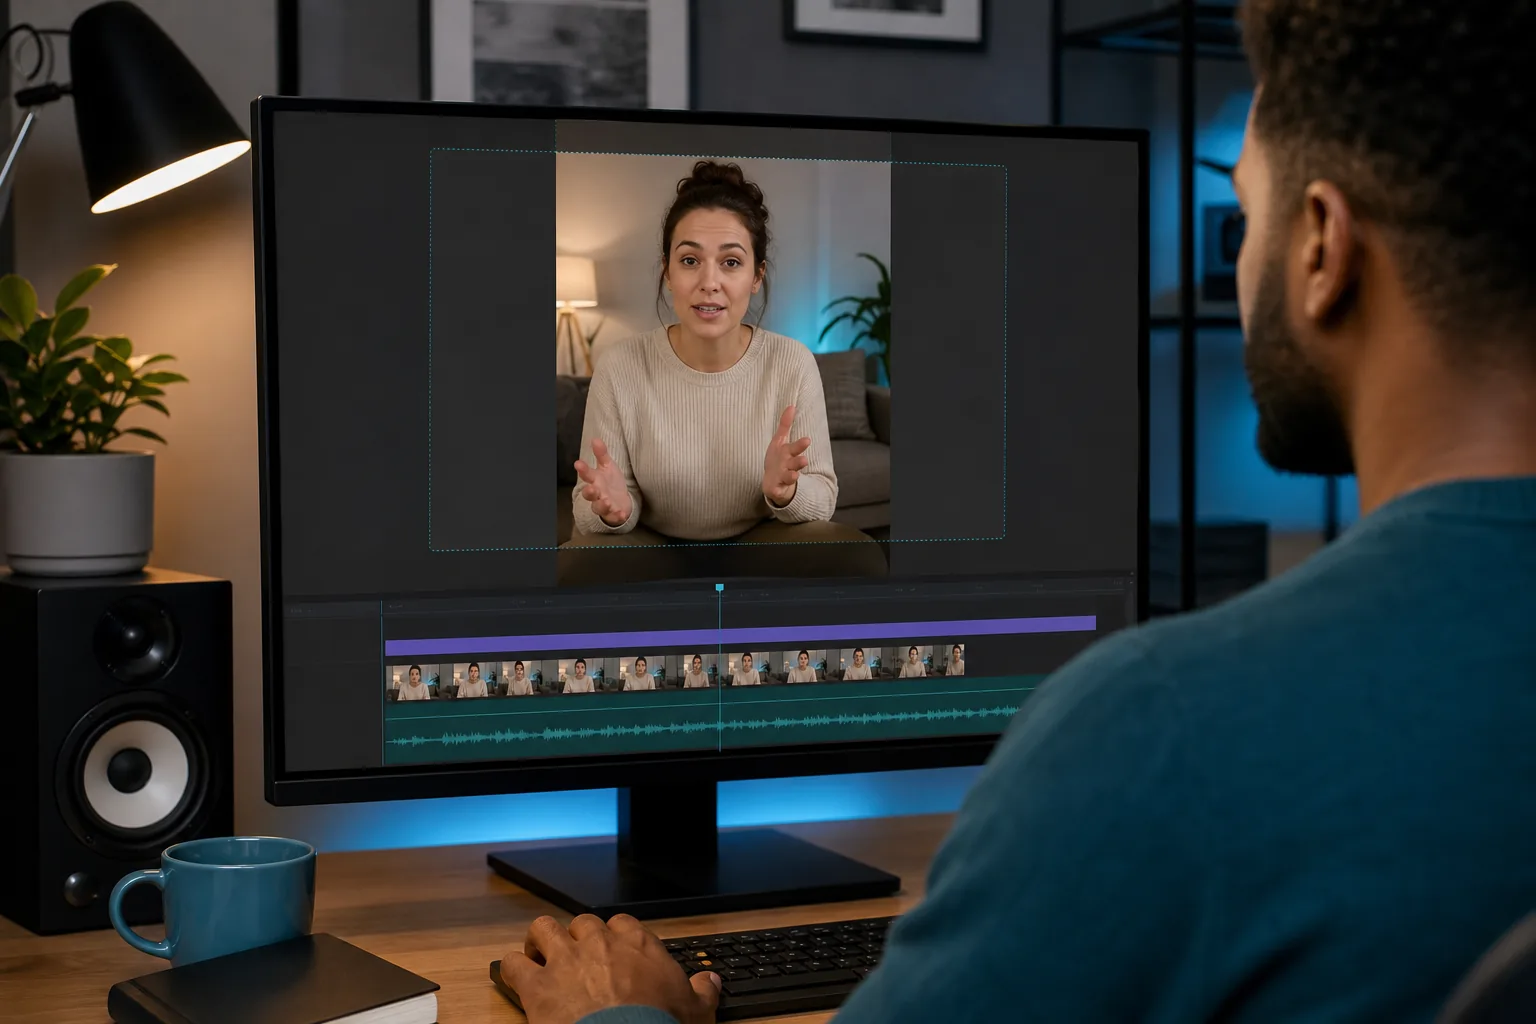
Captions help viewers follow speech when sound is off or hard to hear. Keep them large enough to read on a phone, and show only a few words at a time if a longer line would crowd the frame. Check the whole clip, not just the first caption. A guest’s name or key phrase can land behind a button later in the video.
For a talking clip, place subtitles around the center or upper-middle area, away from the right-side controls. Keep title text short and give it room to breathe. If you use a background or a second camera view, check that it doesn’t compete with the captions.
Sound matters too. Make sure the speaker is easy to hear over music or room noise. For a podcast, sermon, or coach’s lesson, clear voice audio is usually more useful than a loud soundtrack.
Before posting, preview the clip in the app. Look at the top, bottom, and right edge. If a word or face sits under an icon, move the content inward and preview again.
Using the Right TikTok Format for Podcasts and Repurposed Videos
A long recording wasn’t made for a phone feed. A useful repurposed clip needs one clear idea, a fast start, and a vertical crop that keeps the speaker in view. For an interview, that might be a direct answer or a sharp disagreement. For a sermon or course lesson, it could be one complete takeaway.
Start the clip close to the strongest line. Skip the full episode intro if it delays the point. Then reframe the shot to 9:16 and check the speaker’s face. If the original video has two people side by side, a vertical crop may need a tighter shot or a layout that gives both speakers room.
Captions should match the spoken words and stay clear of the controls. Add a short title only when it helps viewers understand the moment. Keep music low enough that it doesn’t compete with the voice. And export a clean file without another platform’s watermark.
That workflow takes time when you repeat it every week. PenguinClip turns long-form recordings into captioned vertical clips, scores them, and delivers finished files weekly to cloud storage. It’s a hands-off option for podcasters, YouTubers with interview content, coaches, and teams that need a regular batch. To compare the handoff with hiring an editor, see Video Clipping Service vs Hiring a Video Editor.
If you’re managing the work yourself, batch the checks. Review the crop and captions together, then export once you’re happy with both. If you’d rather hand off the repeat work, PenguinClip’s done-for-you weekly clipping service is another way to keep files moving toward a ready-to-post handoff.
One final check can save a frustrating re-export: play the finished file on a phone before uploading. Confirm the opening is clear, captions are readable, and the audio level feels steady. Then check the post preview for any interface overlap.
TikTok Video Format FAQ
What is the best TikTok video size?
Use 1080 × 1920 pixels in a 9:16 vertical frame for a standard full-screen clip. That’s a strong export target for podcast and interview content. If the source is horizontal, reframe it rather than stretching it. Review the result on a phone so you can catch cropped faces or text before posting.
Does TikTok support MP4 and MOV?
MP4 with H.264 encoding is a common export choice for finished clips. File support can depend on the upload path, so use the format shown in the composer or tool you’re posting through if an upload fails.
How long can a TikTok video be?
There isn’t one length that applies to every TikTok publishing route. Organic posting options and ad placements can have different limits. Check the limit in the app or placement you plan to use. For repurposed clips, keep only the time needed to complete the idea.
Why does my TikTok video look blurry after uploading?
A video may look blurry because the upload was compressed, the source was low resolution, or the file went through several export steps. Start with a clean 1080 × 1920 export, use a supported file type, and stay within the uploader’s size limit. Compare the local file with the posted clip to spot where quality changed.
Where should captions go on a TikTok video?
Place captions near the center or upper-middle area, away from the right-side buttons and the lower caption area. The exact clear space can change with the interface and post details. Preview the full clip in TikTok, since captions that fit at the start may overlap an icon or face later.
Conclusion
Use a 9:16 frame at 1080 × 1920 as your starting point, then check the file and safe zones in the upload route you’ll use. If you want the weekly editing handoff handled for you, explore PenguinClip’s clipping workflow and see whether it fits your publishing rhythm.