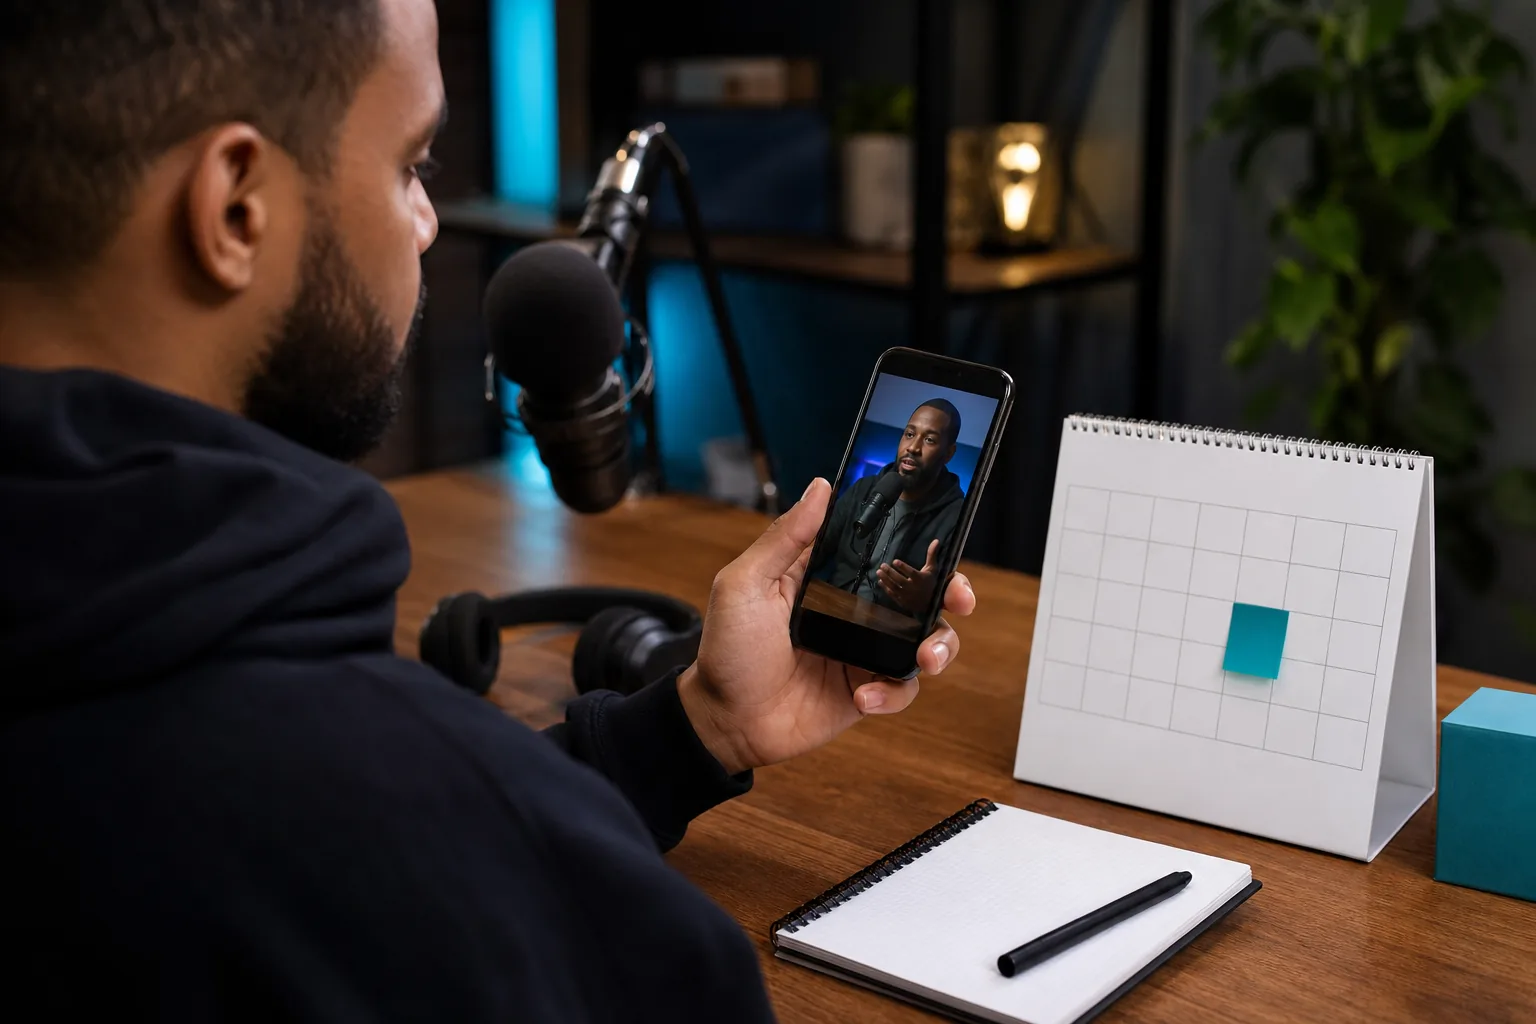
Want your Shorts to publish while you’re busy recording or coaching? You can schedule them in YouTube’s own tools, then use audience data to pick a time that fits your viewers. This guide shows you how to schedule YouTube Shorts on mobile and desktop, plan a batch, and build a release rhythm you can keep.
We analyzed 33 comments from YouTube and Reddit about scheduling YouTube Shorts and found that 24% mentioned scheduling videos in advance.
Step 1: Check Your Short and Schedule It in the YouTube Studio Mobile App
Start with the finished video file on your phone. Check that it’s vertical, with the speaker and any on-screen text easy to see on a small screen. YouTube Shorts can be up to three minutes long. A 9:16 vertical frame is a good fit for full-screen viewing.
If you’re still preparing a clip from a longer episode, use a clear moment that makes sense without the full podcast or sermon around it. Keep captions away from the edges, where app controls may cover them. This YouTube Shorts format guide covers frame size and safe areas in more detail.
Open the YouTube app and tap the create button, then choose the upload option. Pick your Short and enter a clear title. Add a short description if it gives viewers useful context. In the visibility or audience settings, choose the option to schedule the video, then set the date, time, and time zone. Review the details and confirm the schedule.
Use YouTube Studio on your phone to check the scheduled upload later. Open your channel’s content list and look for the Short marked as scheduled. If you need to change the time, open its details and update the schedule before it goes live. The exact labels can shift as the app changes, so look for visibility and scheduling settings rather than relying on one button name.
Check thumbnail options before you finish. Verified accounts can upload a custom thumbnail for videos, and suggested frames may also be available. For Shorts, make sure the selected frame shows the moment clearly in a small preview.
By now, your Short should have a set publish time and a readable title. If you don’t see a scheduling choice in the upload flow, save the draft and use YouTube Studio on desktop instead.
Step 2: Schedule a Short from YouTube Studio on Desktop
Desktop is handy when you’re preparing several videos or want to check every field before publishing. Sign in to YouTube Studio, choose Create, then select Upload videos. Pick the video file from your computer and let it upload while you fill in the details.
Write a title that tells viewers what the clip is about. For an interview, name the useful idea or question, not only the guest. A clip about a common coaching mistake, for example, needs a title that signals the advice viewers will hear. Add a description when it helps explain the clip or point to the full episode.
Set the audience selection and review any other required upload details. Then continue to the visibility screen. Choose Schedule, set the publish date and time, and check the time zone shown in Studio. Select the final schedule action to save the release time.
Before you leave the page, confirm that the upload status says scheduled. If the video is still processing, wait until Studio finishes and check again. A scheduled post is not the same as a draft, so verify the status before closing the tab.
For a Short cut from a long interview or teaching session, make sure the clip works on its own. Start with the point or question that gives viewers a reason to keep watching. If you need help choosing a moment or adapting a long video, PenguinClip’s guide to making Shorts from YouTube videos walks through that editing decision.
Keep a simple note of the planned release time and the source video. That makes it easier to spot gaps in a series, especially when you’re scheduling clips from more than one episode.
Step 3: Batch-Schedule Shorts with YouTube or Third-Party Tools
YouTube Studio works well when you publish a few Shorts and want each one to have its own date and time. Uploading several files can save time, but plan to set the schedule for each video. That gives you a chance to check the title and timing clip by clip.
For a batch, first sort files by source episode and intended release order. Give each file a name you’ll recognize later, such as the episode topic and clip number. Then upload the batch in Studio and schedule each Short one at a time. Keep a basic tracker with the video name, publish date, and status so you can catch a missed draft.
Third-party schedulers may suit teams that plan posts for more than one social account in a shared calendar. Before moving your workflow, confirm that the tool supports YouTube Shorts publishing for your account and that it handles your intended video format. Check whether it publishes automatically or asks you to finish the post in YouTube. Those details affect how much time the tool actually saves.
For custom automation, an upload integration can send a video and its metadata. This route is aimed at developers. You’ll need an authorized integration and a way to manage the release process, so it’s usually more work than Studio for a solo creator with a small queue.
| Workflow | Good fit when | What to plan for |
|---|---|---|
| YouTube Studio | You schedule a small number of Shorts directly on your channel. | Set each Short’s release time individually and check its status. |
| Third-party scheduler | Your team plans YouTube alongside posts on other social accounts. | Verify Shorts support and whether publishing is automatic. |
| Custom API workflow | You have developer support and need an automated process. | Build and maintain the authorized integration and release steps. |
| Done-for-you clipping | You have long-form recordings but limited time to make weekly clips. | Review and schedule the finished files in your channel. |
PenguinClip is a done-for-you option for podcasters, coaches, course creators, webinar teams, and YouTubers. Our team selects moments from long-form video, edits and captions vertical clips, then delivers files to your cloud storage each week. You still choose when each Short goes live. The work of turning the recording into ready-to-post clips is handled before scheduling starts.
Choose the setup that removes the most repeated work in your own process. A new dashboard won’t help if your main delay is getting clips made.
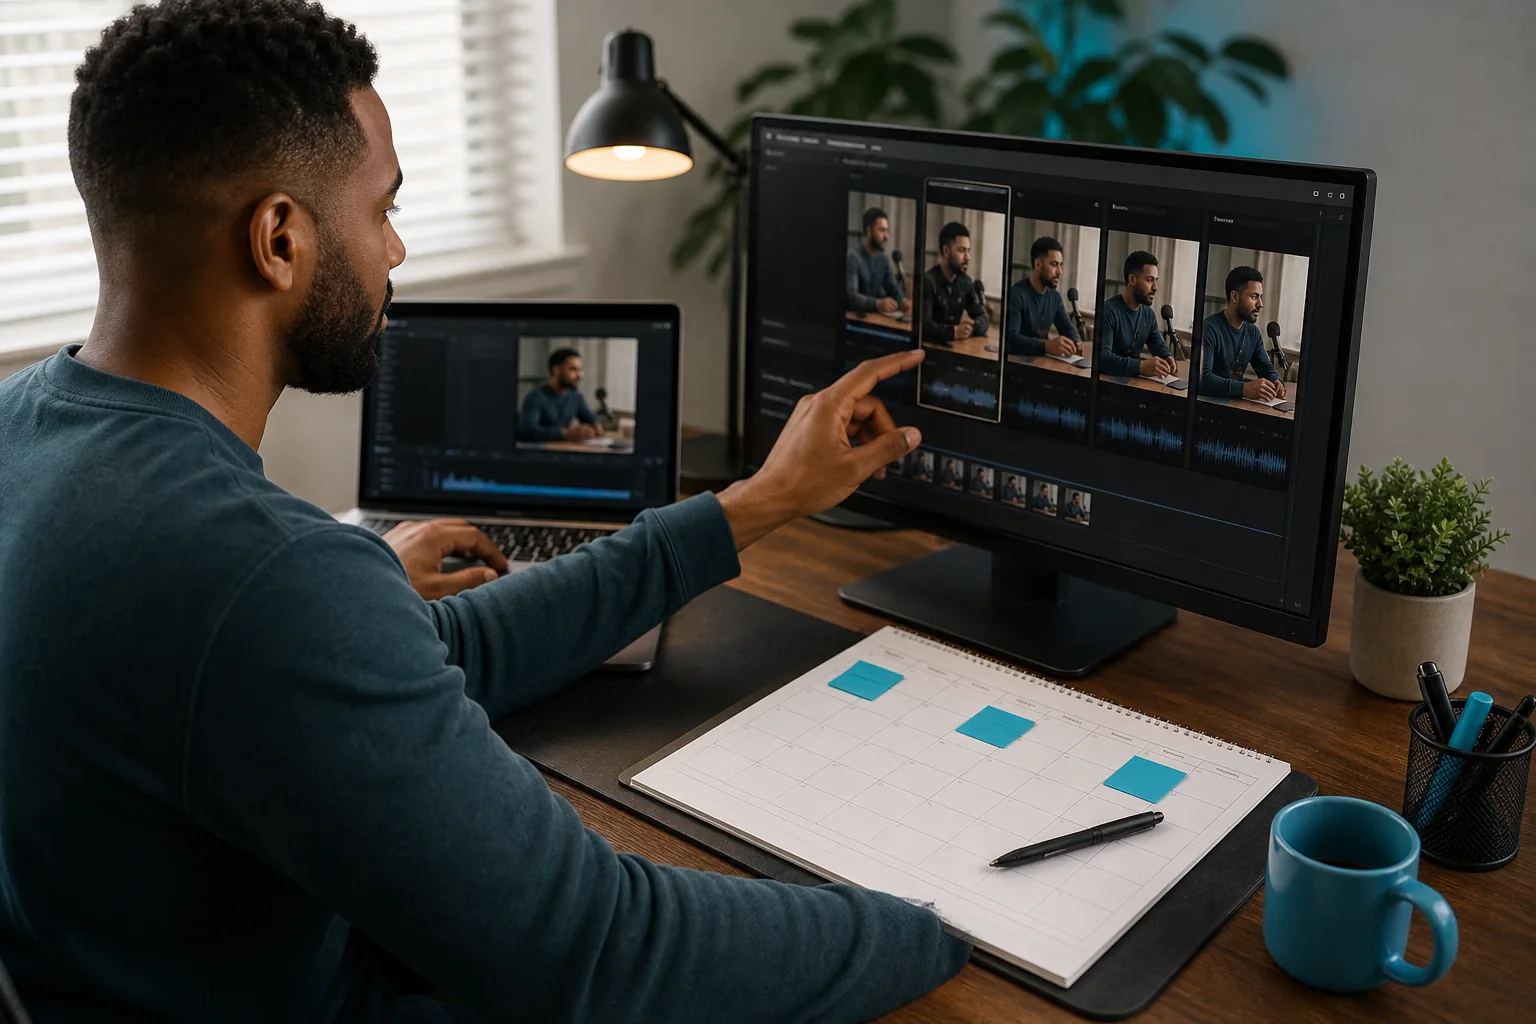
Step 4: Set a Release Rhythm and Improve Shorts Performance
Pick a release pace you can maintain. You don’t need to post every day to start learning what your viewers respond to. A weekly schedule gives you room to make each clip and review its results without turning publishing into a second full-time job.
Check your channel’s audience insights for the heatmap called “When your viewers are on YouTube.” It shows when your audience is active. Look for the darkest blocks, then test scheduling a Short about two or three hours before those busy periods. Treat that as a starting point, not a rule. Your own channel’s patterns matter more than a broad posting-time chart.
Review the heatmap once a month. Viewers’ routines can change around holidays or seasonal shifts, and your channel’s audience may grow or change over time. If the busiest window moves, adjust the next batch instead of keeping an old schedule by habit.
After a Short goes live, review its performance in your channel’s analytics. Look at views alongside audience retention and engagement. Compare clips on similar topics, then ask what the opening line or moment did differently. Don’t judge the whole schedule from one post. Give a few releases time to show a pattern.
Titles and descriptions should match the clip, not promise more than it delivers. Use a few specific tags only when they describe the actual topic.
For a useful timing test, keep the clip type similar and change only the release window. For example, schedule two interview clips at different audience-active times, then compare their results after each has had time to reach viewers. The guide to posting times for Shorts can help you set up that test. There’s no required minimum cadence, so keep the pace steady enough to learn from.
If you post the same clip on Reels or TikTok, treat each platform as its own publishing task. Check the crop and captions before you queue it elsewhere. A clip that fits one app’s screen can be covered by controls on another.
Frequently Asked Questions
Can you schedule YouTube Shorts from your phone?
Yes, you can schedule a Short from a phone using YouTube’s upload flow. Choose the video, enter its details, then set its visibility to Schedule and pick a date and time. You can use YouTube Studio on your phone afterward to check the scheduled post. App labels may change, so confirm the status before you leave.
Can you schedule multiple YouTube Shorts at once?
You can upload multiple Shorts in YouTube Studio, but plan to set a date and time for each video separately. A tracker helps you keep the order straight and confirm each post is scheduled. Third-party tools may support a shared calendar or bulk workflow, but check their current Shorts publishing steps before you rely on them.
How long can a YouTube Short be?
A YouTube Short can be up to three minutes long. Keep the video vertical so it suits the Shorts viewing format, and check the framing before you upload. For a podcast or sermon clip, make sure the key speaker and captions remain visible on a phone screen throughout the video.
What time should I schedule YouTube Shorts?
Schedule Shorts around the times your viewers are active, using available audience activity data. Try publishing two or three hours before a dark, busy block, then compare results across several posts. Check the data each month and adjust as your audience’s activity shifts.
Conclusion
Use YouTube Studio if you want a simple way to schedule Shorts, and test release times against your audience heatmap. If making clips is the part that keeps your calendar empty, see how to turn long-form content into social videos and plan a weekly batch. Then schedule the next Short while the workflow is fresh.