A video podcast can sound great and still feel rough on screen. A clear editing order helps you fix the story first, then polish the picture and prepare each version for publishing.
We analyzed 43 YouTube comments about podcast video editing and found that 40% mentioned tool limitations.
This workflow covers full video episodes, not just short clips. It also shows where audio-only podcast editing differs, and how to keep weekly work manageable.
Step 1: Choose Your Editing Workflow and Prepare the Recording
Start by deciding what you’re making. A video podcast needs a finished picture and a clean audio track. An audio-only episode needs a strong audio edit, but it doesn’t need camera cuts, lower thirds, or a video export.
That difference affects the whole edit. If you’re making both formats, treat them as related but separate deliverables. The video master can include camera switches and on-screen names. The audio version should still make sense with your eyes closed.
Pick an editor you can use with confidence
Use software that can handle your source tracks, make precise cuts, adjust sound, and export the formats you need. You don’t need to change editors just because a new tool has an AI feature. A familiar timeline can be faster than learning a new workflow under a weekly deadline.
Some editors let you work from a transcript, which can help when you need to find a particular phrase. Descript is one option to assess for podcast production. Adobe Express and PodSqueeze are also names you may encounter while comparing tools, but test any editor against your actual needs before moving your whole show into it. A free editor you already know can be enough if it supports your footage and export needs.
Use a short test recording to check whether the controls fit the way you like to work before you commit to a full episode.
Set up a clean handoff to the timeline
Before importing anything, make a working folder for the episode. Keep the original recordings untouched, then make a separate folder for the edit. Give each file a clear name, such as host audio, guest audio, host camera, guest camera, or screen share. This simple step saves time when the timeline fills with tracks.
Write down what the final job includes. For example, you might need a full video episode, an audio-only file, a caption file, and several short clips. The clips should come from the approved episode master, not from a cut that may change later.
If the interview includes preaching or a sermon, keep the full message in view while you edit. A pause or repeated phrase may carry meaning, even if it looks like an easy cut. For a coach or course creator, keep examples and key instructions intact so the edited version still teaches the point.
By now, you should know which outputs you owe and where each source file belongs. Next, line up the sound and picture before making story cuts.
Step 2: Import and Sync Your Audio and Video
The goal is simple: every voice should match the right face at the start and at the end of the recording. Sync errors are easy to miss when you check only one moment. They’re hard to ignore once a guest’s words no longer match their mouth.
Import your camera files and separate microphone tracks. Put each one on its own labelled timeline track. If you have a mixed reference track, keep it nearby for comparison, but use the clean individual microphone tracks for the main dialogue when available.
Find a shared sync point
If you clapped at the start of the recording, look for the sharp sound spike in the audio waveform. Match it to the clap in the video. If you didn’t clap, look for a clear spoken sound, such as a hard P or B, and line up the visible mouth movement with the matching sound.
Some editing software can align audio and video by waveform. Let that feature make the first pass, then check it yourself. Jump to the beginning, somewhere near the middle, and close to the end. If the tracks drift apart, the recording may need a closer look before you edit.
Check sync across the recording, not only at the first frame. A clap or a clearly visible spoken sound can also serve as a useful sync reference.
When the tracks line up, link or group the matching audio and video clips. That way, a later trim won’t leave the guest’s voice behind while their camera shot moves. Save a new version of the sequence before making cuts. It gives you a clean recovery point if an edit goes wrong.
Check long recordings for drift
Play a few seconds at each sync check point. Watch the lips, but listen too. A person can appear to speak in time while a small delay makes the audio feel odd. If the mismatch grows as the recording goes on, don’t drag every clip around by guesswork. Check whether the source files began at different times or use different frame rates.
For a remote interview, inspect each person’s feed on its own. One guest may have a clean recording while another has a delay or a dropped section. Mark any problem spots for repair, and keep a note of the source time so you can return to them after the main story edit.
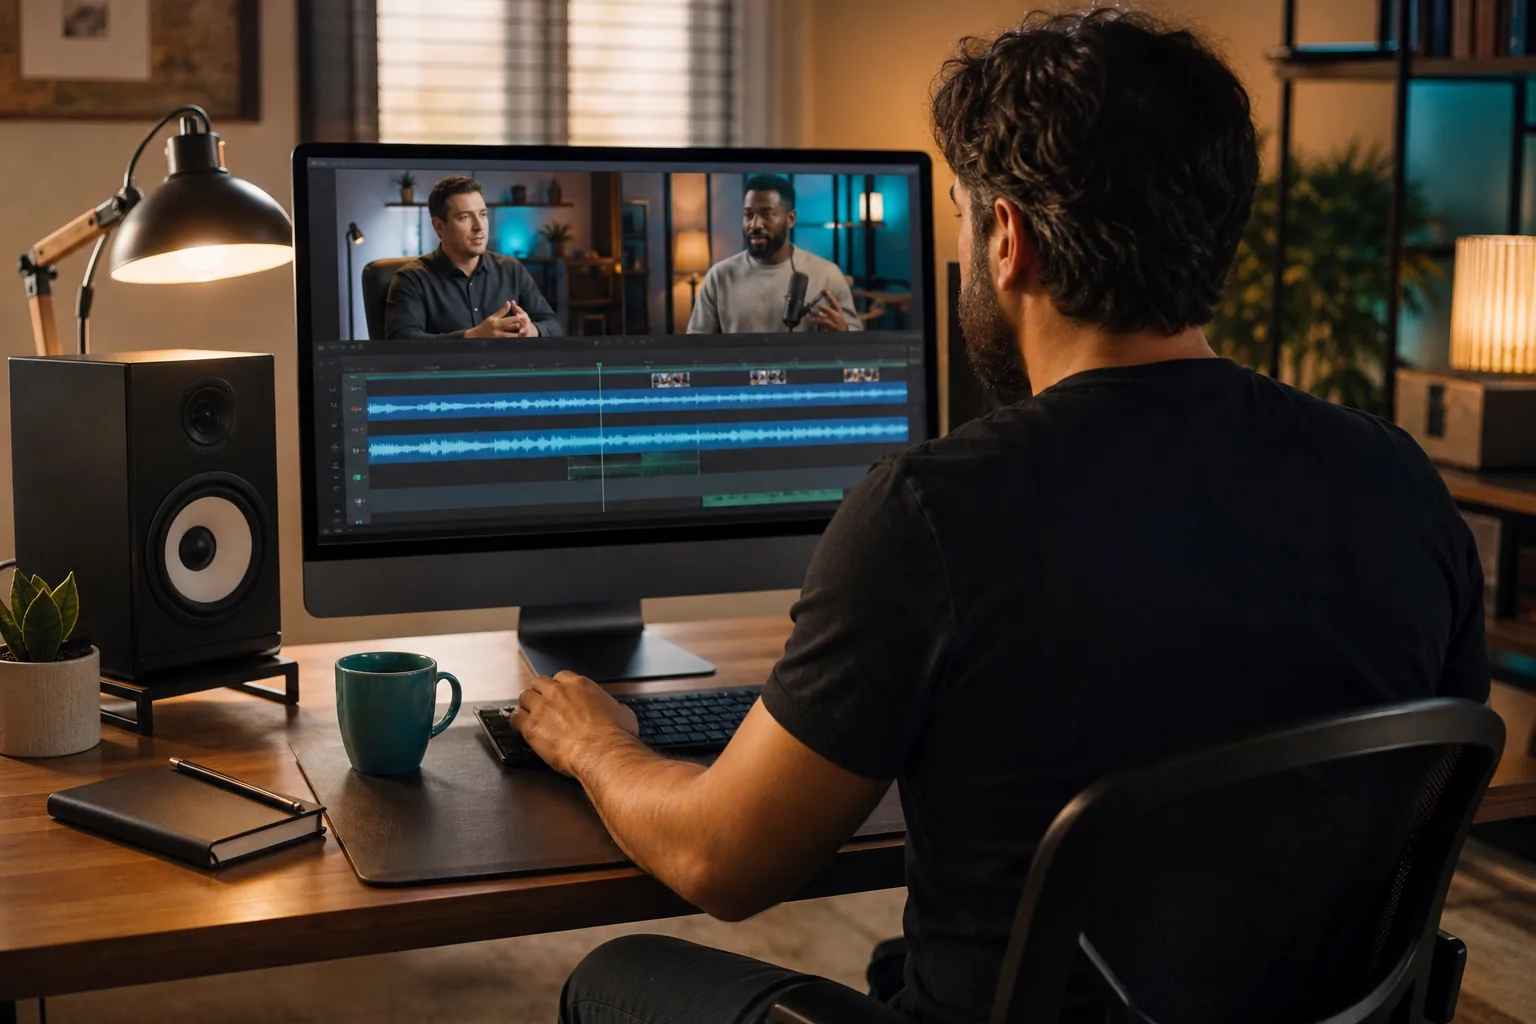
By now, each speaker’s audio should match the right video throughout the sequence. Keep the synced version intact, then move into the story cut.
Step 3: Trim the Conversation and Switch Camera Angles
First make the conversation clear. Then use camera cuts to help viewers follow it. Don’t start by chasing every pause or switching shots on a timer. The goal is a natural conversation that’s easy to watch and hear.
Make a story cut before polishing
Play the full episode and mark the parts that need attention. Listen for repeated answers, long setup, off-topic stretches, recording interruptions, and retakes. Cut for meaning before you cut for length. A brief pause before a personal story or a sermon’s key point may be worth keeping.
When you remove a section, listen to a few seconds before and after the edit. If a sentence sounds clipped, move the cut to a more natural phrase boundary. A small breath or a little room tone can make the join feel less abrupt. Don’t strip every pause just because the waveform looks quiet.
Be careful with edits that could change what a guest meant. If you remove a question, a qualification, or a sentence that sets up the answer, play the new version from the listener’s point of view. If the meaning now feels different, restore the needed context.
For an interview with two isolated microphones, mute the unused mic when it adds room noise or echo. Fix clicks or steady background hum with a light touch. If the voice starts sounding thin or metallic, back off the processing and keep the words clear.
Switch angles to support the exchange
Once the story cut works, add camera changes. Use the active speaker’s close-up when they make a key point. A two-person or wide shot works well when the conversation moves back and forth. A guest’s reaction can add context, but hold it long enough to feel like a choice.
A multi-camera edit gives you more ways to cover a cut. If the host’s sentence has a visible jump, cut to the guest or a wide shot only when that view still fits the moment. Don’t hide every edit with a flashy transition. A clean cut is often the least distracting choice.
- Use a wide shot to show both people during an exchange.
- Use a close-up when one speaker carries an important point.
- Use a screen share or relevant image when viewers need to see what the speakers mean.
For a solo sermon or lesson, there may be only one useful camera angle. In that case, let a relevant slide or a modest crop change break up a long stretch, but don’t add visuals that compete with the message.
By now, the episode should play as one clear conversation, with angle changes that follow the speakers. The next pass is for sound and visual consistency.
Step 4: Polish the Picture and Add Consistent Branding
Picture polish doesn’t mean adding effects to every shot. It means making the episode easy to watch and giving viewers a steady sense of whose show they’re watching.
Clean up the sound before adding music
Start with dialogue. Balance the host and guest so one voice doesn’t jump out while the other fades. Adjust large level differences with clip gain or volume automation before leaning on compression. Then remove obvious noise with care. Aggressive noise removal can make speech sound worse than a little steady room noise.
Listen on headphones, then check a phone or laptop speaker. A music bed that sounds gentle on headphones can cover a guest’s words on a small speaker. Keep music low under speech, and use it only when it helps the opening, closing, or a clear change in topic.
Make the intro and outro short. Use the same opening mark or music cue across episodes so the show feels consistent. If you add a transition, a simple cut or fade is usually enough. A lower third can identify a guest or their role the first time they appear, but it doesn’t need to sit on screen for the whole interview.
Match the look from shot to shot
Check exposure and color across every camera. One guest may have a warm lamp while the host sits near a cool window. Adjust brightness and color temperature until the shots feel like parts of the same episode. Keep skin tones natural. A heavy color effect can make two cameras match less, not more.
Use a consistent placement for names and show marks. Keep text away from faces and important details. If you use a logo or title card, make it readable at normal viewing size. Save a copy of the graphic elements you use, so you don’t have to rebuild them for every episode.
Consistent camera coverage and color matching can make a video conversation easier to follow. Choose thumbnails that preview the episode without making promises the content can’t keep.
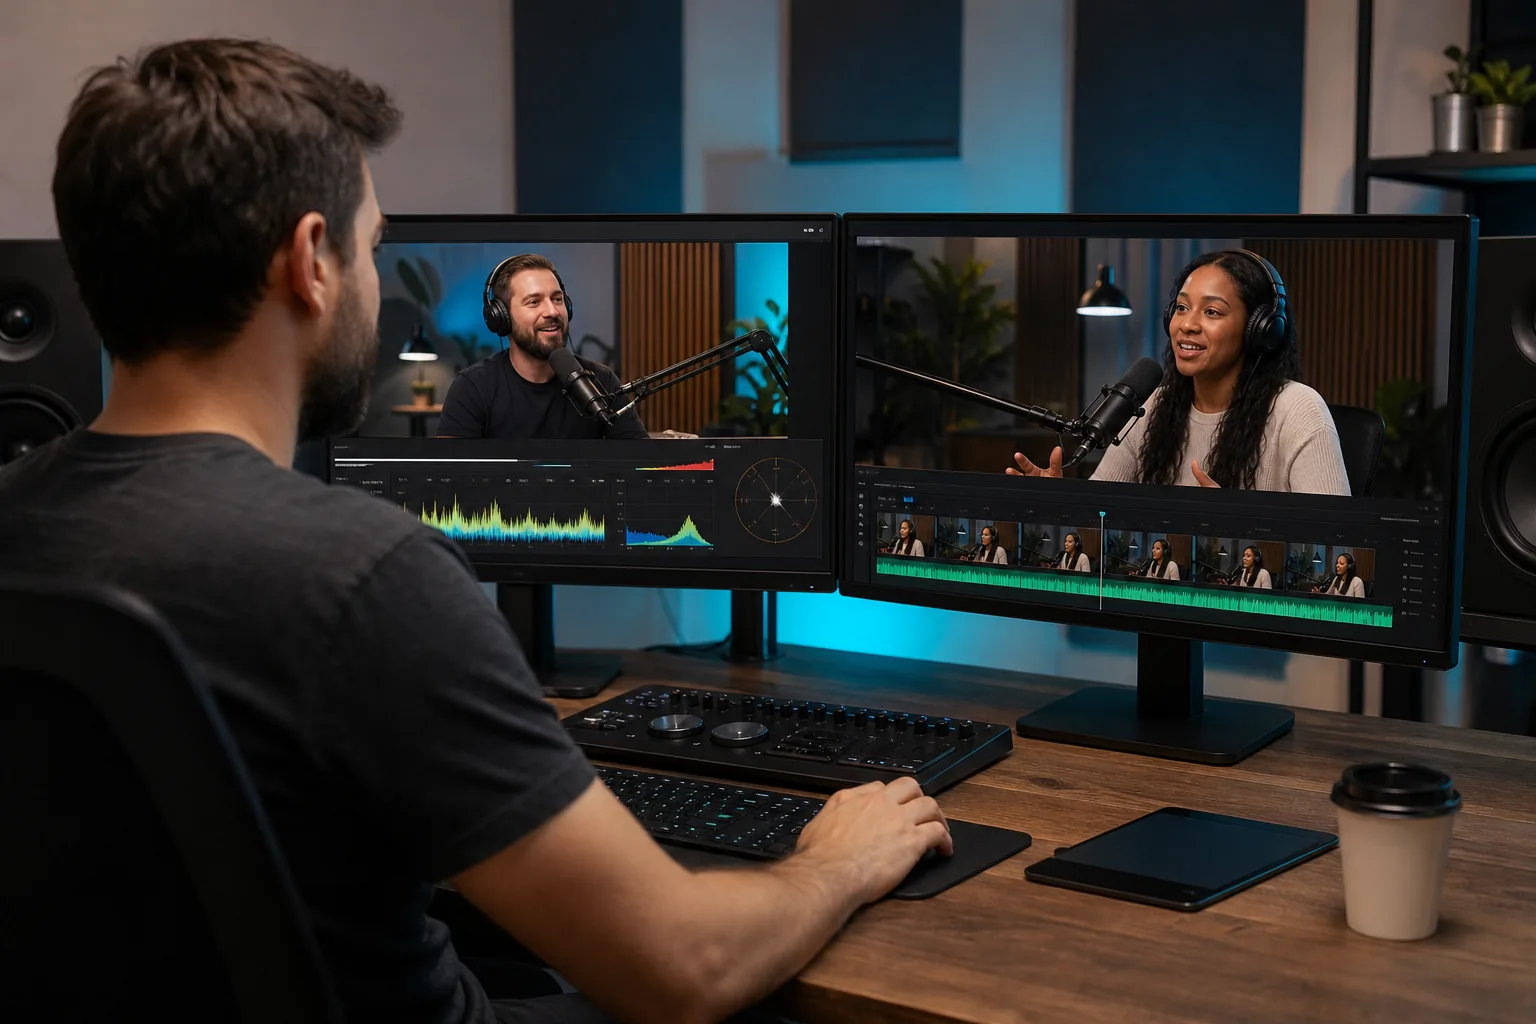
Make the same choices from episode to episode, but don’t force a graphic into a moment where it blocks the conversation. A light visual hand helps the show feel finished.
Step 5: Create Captions and Optimize the Episode for Discovery
Captions help people follow the episode when they can’t use sound, and they give viewers a way to check a name or phrase. Auto-transcription can save time, but it’s a draft. Read the text against the audio before you publish it.
Check guest names first, then proper nouns, numbers, and terms from the episode’s subject. Speech recognition can mishear a course name or a specialist term even when the rest of the sentence looks right. Also check where speakers change. A caption assigned to the wrong person can confuse a short exchange.
Make captions easy to read
Use clear text with enough contrast against the picture. Keep lines short enough to read while the speaker talks. Place captions where they don’t cover a face, lower third, or slide detail. If your editor can export a caption file, save it separately when the publishing platform accepts one. Burned-in captions can help when you need text visible in the video itself.
For an interview, review every change in speaker. For a teaching episode, verify terms and quoted material. For a sermon, don’t edit a caption in a way that changes the wording of a verse or key phrase. Correctness matters more than a perfect line break.
Package the episode for people and search
Write a title that says what the episode is about in plain language. Put the key subject near the start, but don’t promise a result the episode doesn’t deliver. A guest’s name can help when people know them, while a clear topic can help a new viewer decide if the conversation fits.
Make a thumbnail that shows the host or guest clearly. Add only a few words if they make the topic easier to grasp. Keep the look consistent across episodes so viewers can spot your show, but give each image a detail tied to that episode.
Add chapters or timestamps when the platform supports them and the episode has clear topic changes. Use accurate labels rather than vague names like introduction or more discussion. For example, a chapter might name the decision a guest explains or the lesson covered in that part.
If you publish a full episode and also want short social clips, keep the work distinct. The full edit needs a complete story. Short clips need a strong starting moment and vertical framing. PenguinClip focuses on done-for-you weekly clipping for creators who want those short posts handled separately from their main episode edit. It’s a useful option to consider when you need to keep recording but have little time for weekly clipping.
Creators planning a wider promotion routine can pair episode packaging with a podcast promotion plan. Keep the title, thumbnail, description, and chapter labels aligned with what viewers will actually hear.
Step 6: Export for Each Platform and Build a Repeatable Publishing Routine
Export from an approved master, then make a separate file for each destination. A video upload, an audio podcast feed, and vertical social clips are different products. One compressed file may not suit every use.
Make a delivery checklist
Before exporting, check the destination’s current file requirements. For a video platform such as YouTube, confirm the requested container, codec, frame rate, and audio setup in the platform’s current guidance. Keep the output frame rate consistent with the recording unless you have a clear reason to change it.
For an audio-only podcast feed, export a separate audio file and check that the dialogue remains clear without the picture. Don’t assume a video platform’s export settings fit your podcast host. If Spotify is also a destination, check its current upload flow and whether you’re submitting video or audio for that episode.
Use a file name that makes the approved version easy to spot. Include the show or episode identifier and the format, such as full video, audio, or captions. Before you upload, open the exported file and check its start, end, duration, and sound. Watch the full review file once without stopping to edit. Write down issues, fix them together, and export again.
Turn the edit into a weekly routine
Keep the order steady each week: sync, story cut, repair edits, audio mix, picture pass, captions, full review, export. The work gets harder when you polish camera shots before you know which parts of the conversation will stay.
Save a simple checklist with the project. Note who checks captions, who approves the final episode, and which versions need to go out. If a guest name needs a special spelling or a sponsor message must stay intact, add that note before the next edit begins.
Once the long-form episode is approved, decide whether your team will make its own short clips. A coach might use one clear teaching point. A webinar team might pull a useful answer. A church media team might share a key sermon idea. If you want that weekly clipping handled for you, PenguinClip turns long-form recordings into captioned vertical clips and delivers finished files to cloud storage. Our team handles the editing. You keep creating.
For creators comparing service options, the video repurposing services overview can help you think through what to keep in-house and what to hand off. If you want to see PenguinClip’s current plan details, review its plan and pricing page alongside your expected clip volume.
By now, you should have a checked master and clear files for each publishing destination. Keep the checklist with the project so the next episode starts from a known process.
FAQ
What is different about editing a video podcast?
Video podcast editing adds picture work to the audio edit. You still need to shape the conversation and make speech clear, but you also sync cameras, choose angles, check color, add on-screen names, and export a video file. Audio-only editing skips those visual tasks, though you should still make a separate audio mix that works without the picture.
How do I sync podcast audio and video?
Line up a clear shared moment, such as a clap at the start or a spoken sound with a visible mouth movement. Waveform sync can make a first pass, but check the beginning, middle, and end yourself. If the tracks drift over time, inspect the source files instead of shifting every clip by guesswork.
Should I remove every pause and filler word?
No, keep pauses that help the meaning or make a conversation feel human. Remove long dead air, repeated answers, and distracting mistakes when the edit still sounds natural. Listen across each cut, because removing a question or a short phrase can change how a guest’s answer comes across.
Do podcast videos need captions?
Captions are a useful part of a video podcast workflow, but automatic captions need review. Check names, numbers, technical terms, and speaker changes against the recording. Keep text readable and out of the way of faces or graphics. Export a separate caption file when your platform supports it.
How should I export a video podcast for YouTube and Spotify?
Export a separate file for each destination and check the platform’s current requirements before uploading. Keep the video frame rate consistent with the recording unless there’s a reason to change it. Make a separate audio file for an audio podcast feed, then open each export to check its sound, opening, ending, and playback.
Conclusion
Lock the story before you polish the shots, and check the finished export as a viewer would. Start with one episode and save your checklist as you go. If weekly social clips are the part you can’t fit in, explore whether PenguinClip’s done-for-you clipping fits your publishing routine.