That long podcast or sermon may already hold several strong Shorts. How to make Shorts from YouTube videos comes down to choosing a complete moment, framing it for a phone, and making the first seconds count.
We analyzed 37 comments and questions from YouTube, Quora and Reddit about making YouTube Shorts and found that 27% mentioned the missing remix button.
You can do the work in YouTube’s tools or an editor. If editing keeps slipping off your weekly list, a done-for-you service can handle the clipping while you focus on recording.
Step 1: Confirm You Can Use the YouTube Video
Start with a video you own or have permission to reuse. If you’re clipping your own interview, class, sermon, or webinar, check that you also have the rights to any music, guest footage, or other material inside it.
For someone else’s YouTube video, don’t assume that a short excerpt is free to repost. YouTube’s built-in remix tools let creators use eligible audio or video segments. But some videos aren’t available for remix, and rights holders can limit use. YouTube also notes that copyrighted material added outside its creation tools may lead to a Content ID claim or removal request. Read YouTube’s rules for remixing videos and audio in Shorts before using another creator’s work.
Credit or attribution doesn’t replace permission. Nor does a short clip automatically qualify as fair use. If you’re unsure about a clip, get permission or choose a moment from your own footage instead. That’s the safer workflow for a business channel, client account, or podcast with guest-owned assets.
Once the source is cleared, keep a note of the original video title and the moment you plan to use. If you’re working with an editor, share the link and timecode along with any restrictions. A clean rights check now can prevent a finished clip from sitting unused later.
Step 2: Find a Self-Contained Moment Worth Clipping
Pick a moment that makes sense without a long introduction. A clear answer, a strong opinion, a short story, or a useful teaching point can stand on its own. For an interview, look for the guest’s complete thought, not just a striking sentence cut away from its meaning.
Search the transcript or scan the recording for places where the speaker explains a problem, shares a surprising detail, or reaches a clear conclusion. Make a short list of candidate timecodes before you edit. If you’re turning several episodes into social content, this workflow for making social videos from long-form content can help you plan clips as a repeatable weekly task.
Then test each moment against three questions. Can a new viewer understand the point right away? Does the clip have a natural start and finish? Is there a reason to keep watching after the opening line? If the answer is no, try another moment or trim more setup from the front.
Length should fit the idea. A quick teaser may work in 10 to 20 seconds. A story or explanation may need closer to 50 or 60 seconds to land. Sprout Social reports that many trending Shorts fall in the 50-to-60-second range, while short clips remain common too. Treat that as a prompt to test your own audience, not a fixed rule.
Choose moments that match your channel’s subject. If you preach, clip one complete takeaway rather than a line that needs the whole sermon for context. If you coach, make the clip answer one question. A focused topic helps the right viewer recognize why it’s for them.
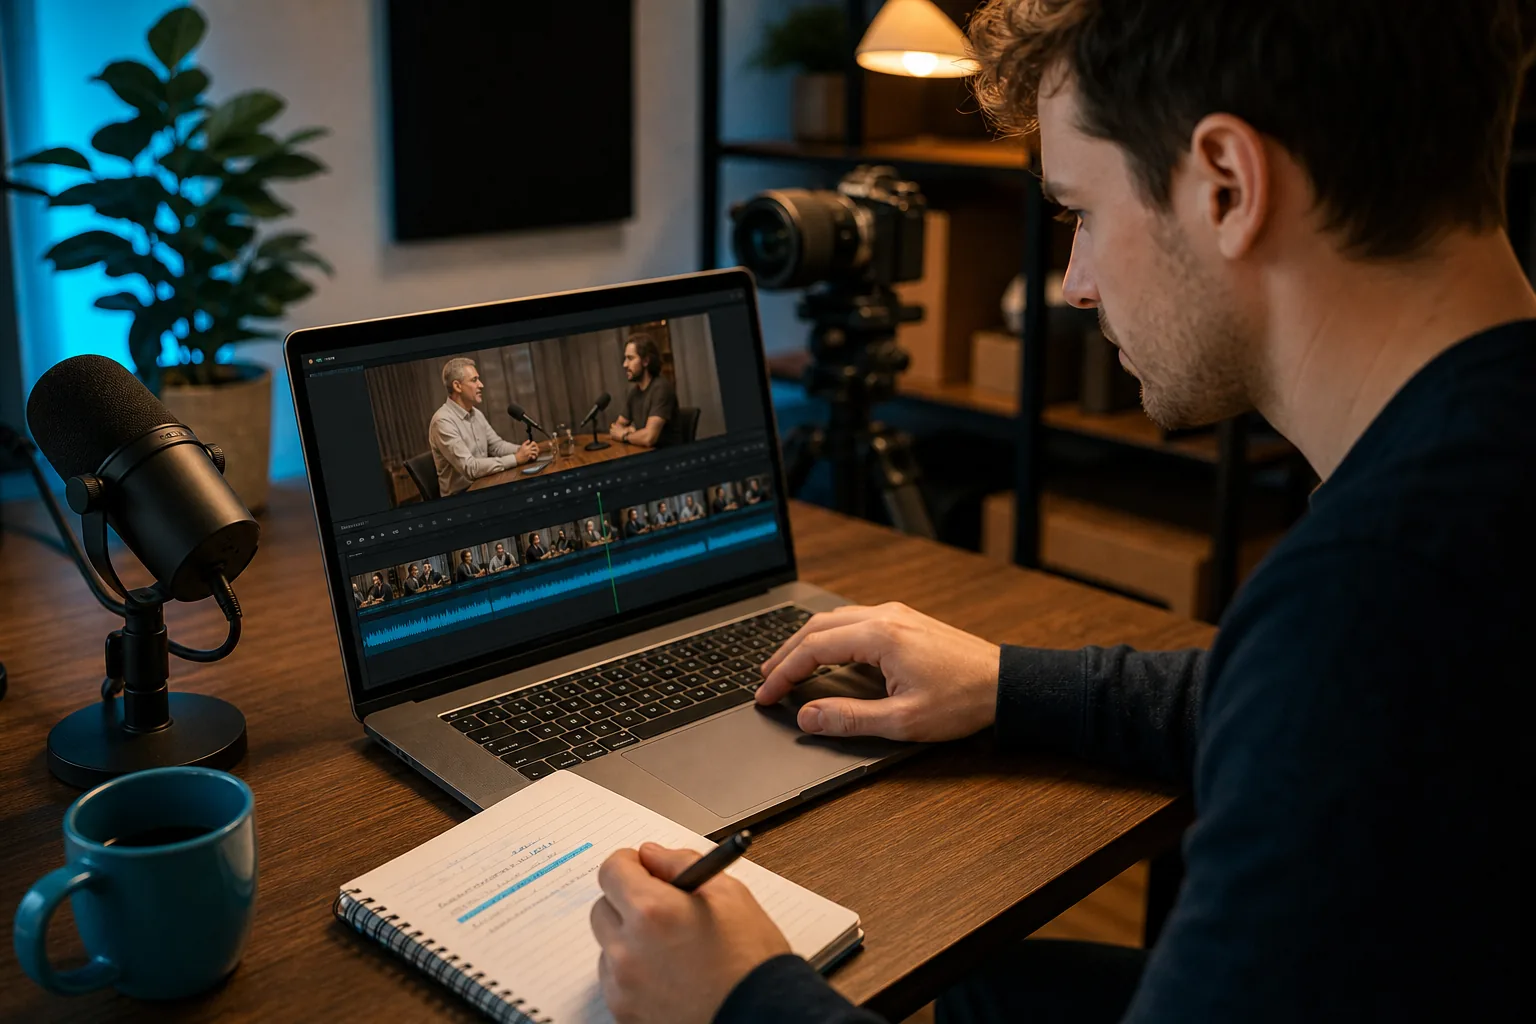
By now you should have a cleared source, a timecode, and one main idea. Keep a few alternate moments from the same recording; not every good exchange will work once it’s cropped vertically.
Step 3: Create a Short From the Video
Use YouTube’s mobile app when you want a quick edit. Open the source video, tap the remix or create option when it’s available, then choose the tool that fits the clip. YouTube’s available tools can vary by source video and rights settings. You can also start a new Short and add a video from your device if you have a permitted copy.
For a clip from your own long-form video, another path is to download or export your source file, then trim it in an editor. Keep the original file intact. Make a working copy so you can return to the full recording if you need a different start or end point.
On a phone, import the source into your editing app. Find the timecode, trim the start so the speaker gets to the point quickly, and set the canvas to a vertical 9:16 layout. In YouTube’s app, the create flow lets you select a length, bring in clips, and adjust the timeline before you publish.
If you need to compare hands-on editing with help from an editor, this overview of YouTube Shorts editing tools and services covers different ways to get the work done. The choice depends on whether you want to edit each clip yourself or hand off a batch for weekly clipping.
For a longer Short, make sure the moment still holds together at its full length. YouTube’s current maximum is three minutes, but that doesn’t mean every clip should run that long. Use only the time the idea needs. A sharp 18-second answer can be stronger than a stretched minute.
Creators with a steady stream of interviews, courses, or sermons may find that editing each week takes time away from recording. PenguinClip is a done-for-you option: our team selects moments, edits vertical clips, adds captions and viral scores, then delivers files weekly to your cloud storage. You keep the final say on what you post.
Step 4: Reframe and Edit the Clip for Vertical Viewing
A horizontal video won’t fit a phone screen as-is. Set the project to 9:16, then place the speaker near the center of the vertical frame. If two people are talking, check that the active speaker stays visible. A tight crop can cut off a face or make a guest look cramped.
Watch the full clip in portrait view before you export it. Keep faces, captions, and key details away from the edges. YouTube’s buttons and captions can cover parts of the screen, so leave room around the lower edge and sides. If you switch speakers, adjust the crop at the change rather than leaving one person out of frame.
Trim pauses and repeated setup, but don’t cut so tightly that the speaker sounds abrupt. For a teaching clip, leave enough room for the question or premise. For a sermon excerpt, retain the line that makes the point clear. The cut should feel natural when watched without the full video.
In CapCut, drag the timeline edges to trim your clip, then tap “Done.” Under the Video panel, use “Enhance quality,” “Reduce noise,” or “Stabilize” to improve clarity. Choose 1080x1920 in the video settings, set the frame rate and format, then export.
Use modest on-screen text. A short hook can help viewers follow the topic, but it shouldn’t repeat every spoken word or cover the speaker’s face. If the clip is a guest answer about starting a business, a simple opening title can name that topic. Keep the key phrase visible long enough to read.
The same vertical framing can work for other short-form channels. If you also post on Instagram, this guide to making Instagram Reels step by step covers a related format and its posting process. Export a clean master file so you can adapt it for each platform without carrying over another app’s watermark.
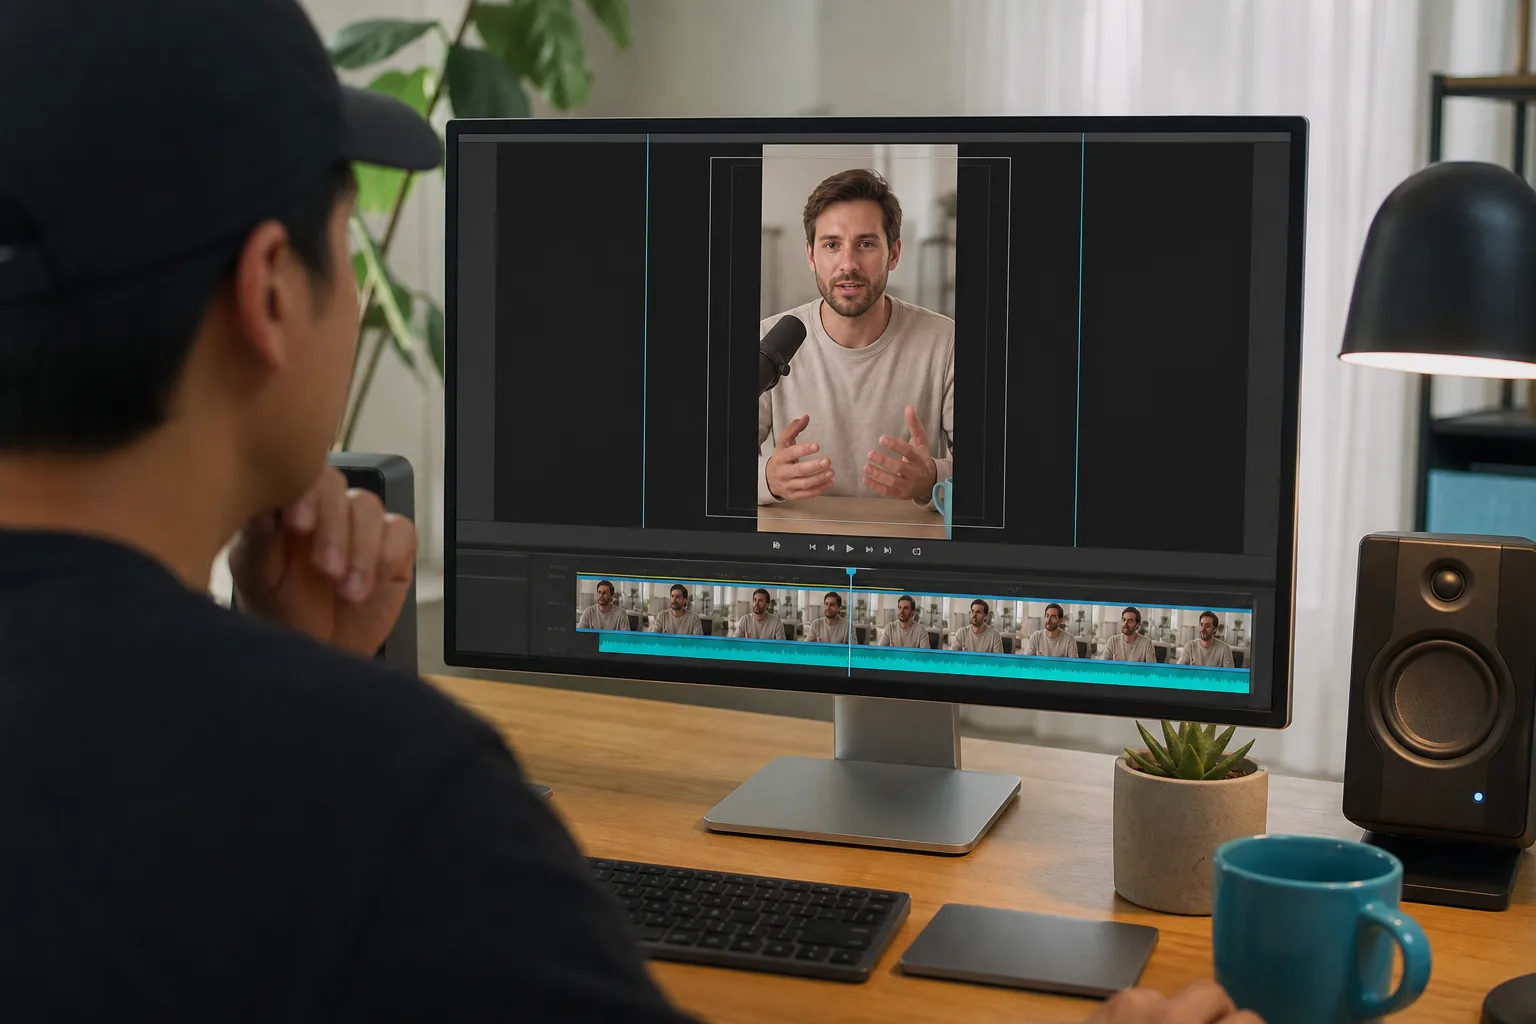
By now you should have a vertical cut with the speaker in frame, the idea intact, and enough open space for captions.
Step 5: Add Captions, Check the Clip, and Publish
Add captions, then read them while the clip plays. Fix names, specialist terms, and any words the automatic captions got wrong. Keep each caption line brief enough to scan, and place it where it won’t cover a face or sit under YouTube’s controls.
Listen with sound on. Check that the voice is easy to hear and that music doesn’t overpower it. Then watch once with the sound off. The point should still be clear from the captions and on-screen context. This check catches clips that rely on a sound cue or spoken setup viewers may miss.
Write a plain title that tells people what the clip is about. Use a few relevant words from your niche, but don’t stuff the title with tags. Add a related video in YouTube Studio when it gives viewers a useful next step, such as the full interview or sermon. You can also add a brief description and relevant hashtags. The Shorts feed is largely a viewing surface in its own right, so focus first on a clear opening and a title that matches the clip.
Choose a posting rhythm you can keep. You might publish one clip after each weekly episode, then add more when you have a useful backlog. There’s no need to post at a guessed “perfect” time. Test a schedule that suits your audience and review the results in YouTube Analytics.
Pay attention to engaged views and retention rather than judging a clip by its first few hours alone. If viewers leave before the key point, try a faster opening next time. If a certain guest, topic, or question keeps people watching, look for another moment with the same appeal. For creators who’d rather hand off the weekly editing, PenguinClip delivers captioned vertical clips to Drive, Dropbox, or Box. The team handles clipping and formatting; you review the files and decide what to publish.
Before posting, check the crop, spelling, sound, and link to any related full video. A quick review is easier than correcting a batch after it’s live.
FAQ
Can I make a YouTube Short from a video I already uploaded?
Yes, you can make a Short from your own uploaded video. Use YouTube’s remix tools when they’re available, or edit a permitted copy of the video in a separate editor. Pick a moment that makes sense on its own, then crop it to vertical format. Check the source video’s rights and music before you publish.
How long should a YouTube Short be?
A Short should be only as long as its idea needs. A quick teaser can fit in 10 to 20 seconds, while a story or explanation may need more time. YouTube allows Shorts up to three minutes. Try a few lengths and compare audience retention to see what works for your channel.
Do I need to make my video vertical before uploading?
No, you can start with a horizontal video and reframe it in an editor. Set the project to a 9:16 vertical canvas, then position the speaker so they stay visible. Watch the whole clip in portrait view before export. A crop that looks fine on a computer can cut off a face on a phone.
Can someone else’s YouTube video be used in my Short?
Only use another creator’s content when you have permission or can use YouTube’s eligible remix tools. Some videos can’t be remixed, and copyright-protected material added outside YouTube’s tools may trigger a claim or removal request. Attribution alone doesn’t grant permission. When in doubt, ask the rights holder or choose your own footage.
Conclusion
Start with one strong moment from a video you have the right to use, then make a clean vertical cut and review it on your phone. If weekly editing is getting in the way of making new content, see PenguinClip’s plans for weekly clip delivery and decide whether a done-for-you workflow fits your schedule.