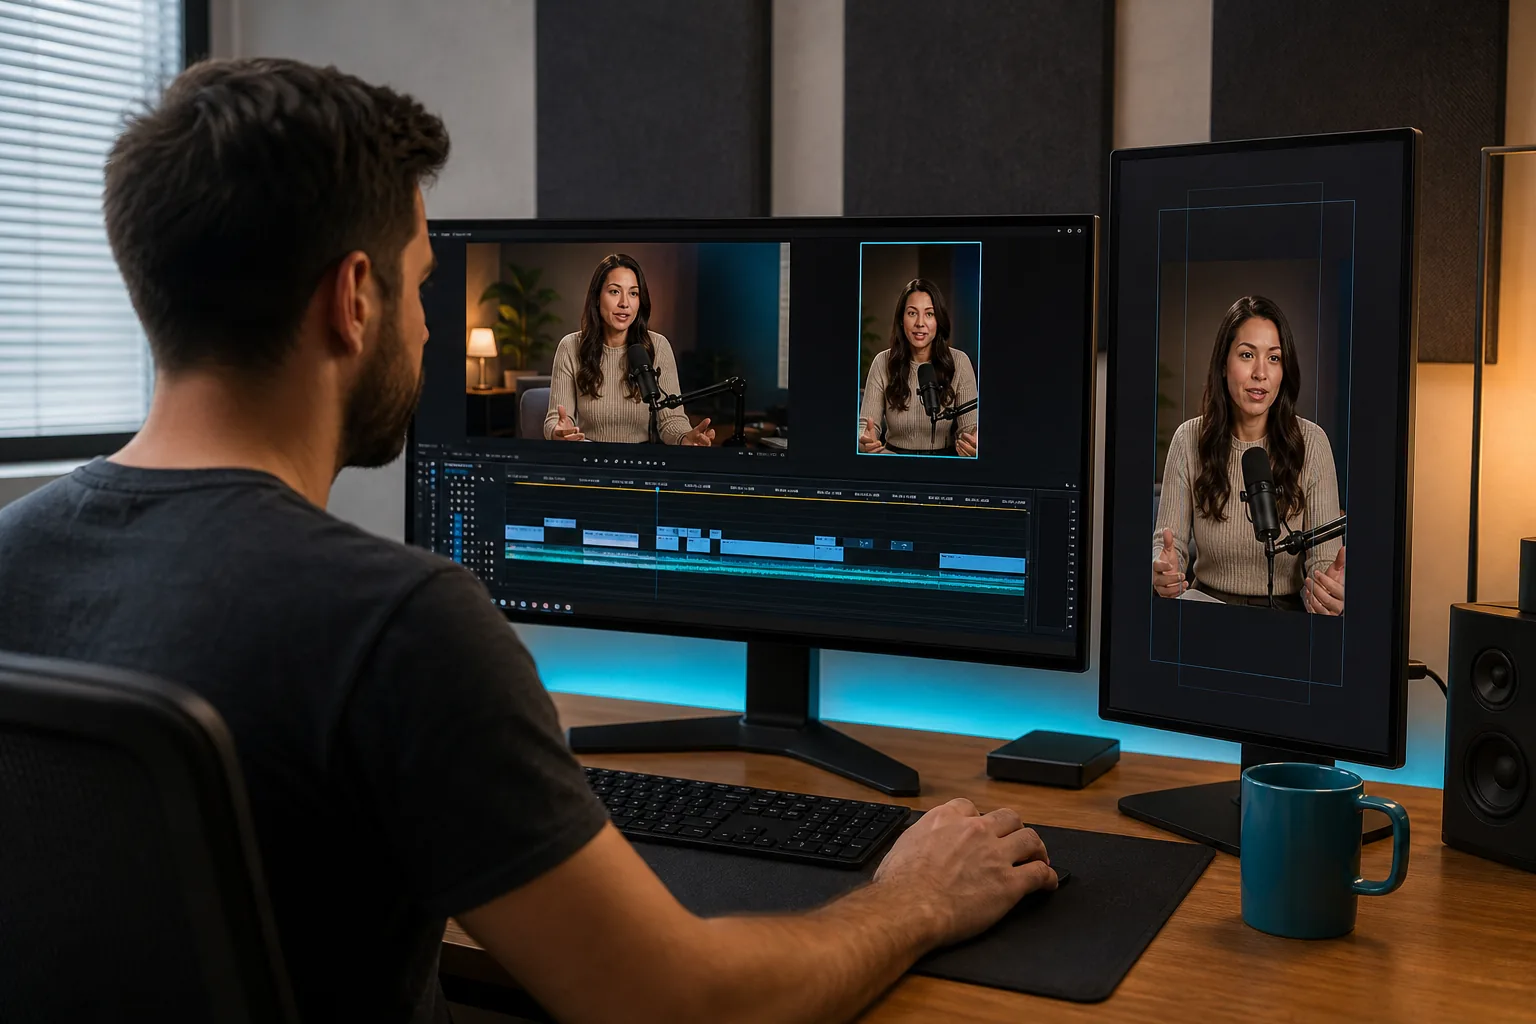
How to edit YouTube Shorts gets easier when you start with a clear moment, then shape it for a phone screen. This five-step workflow covers choosing a clip, trimming it, adding captions, polishing the sound, and publishing. You can do the edit yourself, or use a weekly service like PenguinClip when the editing keeps bumping your main work.
We analyzed 39 comments and questions from Reddit, YouTube and Quora about editing YouTube Shorts and found that 21% mentioned limited editing features.
Step 1: Choose a Self-Contained Moment From Your Video
Start with the idea, not the timeline. Find a short stretch of your podcast, interview, sermon, webinar, or course that makes sense without the rest of the recording.
Look for a clear question and answer, a useful tip, a strong opinion, or a short story with an ending. A quiet explanation can make a better Short than a loud reaction if it gives viewers one complete thought. For more ways to find moments in a long upload, see how to make Shorts from YouTube videos.
Play the moment from a few seconds before the key line to a few seconds after it. Keep enough lead-in for viewers to understand who or what the speaker means. Cut throat-clearing and repeated points, but don't remove a detail that changes the meaning.
Write down the clip's main point in one sentence. If you can't explain it simply, the moment may need more context or a different start. Then check that the thought reaches a natural end. A clip that cuts off just after the hook can feel like an unfinished ad.
For a podcast answer, the host's question may be useful context. For a sermon, a brief setup may help the lesson land. In a webinar, keep the problem and the answer together. Think about what a viewer who has never seen your channel needs to know.
A video editor can help you cut a segment from a long-form upload into a separate Short.
Write down the start and end points before you edit. That simple note makes the next step faster, especially when the source video is an hour-long recording.
Step 2: Trim the Clip and Set a Vertical 9:16 Frame
Now make the moment feel complete at a short-form pace. Start the clip close to the first useful word, then cut pauses that don't add meaning. Keep a breath or a beat when it helps the speaker sound natural.
Set the project to a vertical 9:16 frame. If your source is a wide podcast or webinar, choose a crop that keeps the speaker's face in view. For a two-person interview, check whether both people fit. If not, use a speaker-focused crop or switch between views when the conversation changes.
Watch the frame while the speaker moves. A crop that looks fine on a still image can cut off a face or gesture a moment later. Keep the eyes and mouth clear. Leave room around the top and bottom for captions and app controls.
Use a simple cut when a pause drags. Use a speed change only when it helps the moment move naturally. If the speaker is giving a careful instruction or sharing a personal story, speeding up every pause can make the clip feel rushed.
Keep the source frame and the final crop in mind as you edit. The YouTube Shorts format guide covers dimensions, length limits, and safe areas if you need to check the layout before export.
Before moving on, play the clip once without stopping. If the viewer can follow the point and the subject stays in frame, the crop is doing its job.
Step 3: Add Accurate Captions and Keep Them Easy to Read
Captions should make the spoken idea clear, not compete with it. Generate a first pass with your editor's caption tool, then read every line while listening to the audio. Auto-captions can miss names, acronyms, and subject-specific terms.
Correct the words before styling them. A transcript can sound close while changing the speaker's meaning. Check names from the episode, technical terms from a course, and any phrase that could be misheard. If the speaker says a product or place name, verify its spelling against your own notes.
Keep each caption group short enough to read at a glance. Break lines where a person would naturally pause, rather than splitting a name or phrase across separate lines. Time the words to the speech so people don't read far ahead and wait for the audio to catch up.
Choose a font with clear letter shapes and enough weight to stand out over moving footage. Use strong contrast, and keep the caption block away from the very bottom of the frame, where app controls can cover it. Preview the video at phone size. A caption that looks neat on a desktop may be too small on a phone.
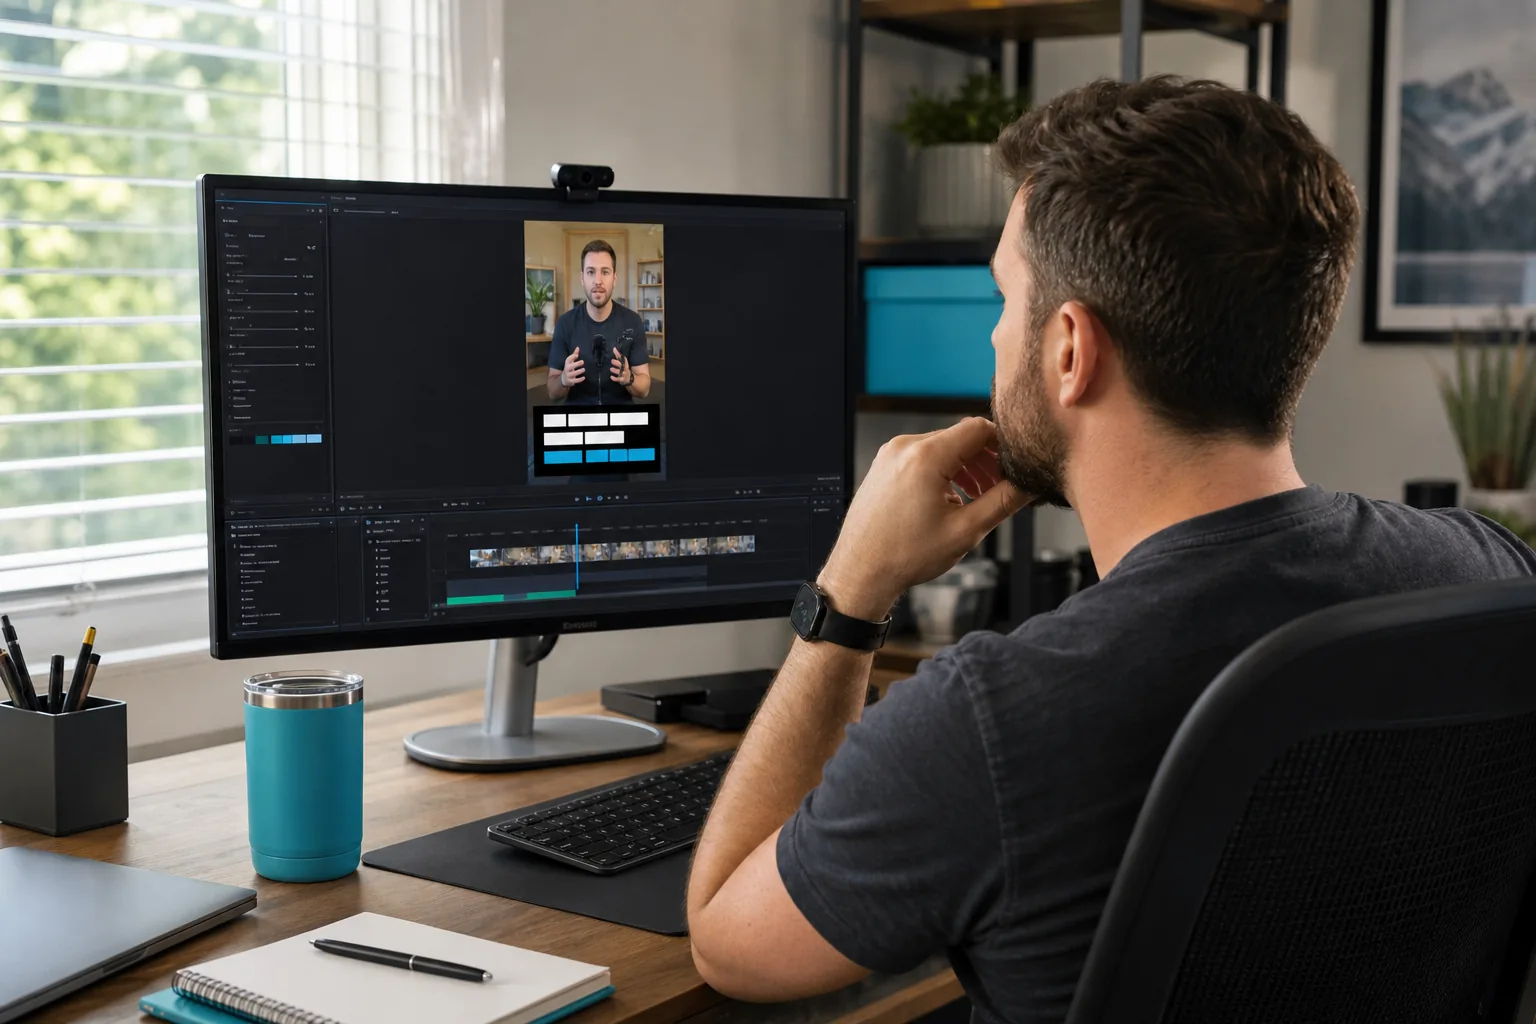
Use emphasis sparingly. Highlight a key term or short phrase when it helps the point stand out. If every word flashes or changes color, viewers have to work harder to follow the speaker.
For a quick quality check, watch once with sound on and once with sound off. The captions should match the speaker, and the main idea should still make sense without audio. Fix any timing or spelling issue before export.
Step 4: Improve Pacing, Audio, and Viewer Context
Once the clip is clear, make it comfortable to watch. Remove long gaps and repeated phrases, but don't strip out every pause. A small pause can give a key line room to land, especially in an interview or sermon.
Listen on headphones for uneven volume, room noise, and distracting sounds. If the speaker is hard to hear, fix the voice level before adding music. Keep any background track low enough that each word stays clear. Music should support the clip, not tell viewers where to focus.
If you add music through YouTube's tools, check the track's available use and timing before publishing.
Give viewers context early. A short opening caption or a direct first sentence can name the subject: what the guest learned, what question the sermon answers, or what problem the webinar solves. Avoid adding a title card that delays the actual point.
Use text and effects only when they help a viewer follow the idea. A brief label can identify a speaker or define a term. A zoom can add focus to a key moment. If an effect draws more attention than the speaker's point, remove it.
Check the first few seconds closely. The first line should tell people what they're watching without making a promise the clip can't keep. End on the answer, the takeaway, or a natural pause. Don't cut halfway through a sentence just to make the clip shorter.
Editing styles vary. Some tools use AI to spot highlights and draft captions, while human editors can choose moments and shape the pacing themselves. If you're weighing a DIY workflow against a team that handles selection, editing, and delivery, compare done-for-you video clipping services. PenguinClip's team selects and edits clips for weekly delivery, which can help when you want ready-to-post files without managing each timeline yourself.
Step 5: Export, Upload, and Build a Repeatable Weekly Workflow
Before export, check the whole video at phone size. Confirm the speaker stays in frame, captions are correct, and the sound is easy to hear. Watch the opening and ending again. A clip can look polished but still fail if the first line lacks context or the last sentence is cut short.
Export a vertical file in 9:16 format. Keep the original project and source video in an organized folder, with a file name that tells you the episode and clip topic. If you make several Shorts from one recording, label them in the order you plan to review or post them.
In the YouTube app, tap Create, choose Upload a video, and select a square or vertical file. YouTube's upload flow includes a trim editor for eligible videos, then lets you add details such as a title and audience setting before publishing.
Write a title that states the clip's point in plain language. Use a natural search phrase when it fits, but don't cram several keywords into one line. Add a short description if it helps explain the clip. Hashtags can label the topic, but they can't rescue a clip that lacks a clear idea.
Choose a frame that shows the speaker or a key visual when the upload flow gives you a thumbnail choice. Make sure it matches the actual clip. Then check visibility and audience settings before you publish. If you're working with a team, agree on who approves the title and who checks the final file.
Review performance after posting. Look at whether people stay through the opening, where they stop watching, and which topics lead to comments or repeat views. Use those signals to guide the next batch. Change one editing choice at a time, such as the opening line or caption size, so you can tell what may have helped.
Build one weekly habit: save source links, note promising moments, edit a batch, then review the results before the next recording. If your main challenge is keeping a posting rhythm, this guide to scheduling YouTube Shorts can help you plan when each finished clip goes live.
For creators who'd rather spend that time recording, PenguinClip turns long-form videos into captioned vertical clips and delivers them weekly to cloud storage. Our team handles the editing. You keep creating.
FAQ
How long should a YouTube Short be?
The best length depends on the idea. Keep the full question and answer or lesson together, then trim pauses and repeated lines. Don't stretch a strong 25-second point just to use more time.
Can I edit a YouTube Short in the YouTube app?
Yes, the YouTube app includes tools to trim and add text, filters, music, or other audio to a Short. You can also upload a vertical video that you edited elsewhere. Use the app when you want a straightforward edit, and use an external editor when you need more control over captions or framing.
How do I add captions to YouTube Shorts?
You can add captions with an editor's caption tool or use YouTube's available caption features. Always review the words and timing before publishing. Automatic transcription may miss names or specialized terms, and captions that sit too low can be hidden by on-screen controls.
Should I add music to every Short?
No, music isn't needed for every Short. Clear speech is often enough for a podcast answer, a sermon excerpt, or a lesson. If you add a track, keep it below the voice and use audio you have permission to include.
Can I make Shorts from a podcast or webinar?
Yes, you can make Shorts from a podcast or webinar by selecting one complete moment and reframing it vertically. Keep the speaker visible, add accurate captions, then check that the clip makes sense to someone who hasn't seen the full recording. A weekly clipping service can handle those editing tasks for you.
Conclusion
Use the simplest edit that makes one useful moment clear: trim it, frame it vertically, check captions, and listen through before publishing. Try the workflow on one clip from your next recording, then note what viewers respond to. When you want help keeping clips ready each week, explore PenguinClip or plan your next upload with the scheduling guide above.