Want to turn a raw recording into a TikTok people can follow? How to edit TikTok videos comes down to a clear message, clean cuts, a vertical frame, and captions you’ve checked. You can make the edits in TikTok, use a desktop editor, or let a clipping team handle recurring long-form content.
We analyzed 45 comments from Reddit and YouTube about editing TikTok videos and found that 18% mentioned preferred editing software.
Step 1: Pick One Clear Message and Prepare Your Footage
Start with the point of the video, not the effects menu. A short clip should land one idea: a useful answer, a strong opinion, a quick lesson, or a moment that changes the conversation. If you’re cutting an interview, find a passage that makes sense on its own. A viewer shouldn’t need the full episode to understand what’s happening.
For a podcast or sermon, mark the start and end of a complete thought. Include enough setup for the point to make sense, but cut long greetings and side comments that don’t help. A good first line can be a question, a clear claim, or the part of the answer that makes someone want to hear more.
If you’re filming inside TikTok, open the app and tap the create button to record. You can also choose footage from your camera roll. For a clip from a long-form recording, find and save the source segment first, then open it in your editor. The app’s labels may shift, so follow the current on-screen prompts rather than relying on an old screenshot.
Think about the sound before you shoot or export. Put the speaker close to the mic, and reduce background noise where you can. If you’re repurposing a recording, check that the speaker’s voice is clear before you spend time on captions. A quiet speaker under room noise is harder to fix later.
Editing every episode yourself is one option. A video clipping service is another: our team selects moments from eligible long-form recordings, then edits and captions the resulting vertical clips. That distinction matters when you need a steady supply of clips but don’t want to stitch each one by hand.
Before moving on, jot down the one sentence you want viewers to remember. If you can’t say it simply, choose a tighter section of the source footage.
Step 2: Import, Trim, and Arrange the Video
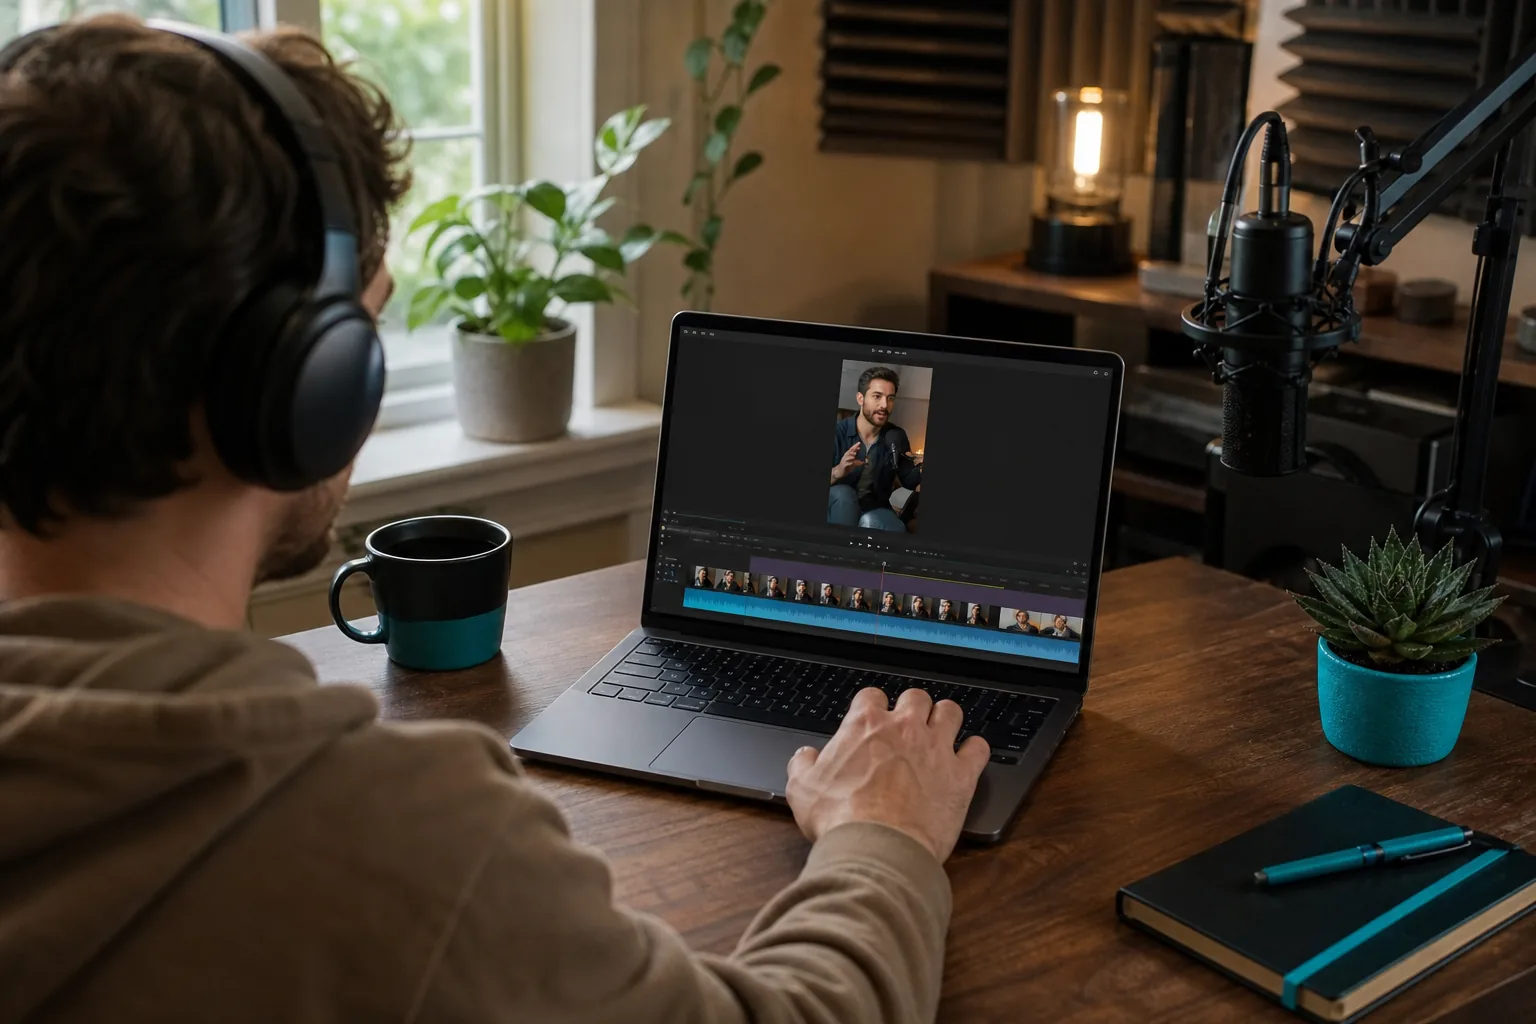
Open the TikTok editor and record a clip or add a video from your camera roll. For a desktop workflow, import the source into a video editor, make your cuts there, then export a vertical file for TikTok. A phone is handy for quick edits. A larger screen can make it easier to review a long interview or move through a detailed timeline.
Trim the front and end first. Drag the handles on the clip, or use the editor’s trim controls, to remove dead air and extra setup. Keep a breath before the first word if the cut feels abrupt. At the end, stop when the thought is complete. A clip that ends mid-sentence can feel broken, even if the next line wasn’t useful.
Split the footage when you need to remove a pause or a detour from the middle. Place the playhead at the cut point, split the clip, then remove the unwanted section. Watch the join. If the speaker’s hand jumps or the sound snaps, leave a little more room or use a simple transition only when it helps the cut feel natural.
Controls and steps can differ between editing tools, so follow the workflow for the tool you’re using.
Reorder clips only if the new order keeps the meaning intact. A short reaction shot can cover a cut, but don’t move a response ahead of the question if that changes what the speaker meant. Keep original audio attached to the right moment, especially if you split or rearrange sections.
Watch the edit from the beginning after your cuts. Listen for clipped first words, repeated phrases, or a sudden change in volume. If you’re handling recurring recordings, a comparison of a clipping service and hiring an editor can help you decide which workflow fits your weekly workload.
By now, you should have one clean sequence with a strong opening and a complete thought. Next, check the frame.
Step 3: Set the Vertical Frame and Check What Viewers Can See
Choose a 9:16 vertical frame for a full-screen TikTok post. If you’re recording in the app, hold your phone upright before filming. If you’re editing an existing landscape video, set the project or crop to vertical and position the speaker within the frame.
With an interview, decide whose face matters most in each moment. If two people share the shot, a centered crop may cut one person off. Move the frame so the active speaker stays visible, then check the full clip for changes in posture or camera angle. A crop that works at the start may miss someone leaning back later.
Keep the speaker’s face and key objects away from the very edges. TikTok’s buttons and caption area take up screen space, so test the preview in the app before publishing. Leave room for on-screen text near the top or lower middle rather than laying it over a face or placing it where controls may cover it.
For a sermon, course lesson, or webinar, make sure the frame still shows the speaker’s gestures. If a slide contains a word or chart that matters, check whether the vertical crop keeps it legible. You may need to choose a different moment instead of shrinking the whole scene until the speaker becomes too small.
A blurred or enlarged background can fill space around a horizontal source, but it can also distract from the speaker. Use it only when the main image remains easy to see. Avoid fast zooms or constant reframing in a calm interview. The edit should help the audience follow the point.
If you’re making several clips from the same recording, check the crop on each one. Different speakers may sit in different parts of the original frame. A saved crop can speed up a batch, but don’t apply it blindly to every segment.
For teams that need vertical clips every week, PenguinClip formats clips in 9:16 and delivers them to cloud storage. You can see how our done-for-you video clipping service fits a recurring workflow, while keeping your own recording and publishing process in your hands.
By now, the speaker should sit clearly in the vertical frame, with room for TikTok’s interface and your captions.
Step 4: Add Accurate Captions and Minimal On-Screen Text
Turn on automatic captions if your editor has them, then read every line against the spoken audio. Speech recognition can miss names, product terms, or words spoken over background noise. Fixing those errors matters more than picking a fancy caption style.
Break captions at natural pauses. Keep each line short enough to read while the person is speaking, and make sure it stays on screen long enough. Don’t cover the speaker’s mouth. Keep the text inside the central safe area, away from the buttons along the right side and the caption area near the bottom.
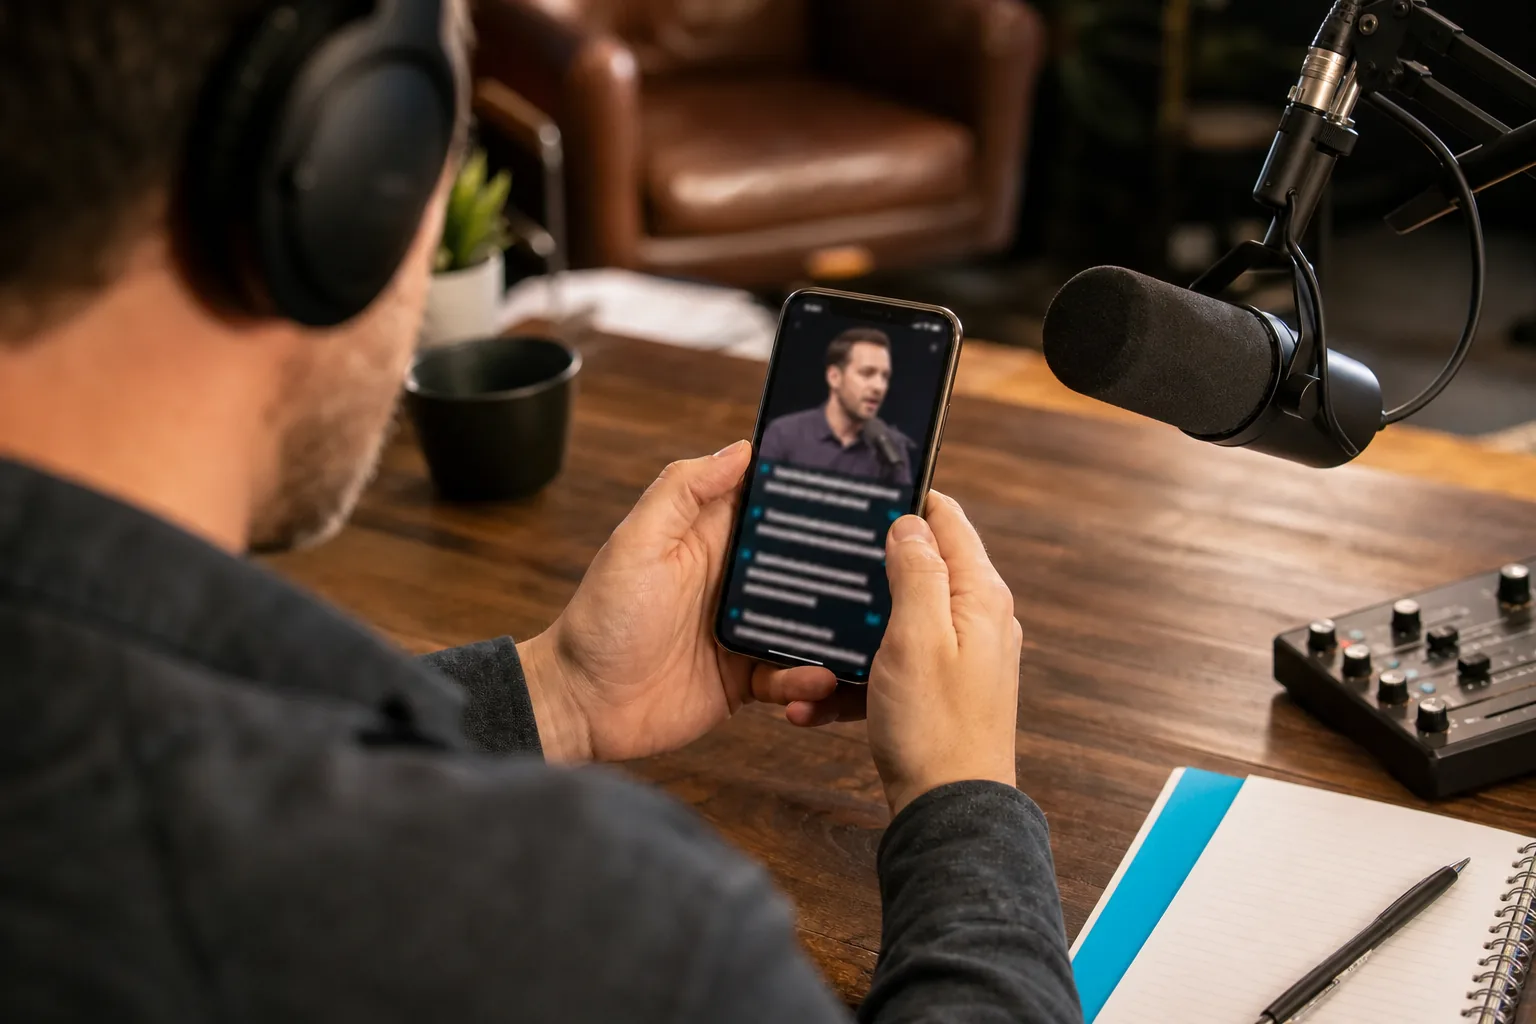
Read the captions aloud as you review them. Check the spelling of names and any terms specific to your show. If a line changes the meaning, correct it rather than trusting the auto transcript. Keep punctuation simple so the words are easy to scan.
Use on-screen text to clarify the subject or set up the clip, not to repeat every spoken line. A short title can help a viewer know what the conversation is about. Stickers can add context, but skip them if they pull attention away from the speaker. One clear text cue usually beats several competing ones.
Effects, filters, and transitions are optional. A light color adjustment can help a dim recording look clearer. A transition can smooth a real change in scene. But a talking-head clip rarely needs a visual effect every few seconds. Test any effect on the whole clip, because a choice that looks fine on one frame may make a face or caption hard to see elsewhere.
Before you finish, preview the captions with TikTok’s interface in mind. A related PenguinClip overview explains how we add captions and title overlays to weekly clips, which can help if you’re weighing a hands-on edit against a managed clipping workflow.
By now, the text should match the speech, sit clear of the interface, and leave the video’s main point easy to follow.
Step 5: Review the Audio, Preview, and Publish
Listen to the finished video with headphones, then play it through your phone speaker. Check that speech is clear from the first word to the last. If music is present, keep it low enough that the speaker remains easy to hear. Avoid adding a new song just because the edit feels quiet.
Choose music or a sound only when it suits the content. If you use a track, check that it’s available for your account and intended use inside TikTok. Music rights can vary by track and use, so don’t assume that a sound you heard in another post is cleared for every purpose. For an interview, the original voice is often enough.
Use voice-over only when it adds information that the source video can’t show. If you record one, make sure it doesn’t cover the speaker’s words. You can also adjust the source audio or replace it when needed, but listen for a mismatch between the visible mouth movement and the sound.
Watch the preview once without pausing. Ask yourself whether the opening makes sense, the cuts feel natural, and the ending completes the thought. Then check the thumbnail or cover frame. Choose a clear frame that shows the speaker or subject, rather than a blurred transition or a moment with a half-closed eye.
Write a brief caption that gives viewers context. Add only hashtags that fit the topic, and check that the post is going to the right account. Posting time can be tested against your own audience’s response; a general rule can’t tell you when your followers are online.
When you’re ready, save a draft or publish from the app. If you’re using a desktop or web editor, export the final vertical file, move it to your phone if needed, then upload it in TikTok. Watch the uploaded preview again before posting. Small changes in crop or sound can show up after upload.
Creators who publish from podcasts or webinars may not want to repeat these edits for each episode. PenguinClip turns long-form recordings into captioned vertical clips, scores them, and delivers files weekly to your cloud storage. Our team handles the clipping and formatting; you choose what to post.
By now, you should have a checked video, a clear cover, and a caption ready for the post. Save the source and final file in a folder so you can find them when you review what worked.
FAQ
Can I edit a TikTok video after posting?
You can edit some post details, but you generally can’t replace the video file in a published post. If the video itself has a mistake, save a corrected version and publish it as a new post. Check TikTok’s current app options before deleting anything, since post controls can change.
How do I make a TikTok video vertical?
Set the project to a 9:16 vertical frame, then crop and position the source footage so the subject stays visible. Preview the whole clip, not only the opening. If a landscape interview has two speakers, check that the crop follows the person speaking without cutting off the other person at important moments.
Should I add music to a podcast clip?
Add music only when it supports the clip and doesn’t compete with speech. For interviews, clear original audio often works well on its own. If you add a track, use one available for your account and intended use in TikTok. Listen again after mixing so every spoken word remains easy to hear.
How can I make clips from a long podcast each week?
Pick one strong moment at a time, then trim it to a complete thought, set the vertical crop, and review the captions. If editing every episode becomes a regular time burden, PenguinClip handles moment selection, clipping, captioning, scoring, and weekly cloud delivery for long-form recordings.
Conclusion
Keep each clip focused on one complete idea, and review the crop, captions, and sound before posting. If you’re publishing from long-form recordings every week, see how PenguinClip’s weekly clipping workflow could reduce the editing work. For your next post, start by marking one moment worth sharing.